
Here at TestFit, I get to show brand-new clients and existing ones how to get the most out of TestFit. I always try to teach something new, so in that spirit, here is The Ultimate collection of some of our most popular how-to’s, tricks, and a few straight up dirty hacks.
Preferences & Shortcuts
- Enable large sites (over 10 acres) in Preferences.
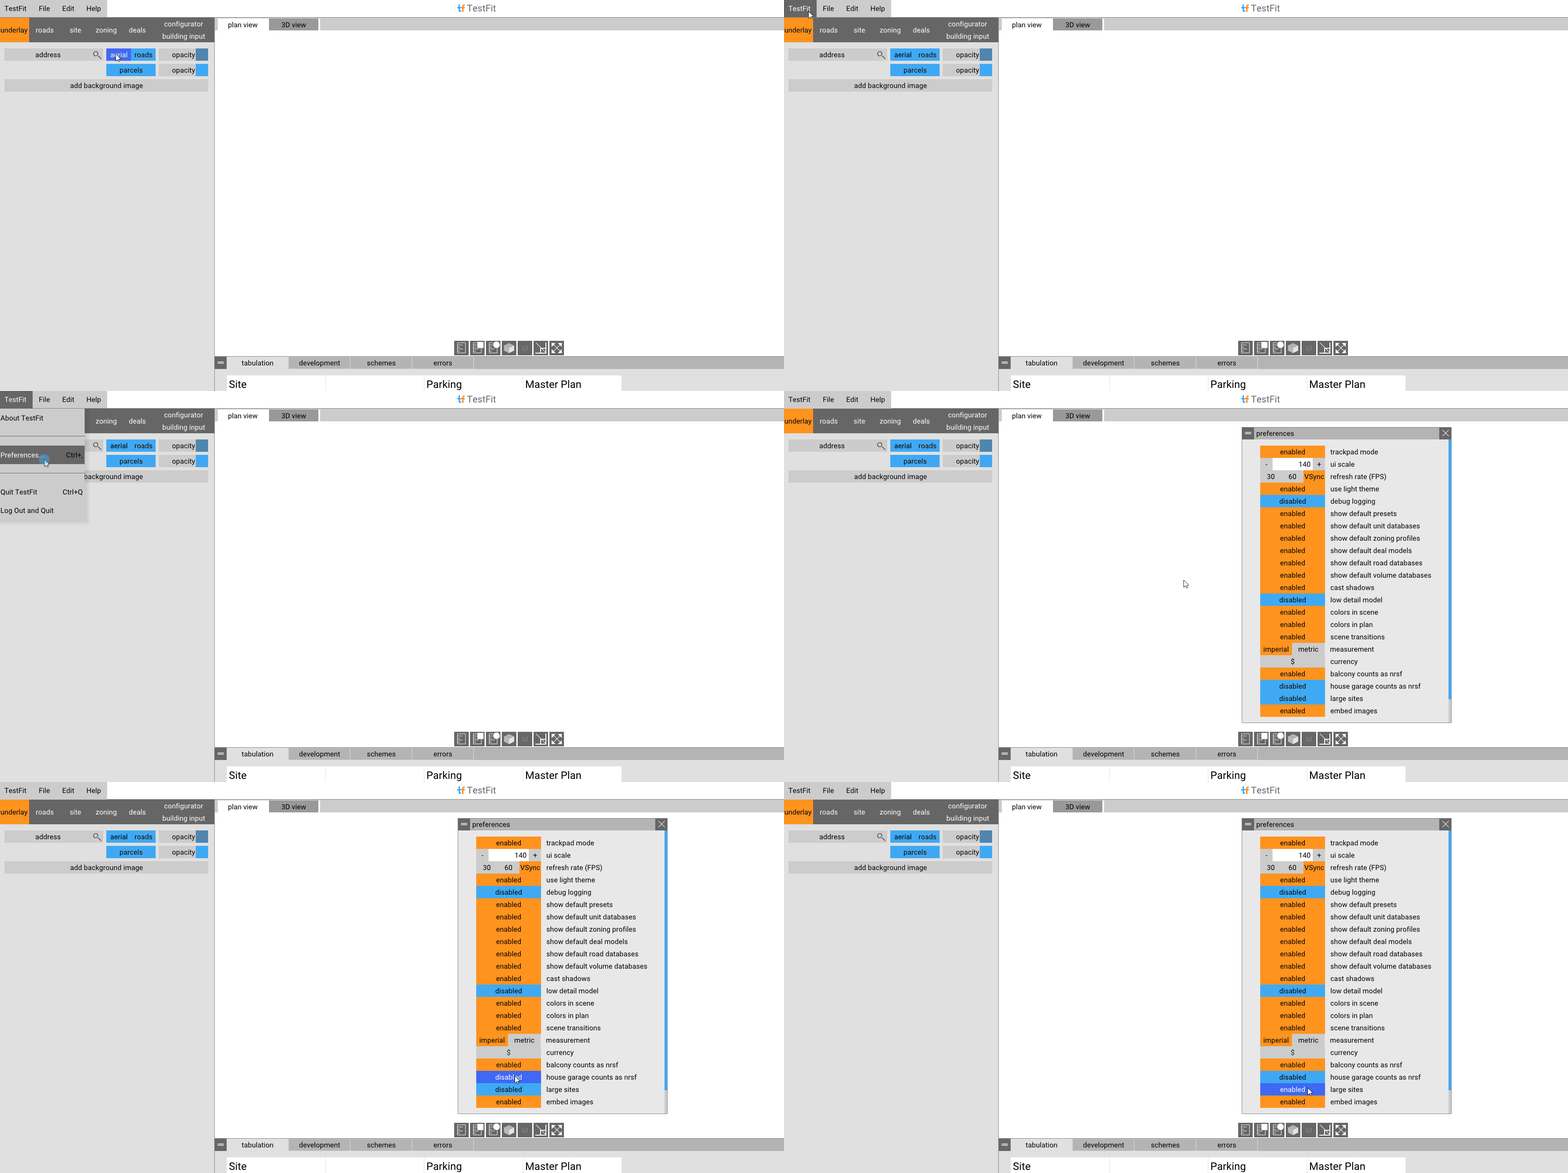
2. Embed images within a TestFit file (perhaps to share with someone else) by enabling Embed Images in Preferences.
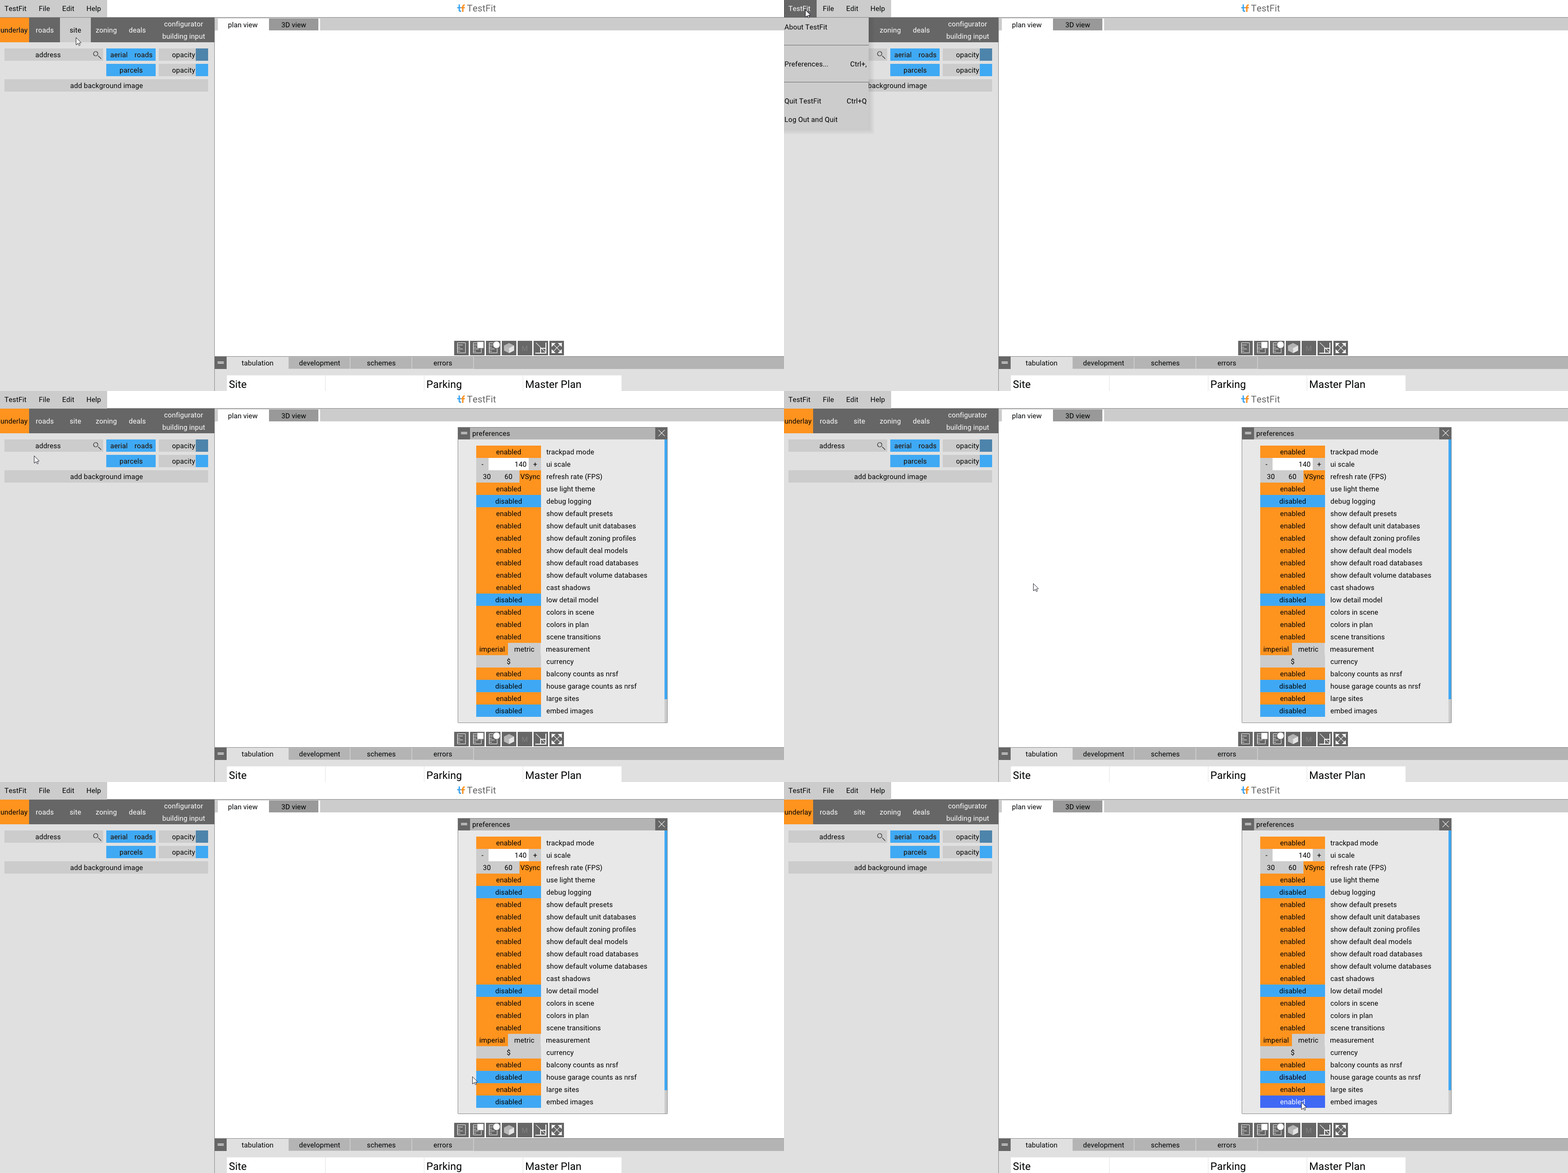
3. Adjust size of text/buttons with UI scaling in Preferences.
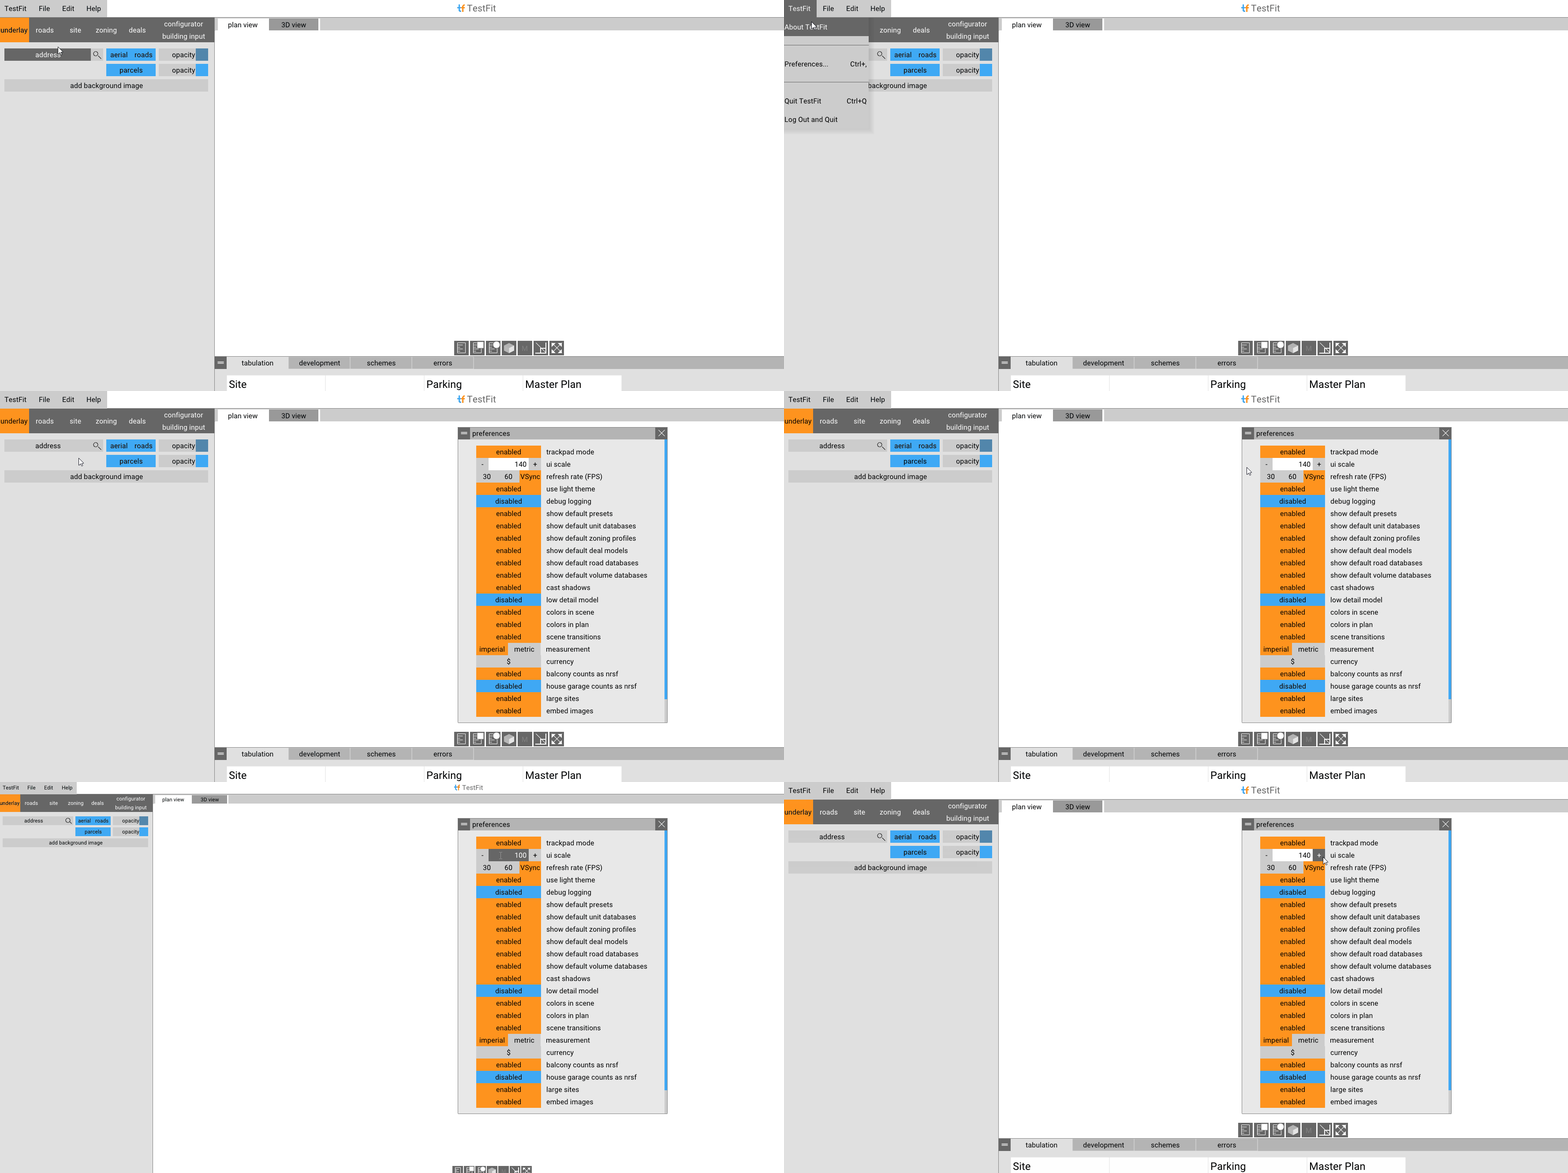
4. Press “A” to turn on align drawing when defining sites and drawing massing.
5. Hit Escape within the editors (Building, Deals, Units) to go back a screen.
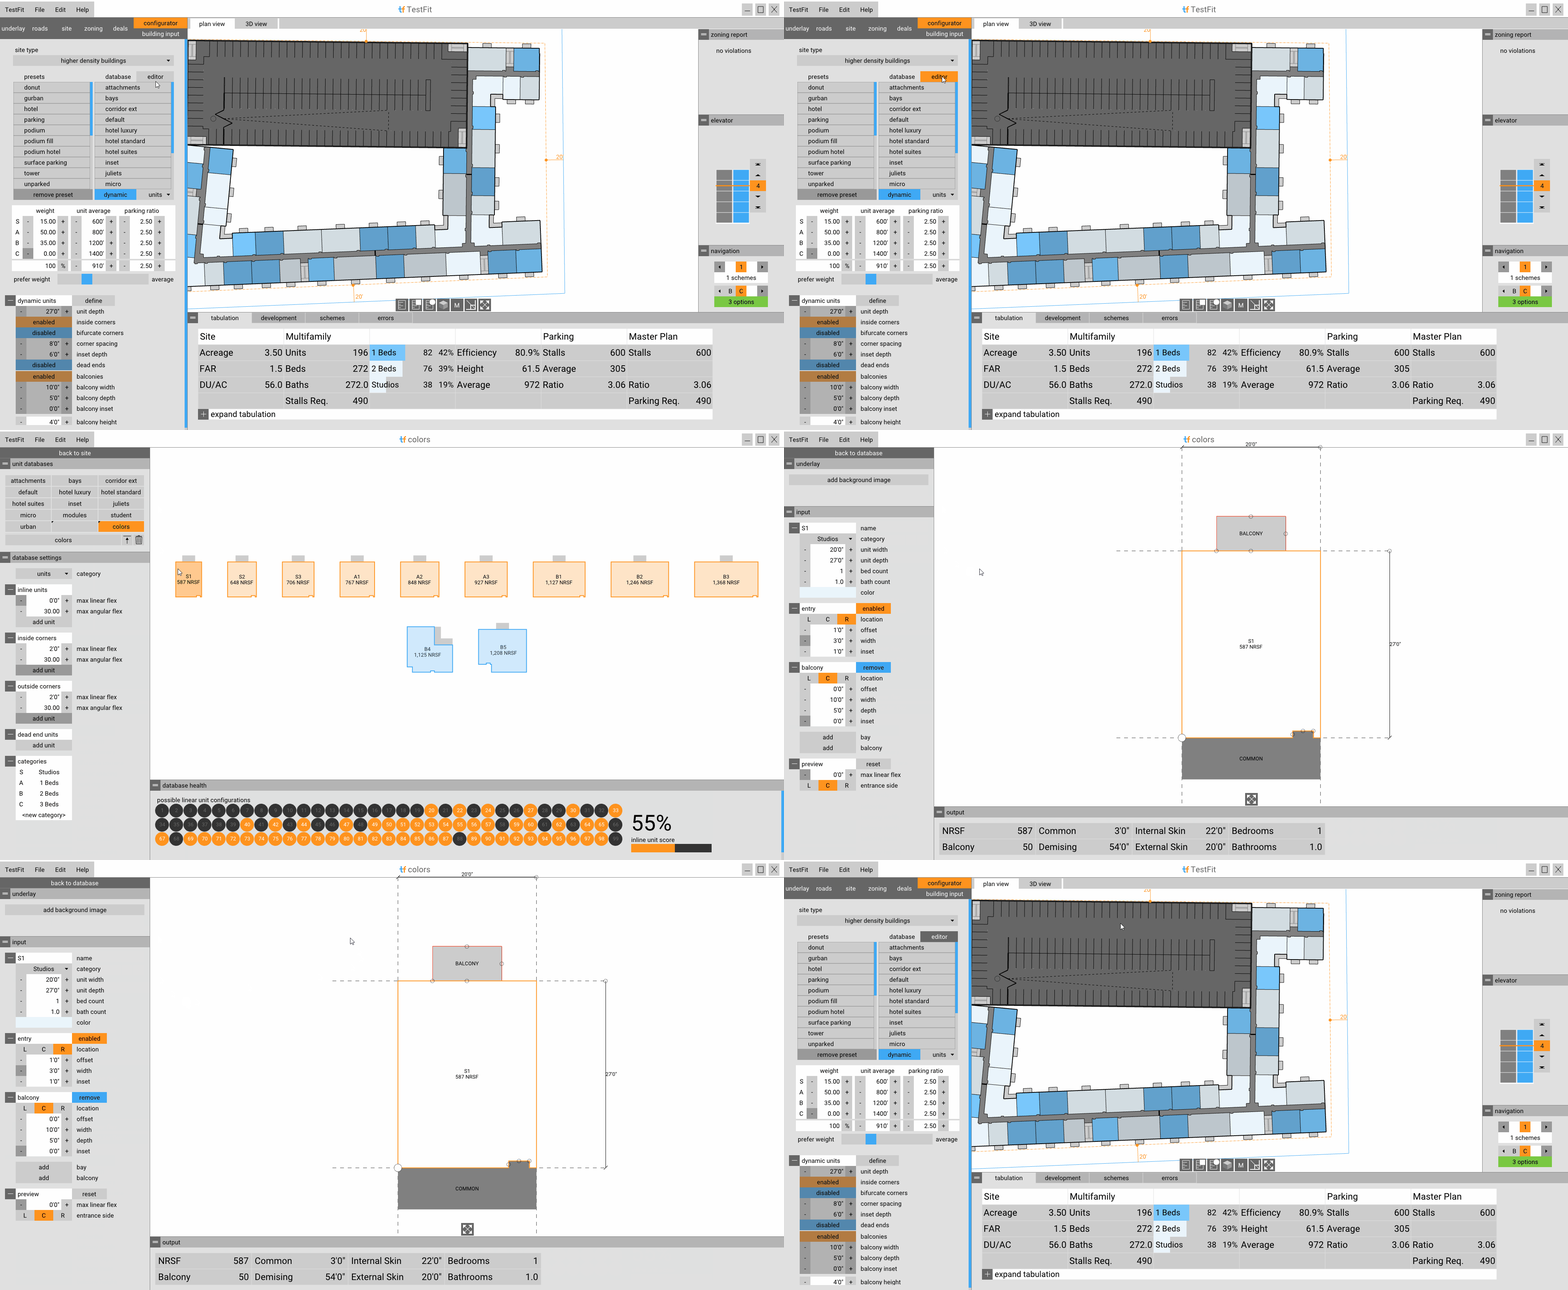
6. Click the 4-way arrow to fit the building to your TestFit window. Handy when needing to zoom back out.
The Basics
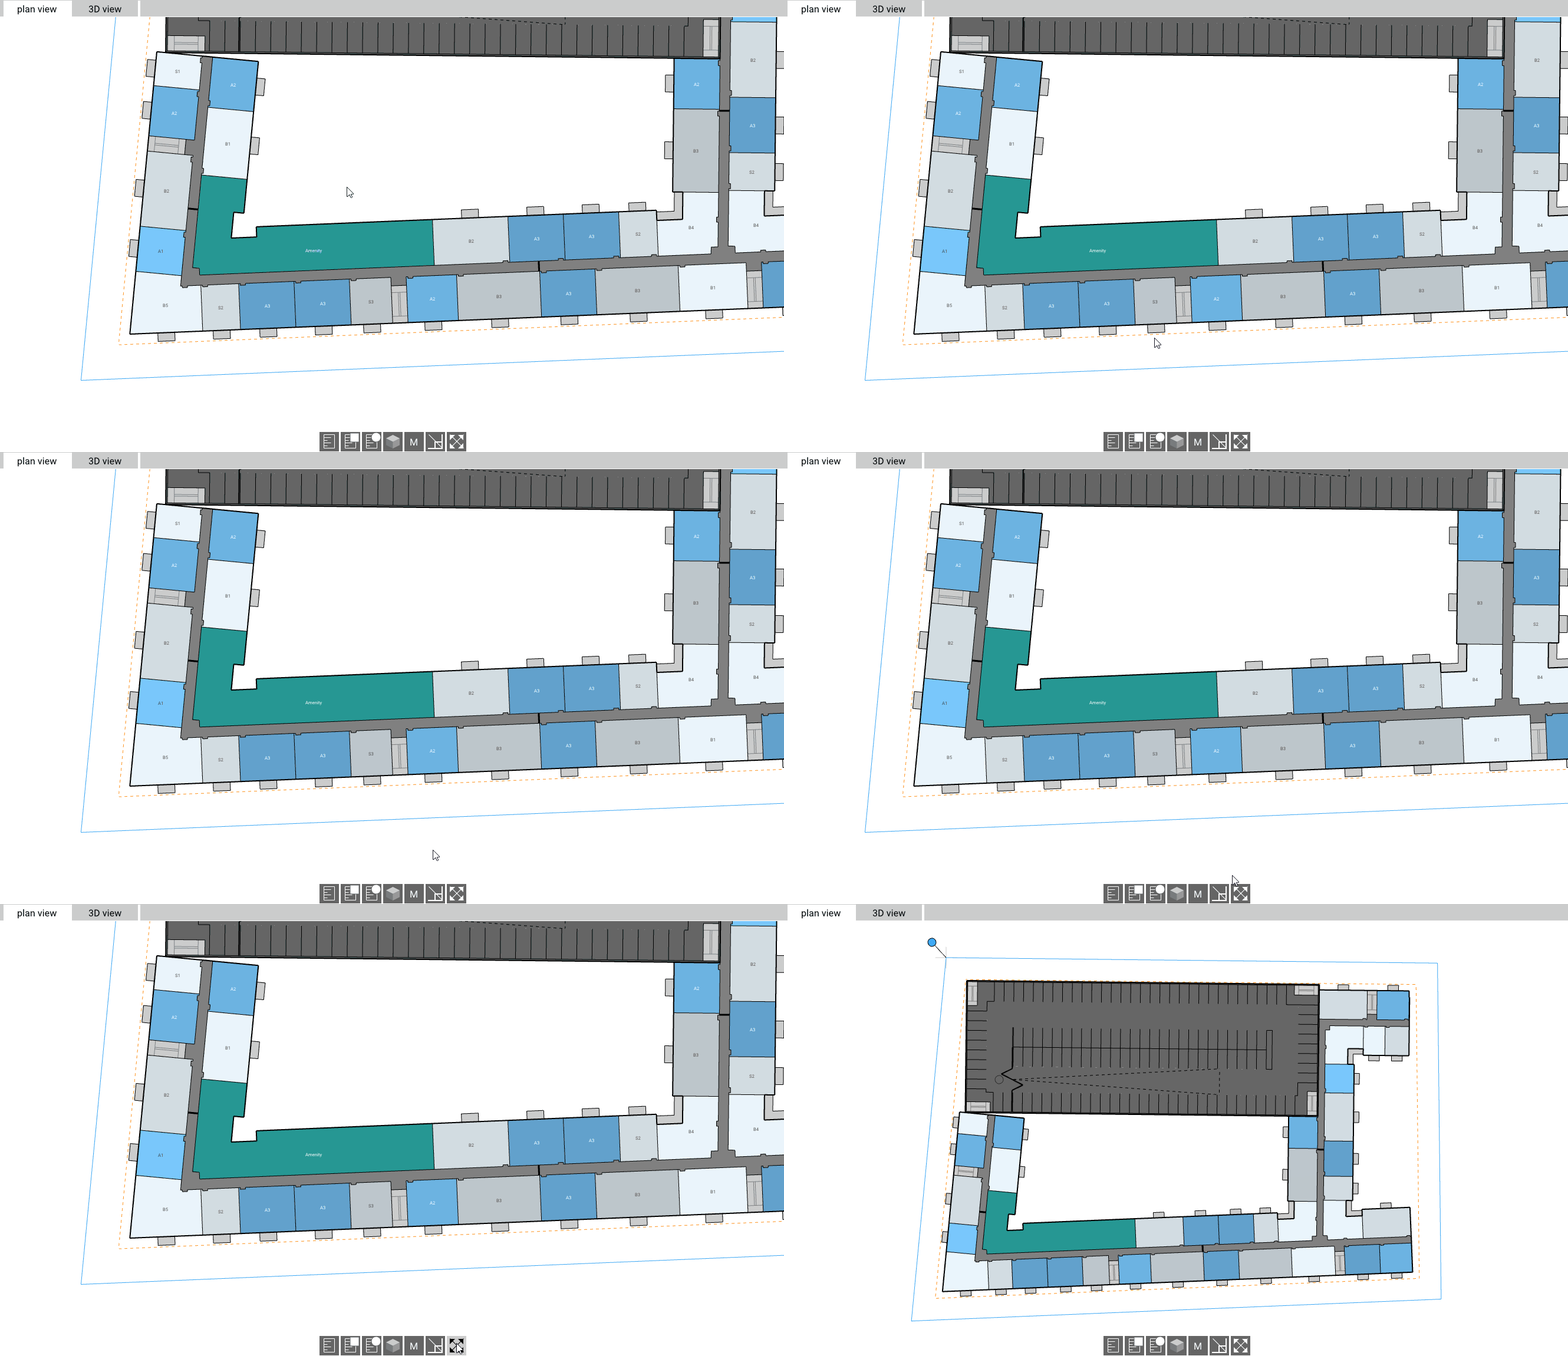
7. Change what floor you’re on by either clicking or using your mouse’s scroll wheel over the elevator tab on the far right-hand side.

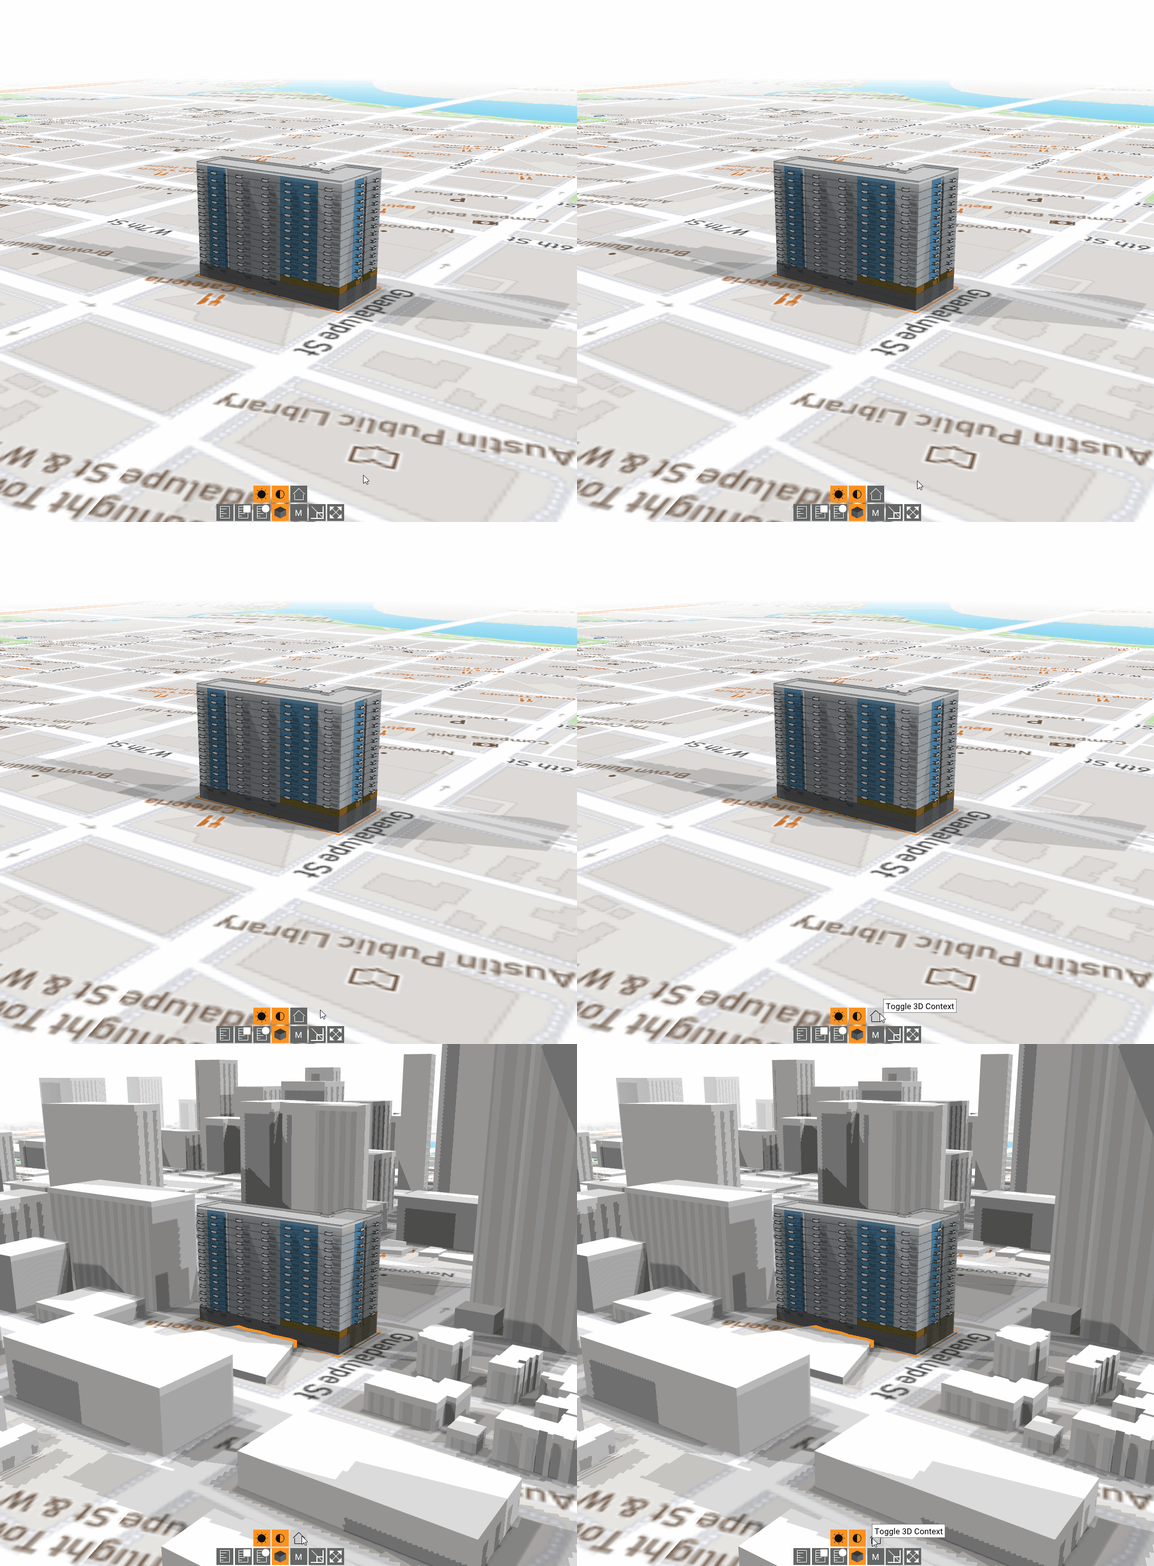
8. Enable context buildings around your site by clicking on the icon that looks like a house.
9. Use the 3D Tab in top left or the 3D box icon towards the bottom of the screen to switch from plan view to 3D view.
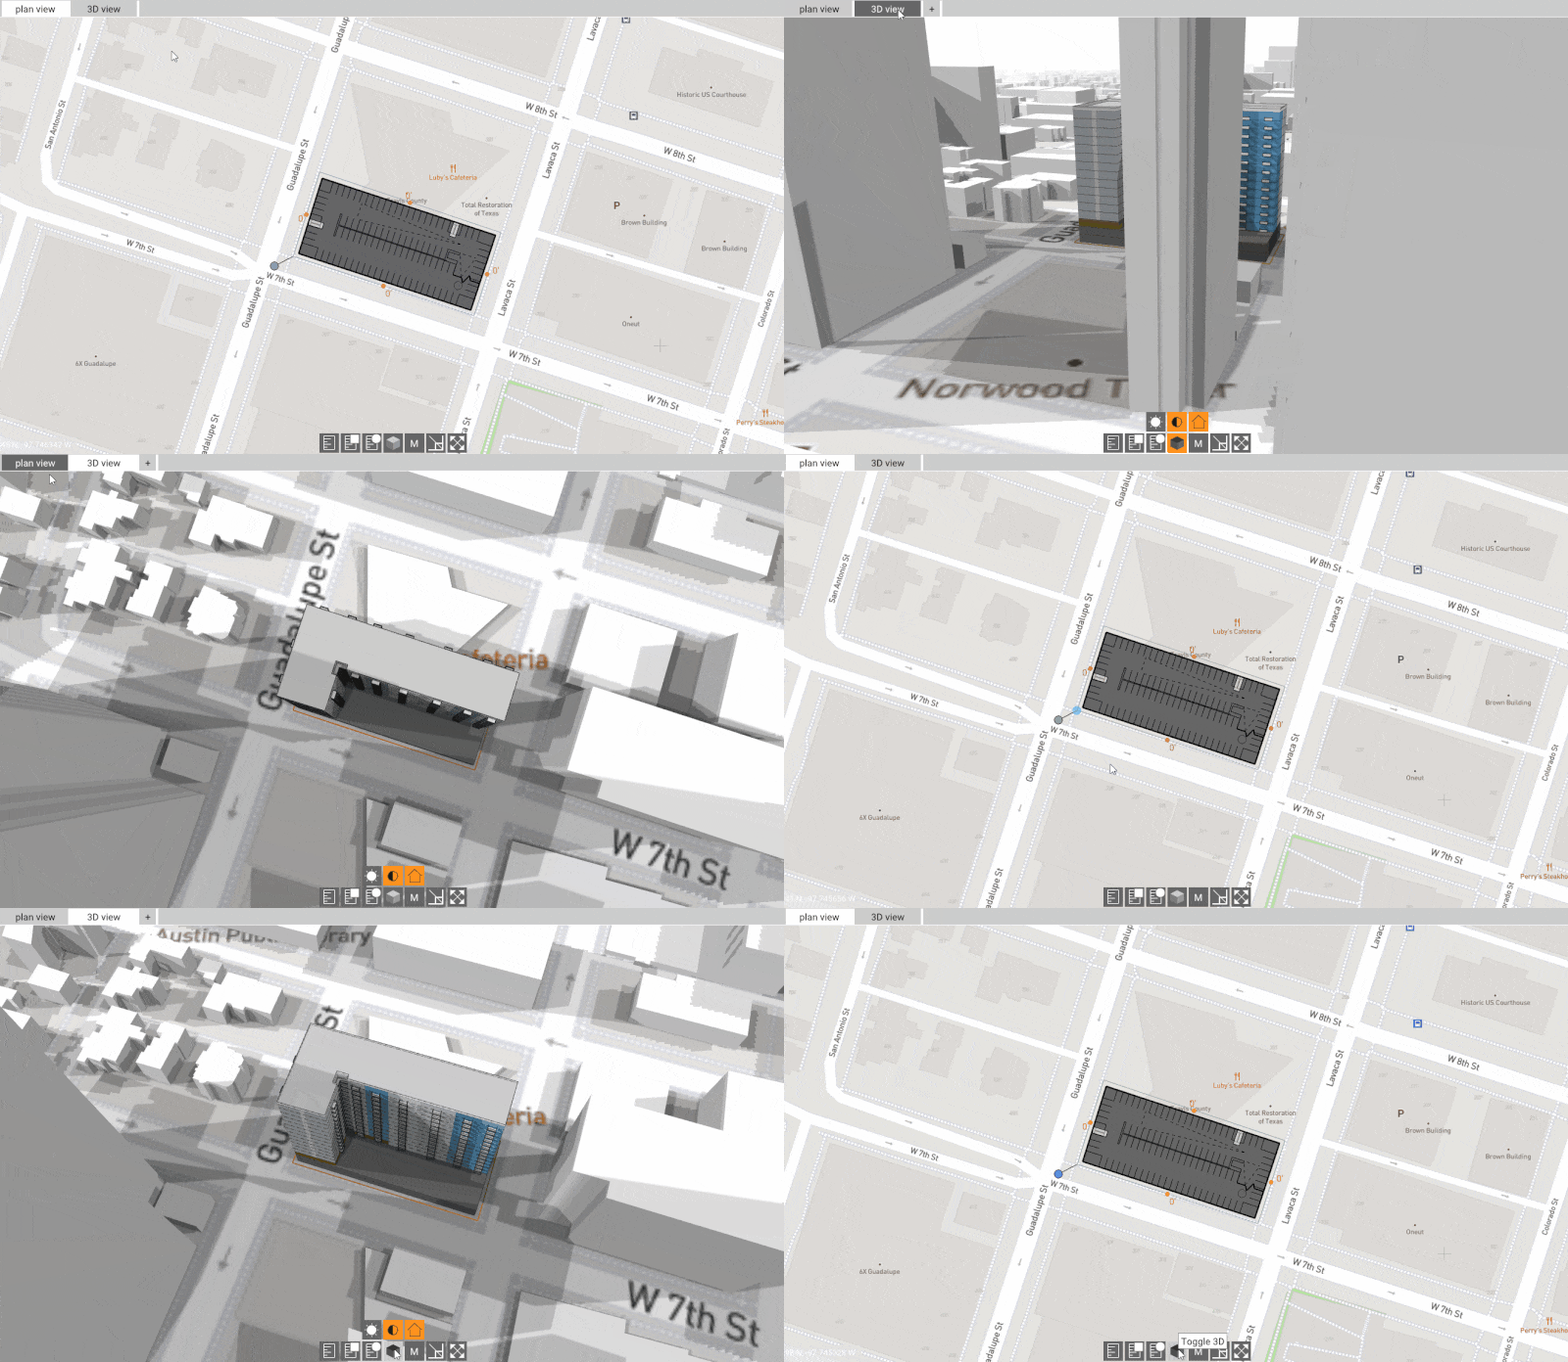
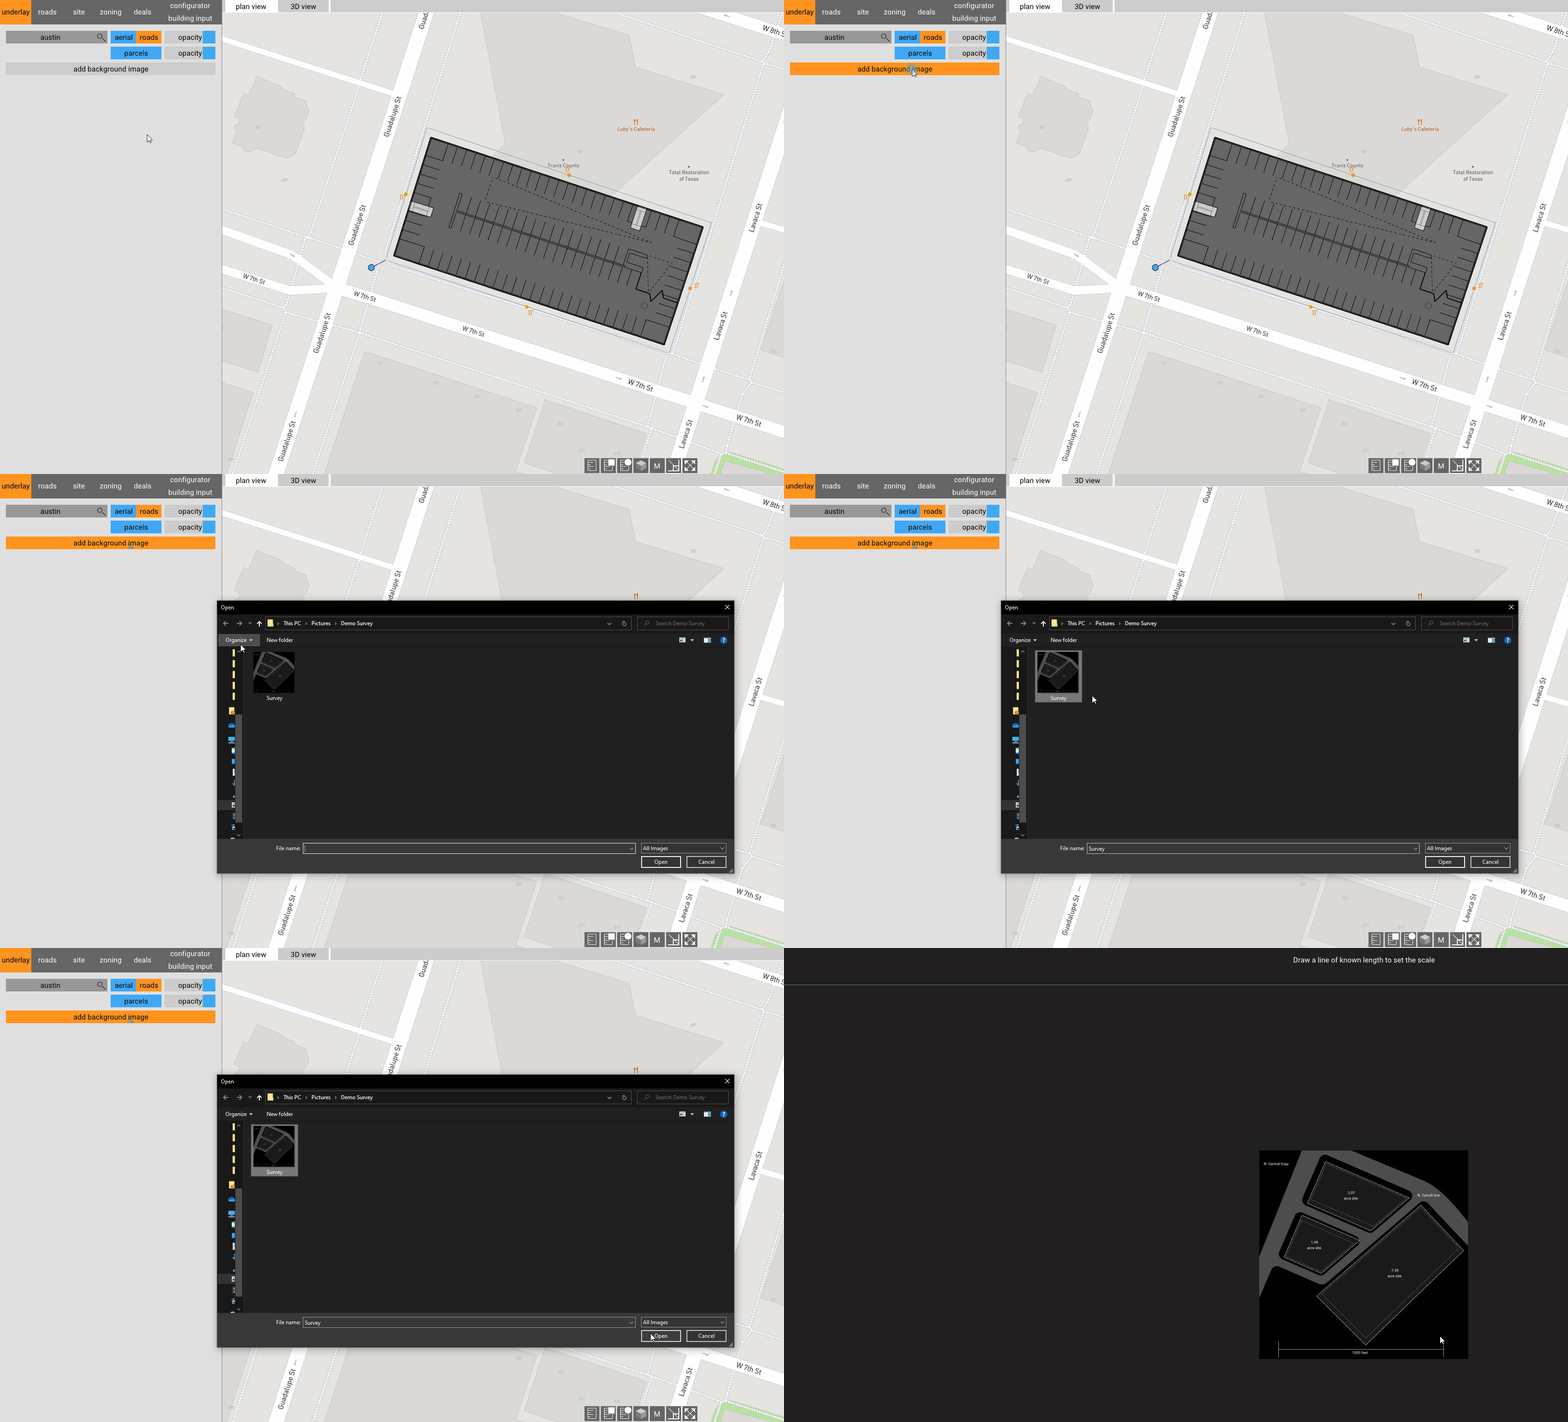
10. Add underlays of sketches or property lines (surveys etc) by hitting “Add background image”.
Set Up Tips
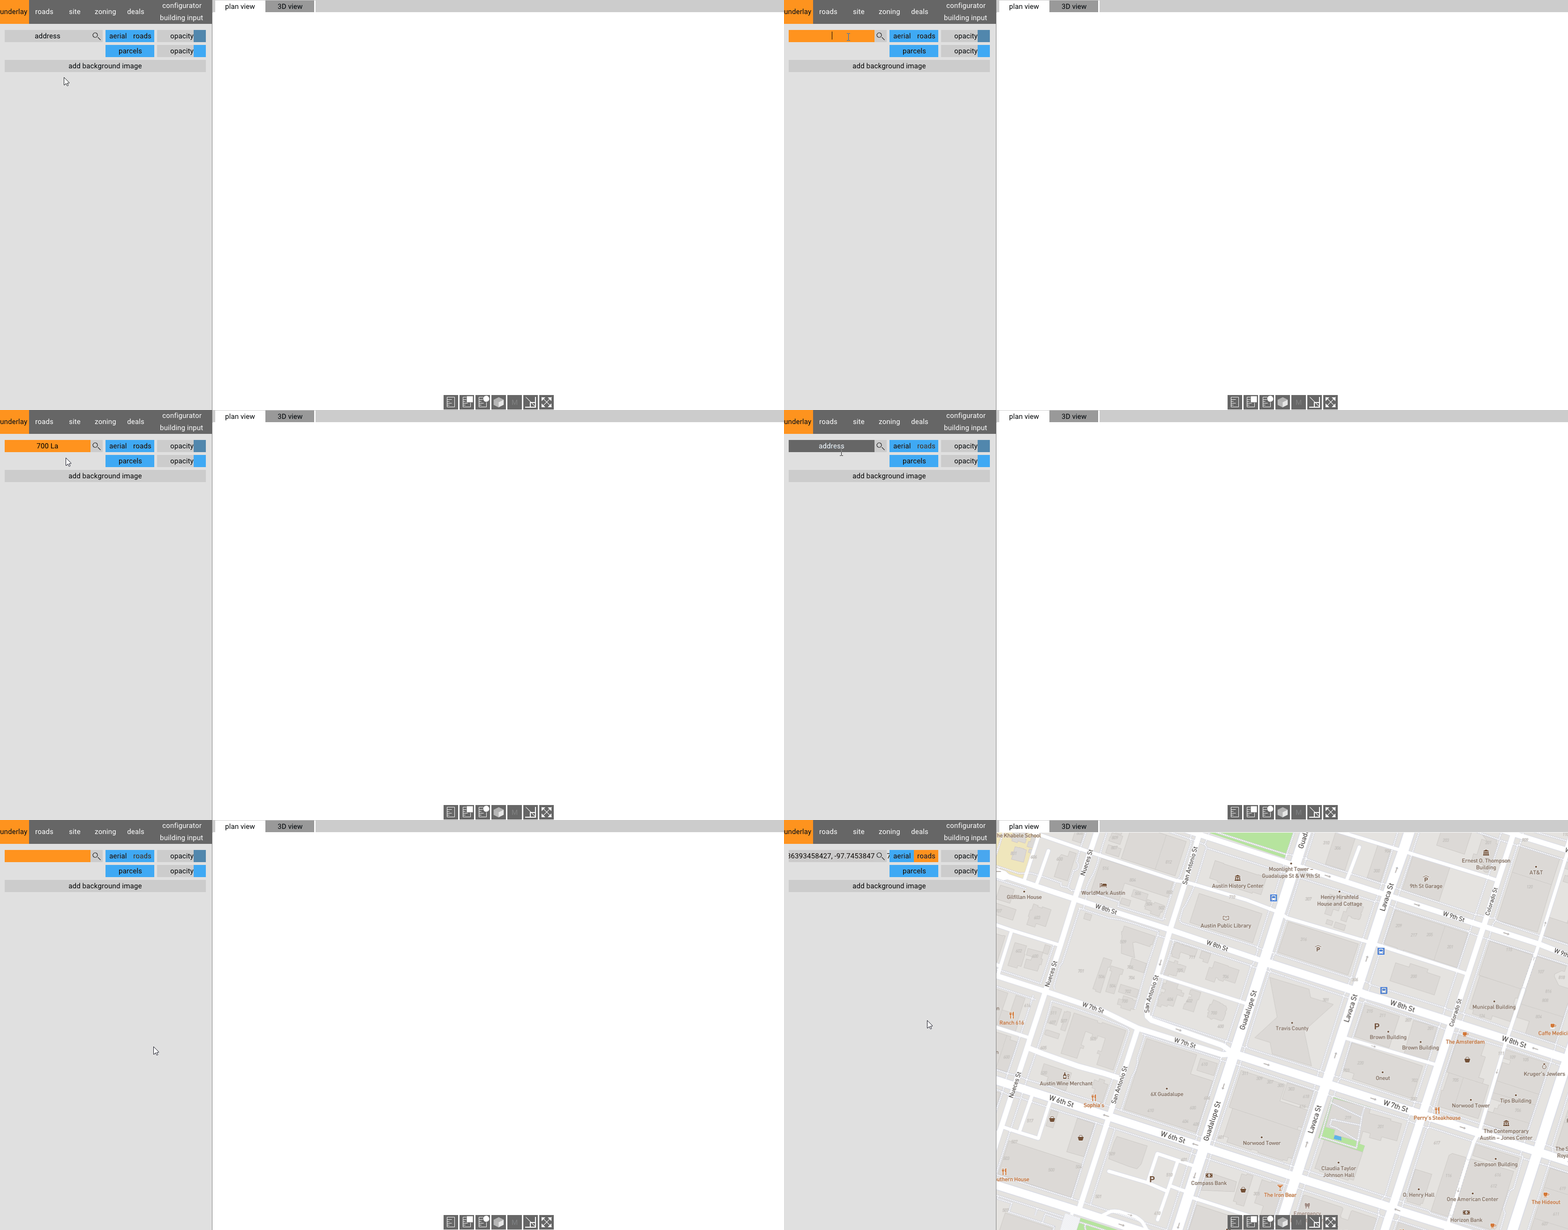
11. When pulling up a site, you can type in lat/lon coordinates of the site or the address as needed.
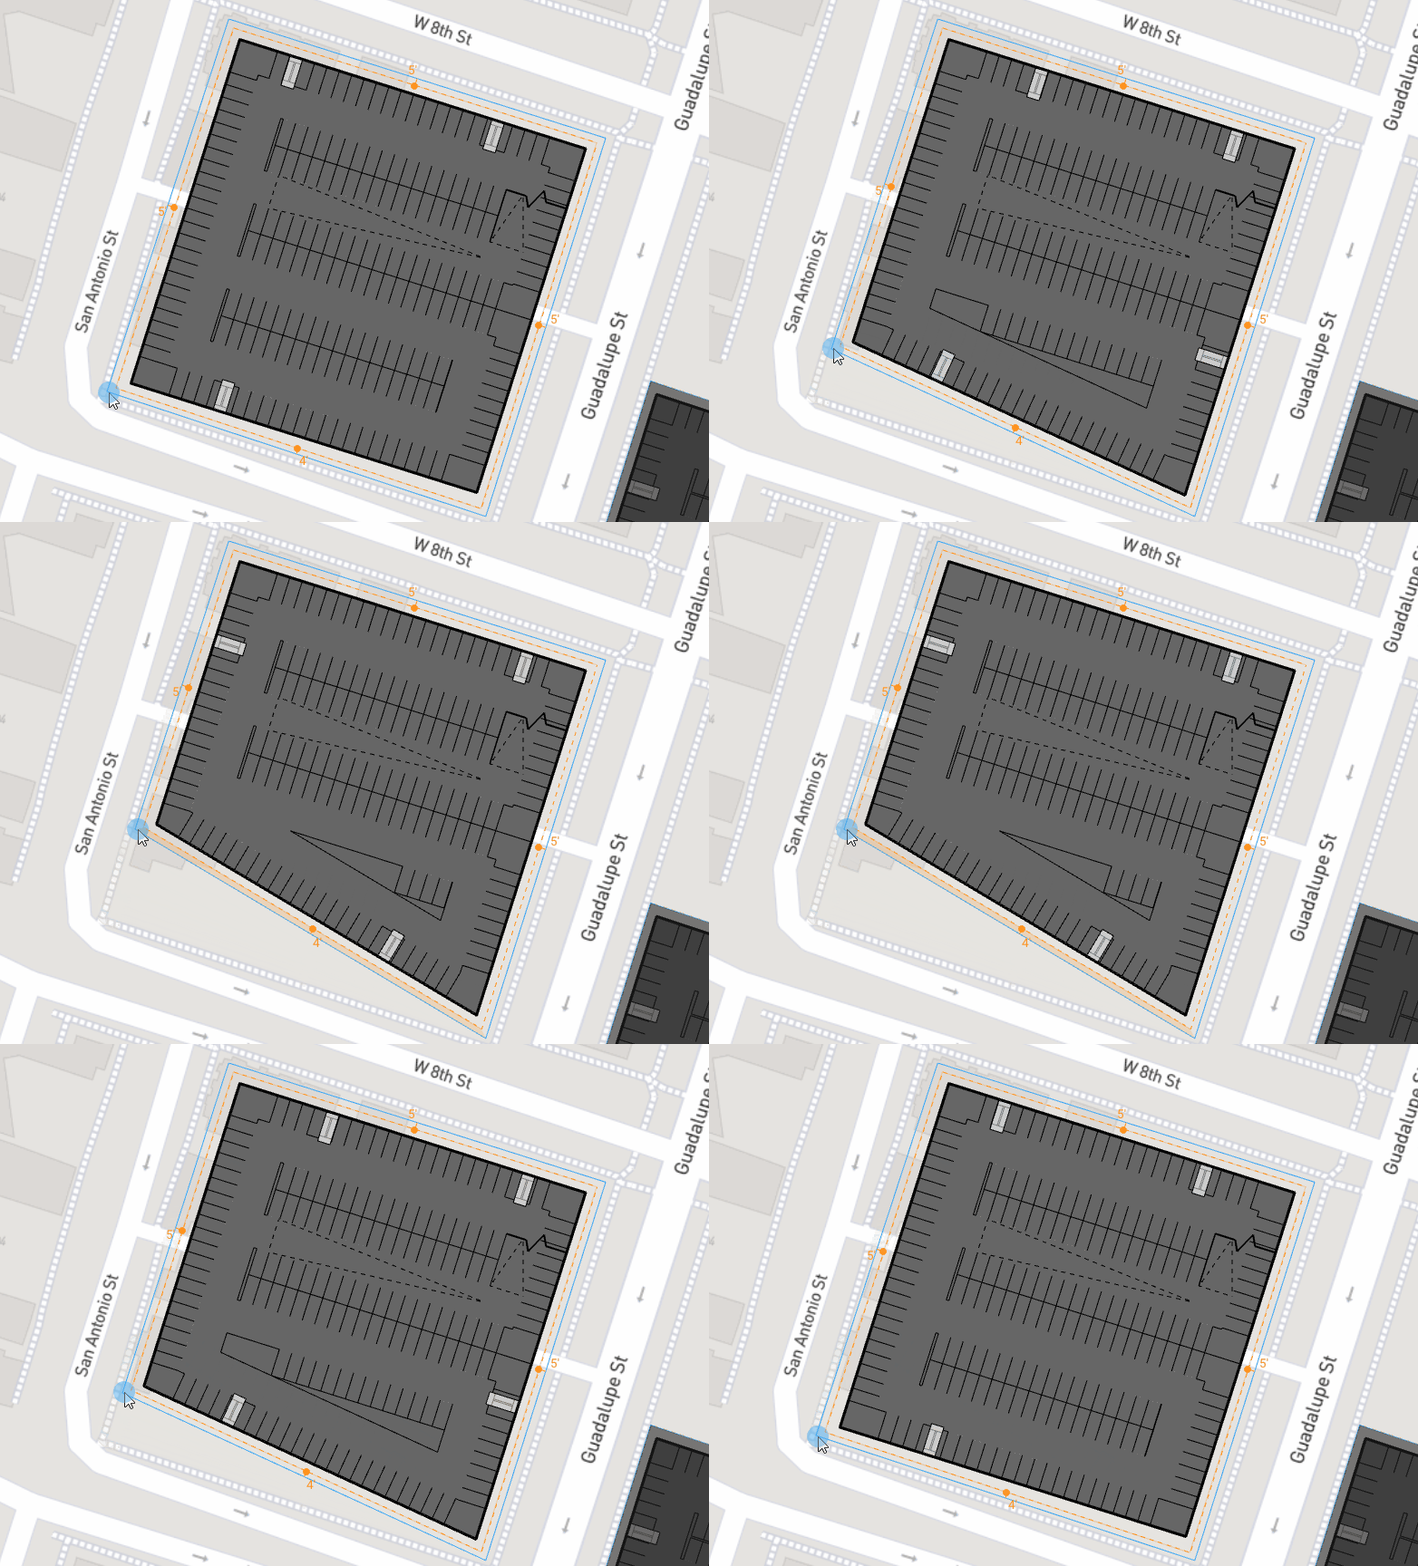
12. You can adjust property lines after you’ve drawn them by clicking and dragging the vertex.
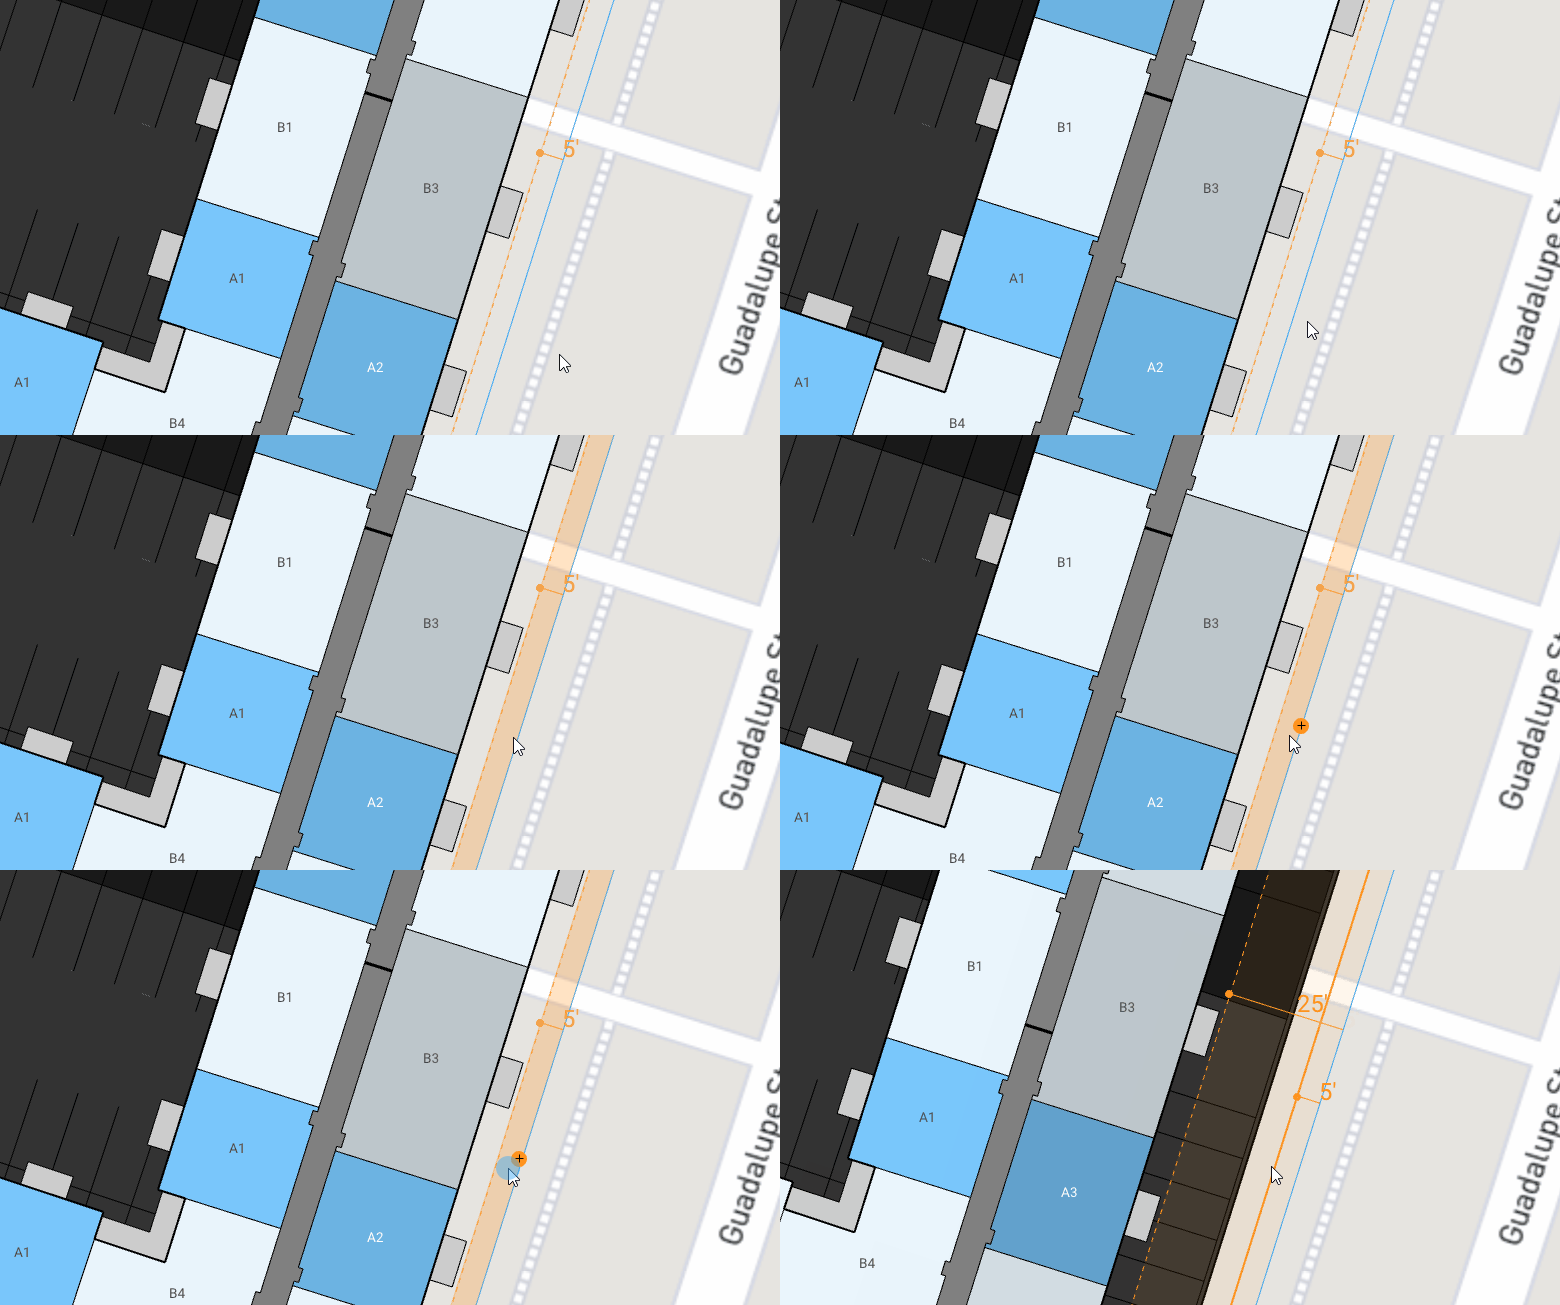
13. Hold Shift while hovering over a site line to add another vertex (point you can drag).
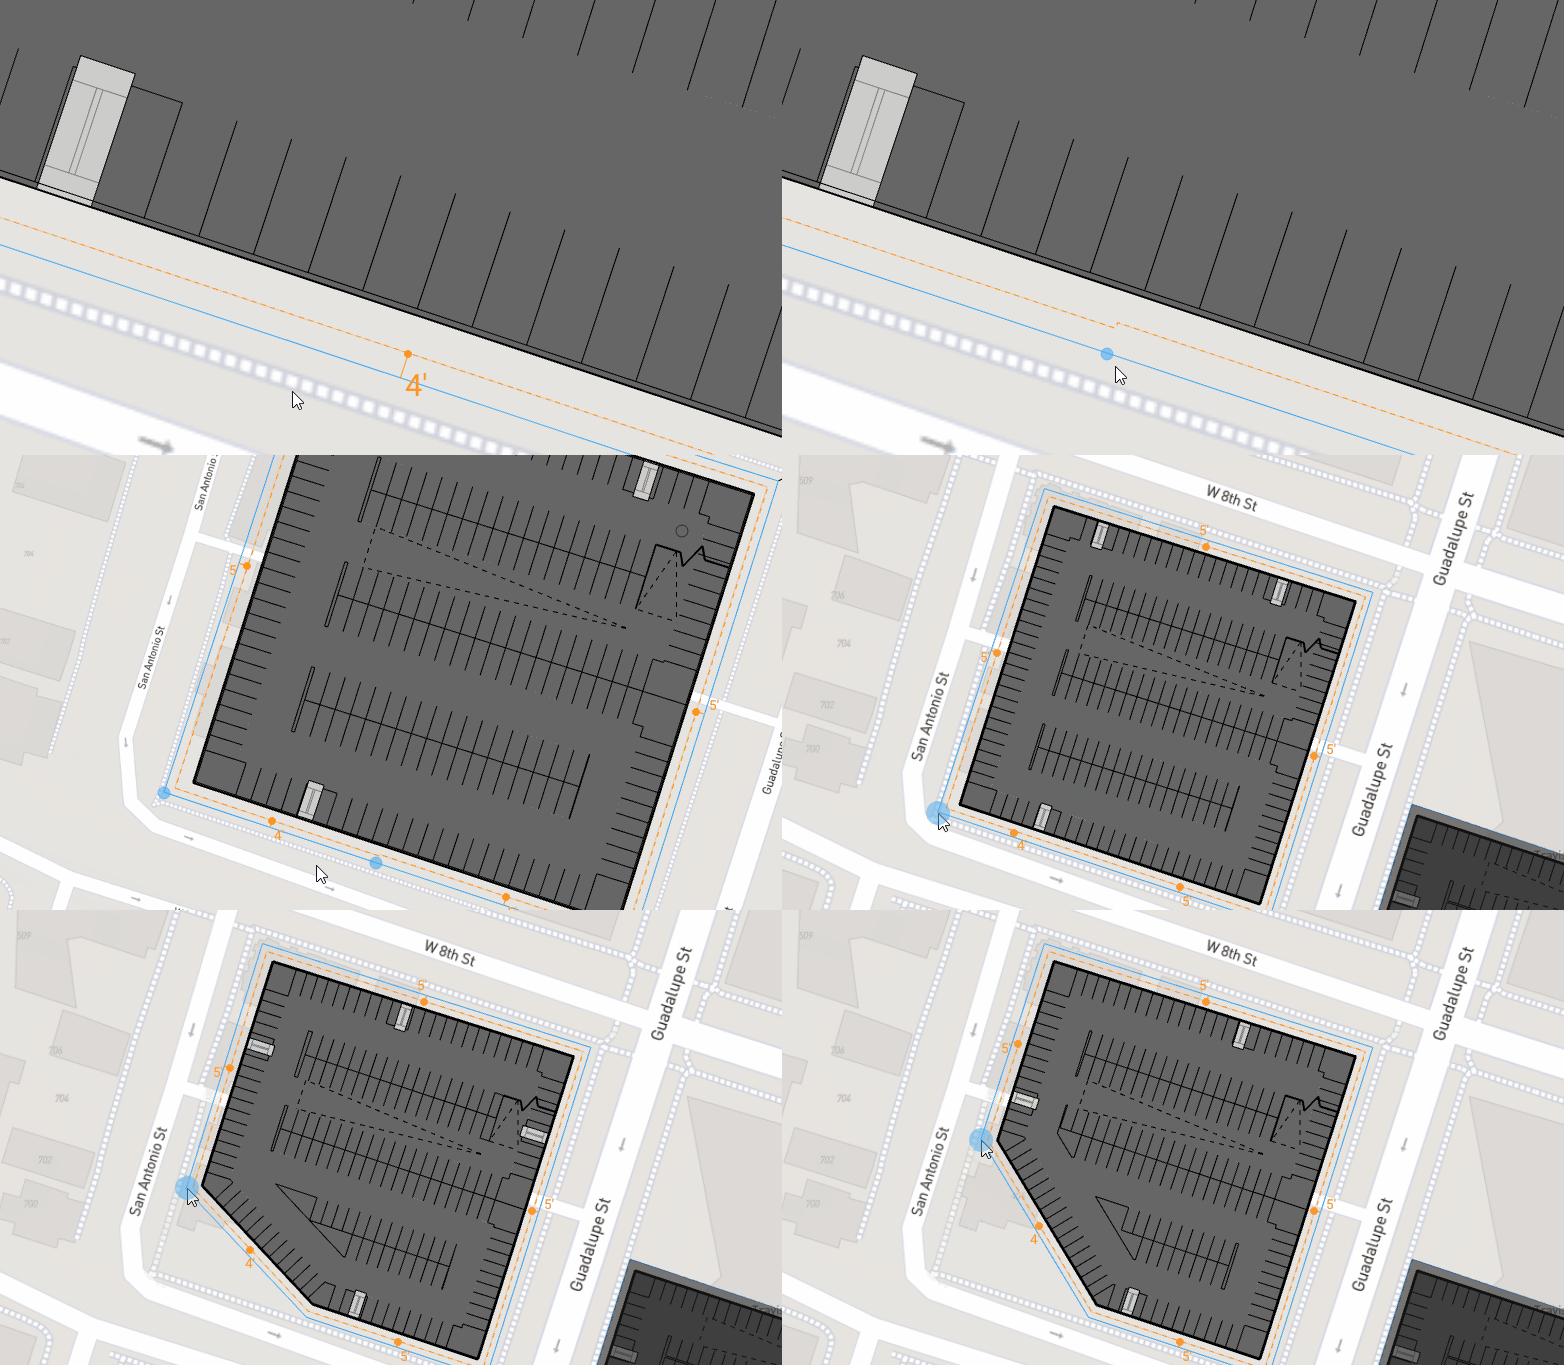
14. Hold Shift while hovering over a setback will enable you to create a setback on the floor level you are on (allowing multiple setbacks at height).
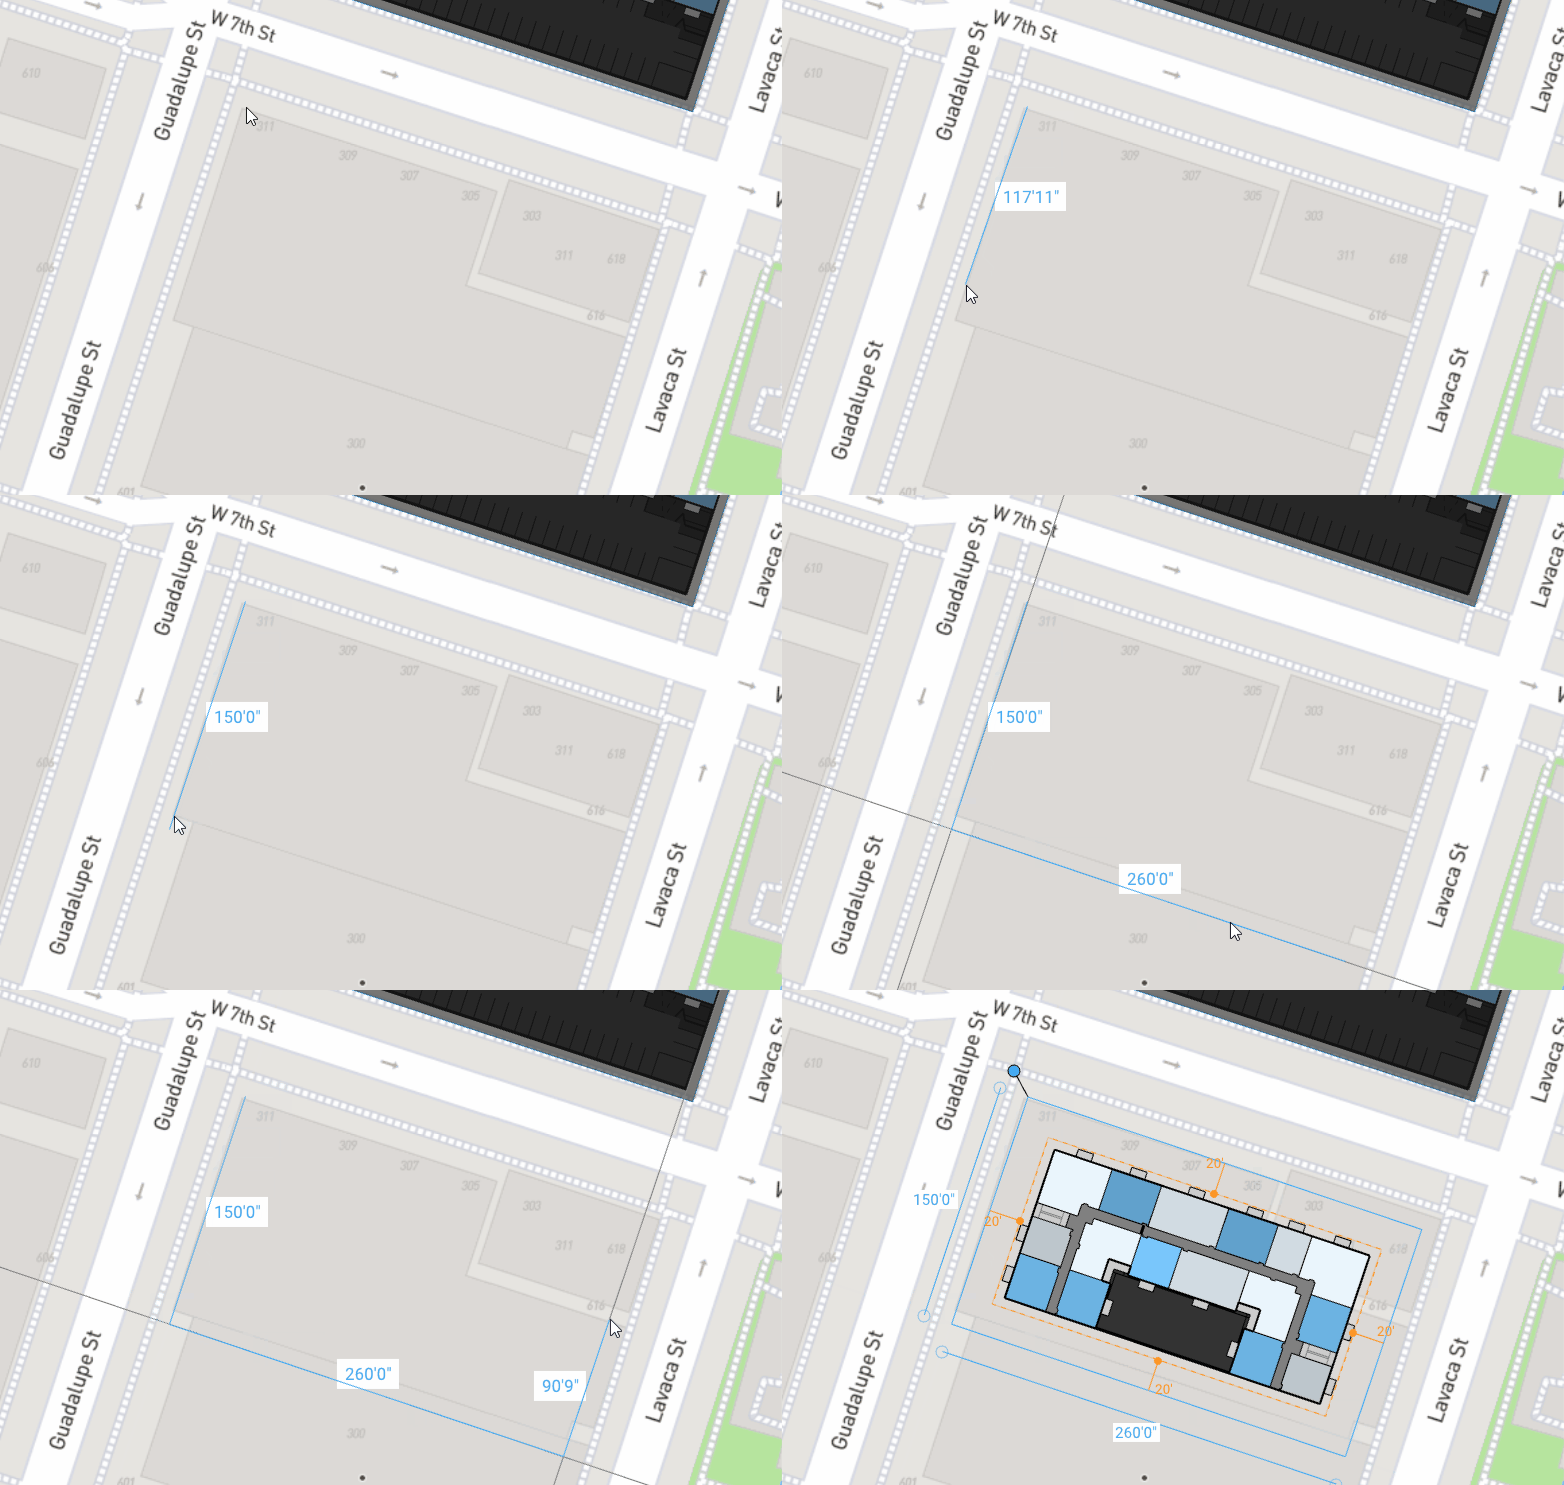
15. When defining a property line, you can input a specific length immediately after dropping the first point by clicking the point and then typing your desired length.
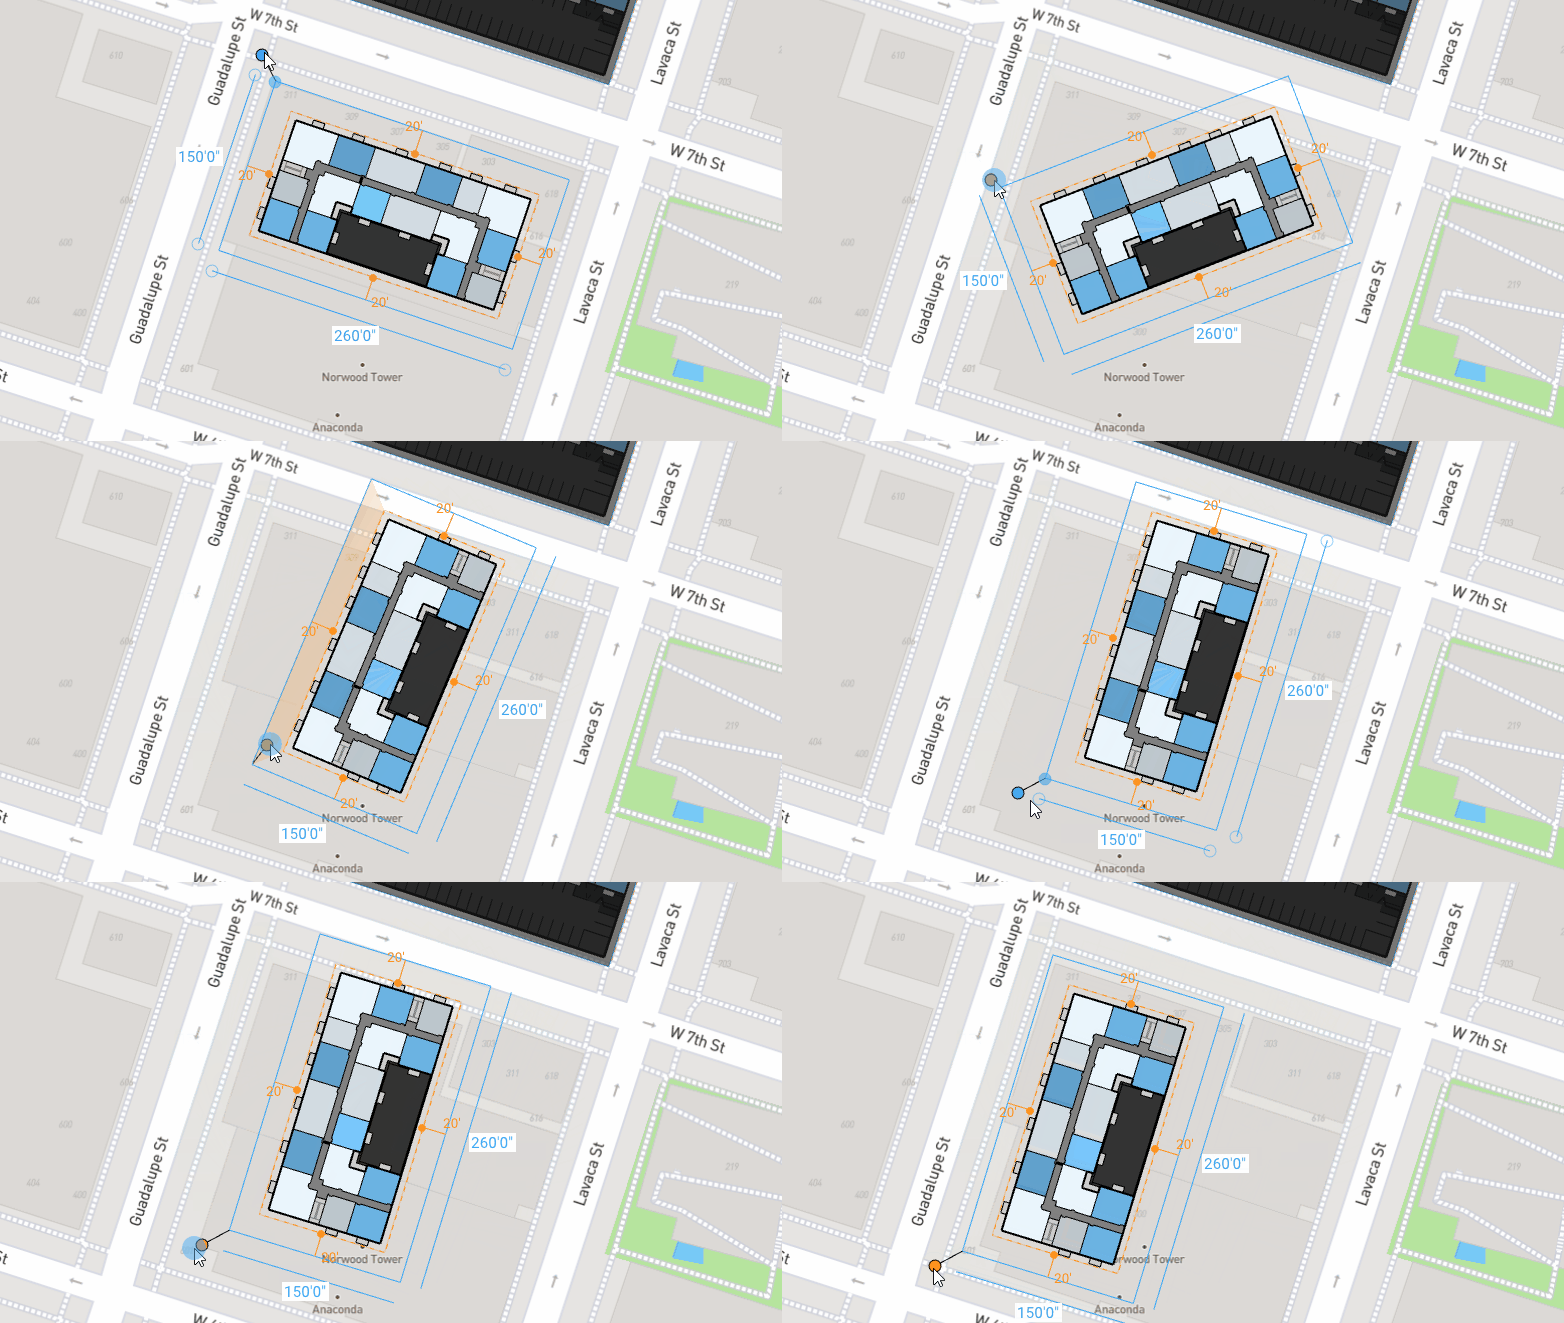
16. Rotate a site/background image by right clicking on the control node and rotating. Bonus tip: this works for embedded unit plans too!
Roads Tips
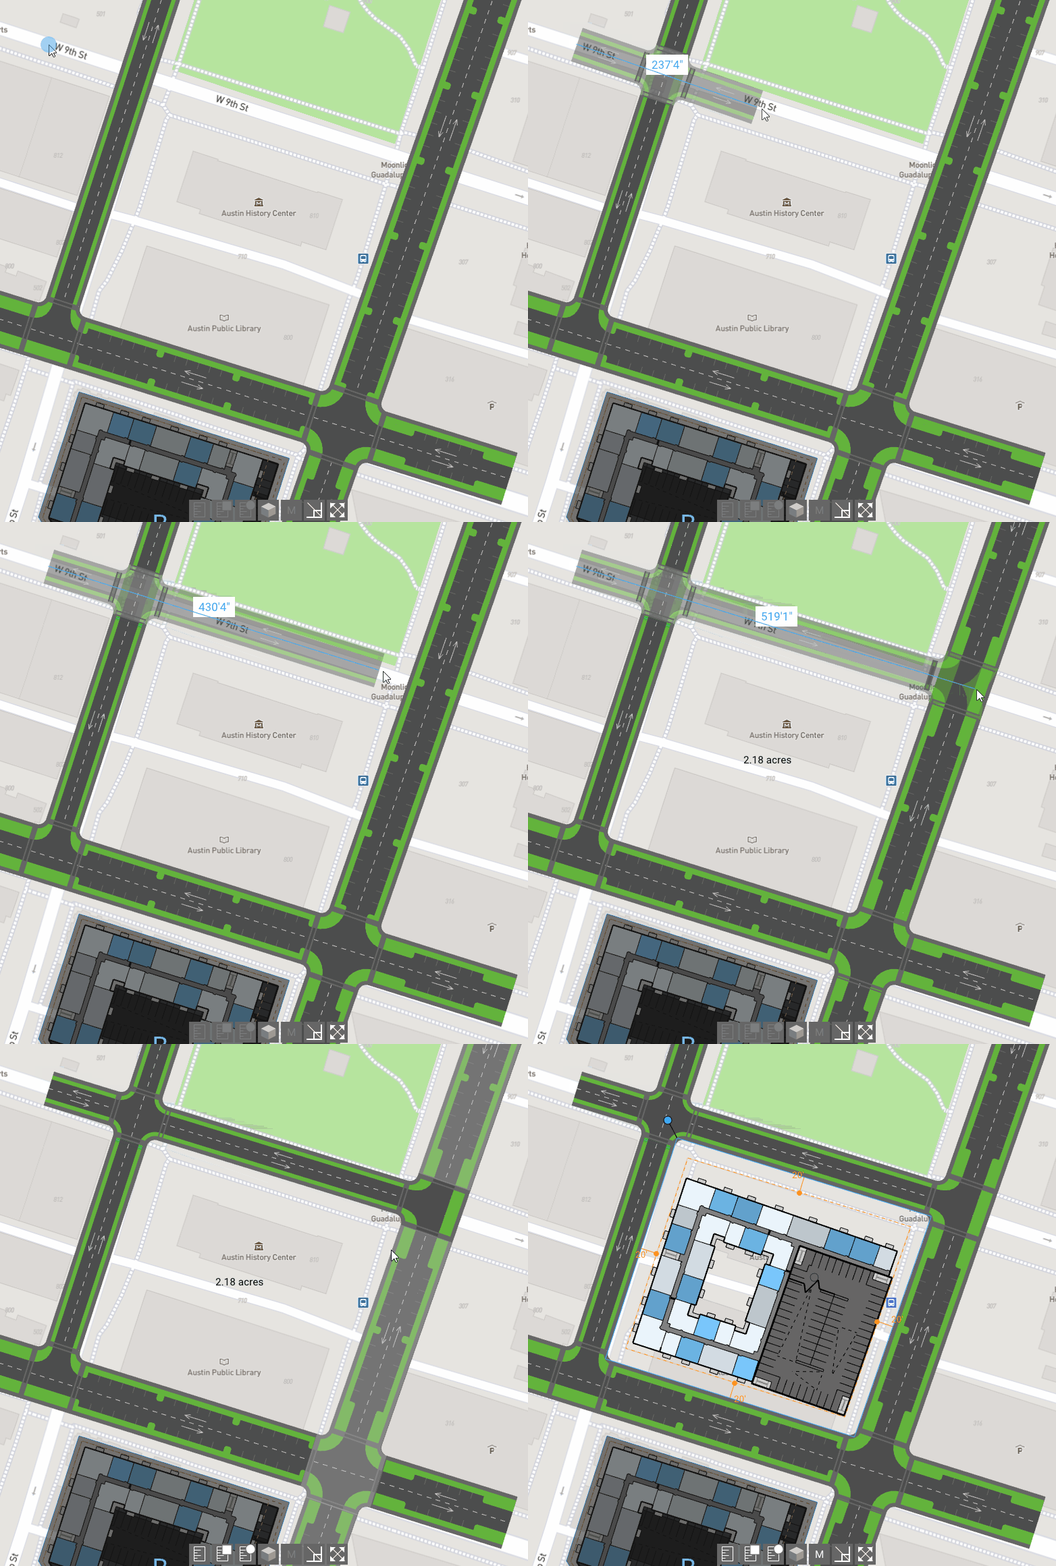
17. Create a closed loop with roads to define a site.
18. Right-click on a road segment to add another point that will act as a vertex you can drag.
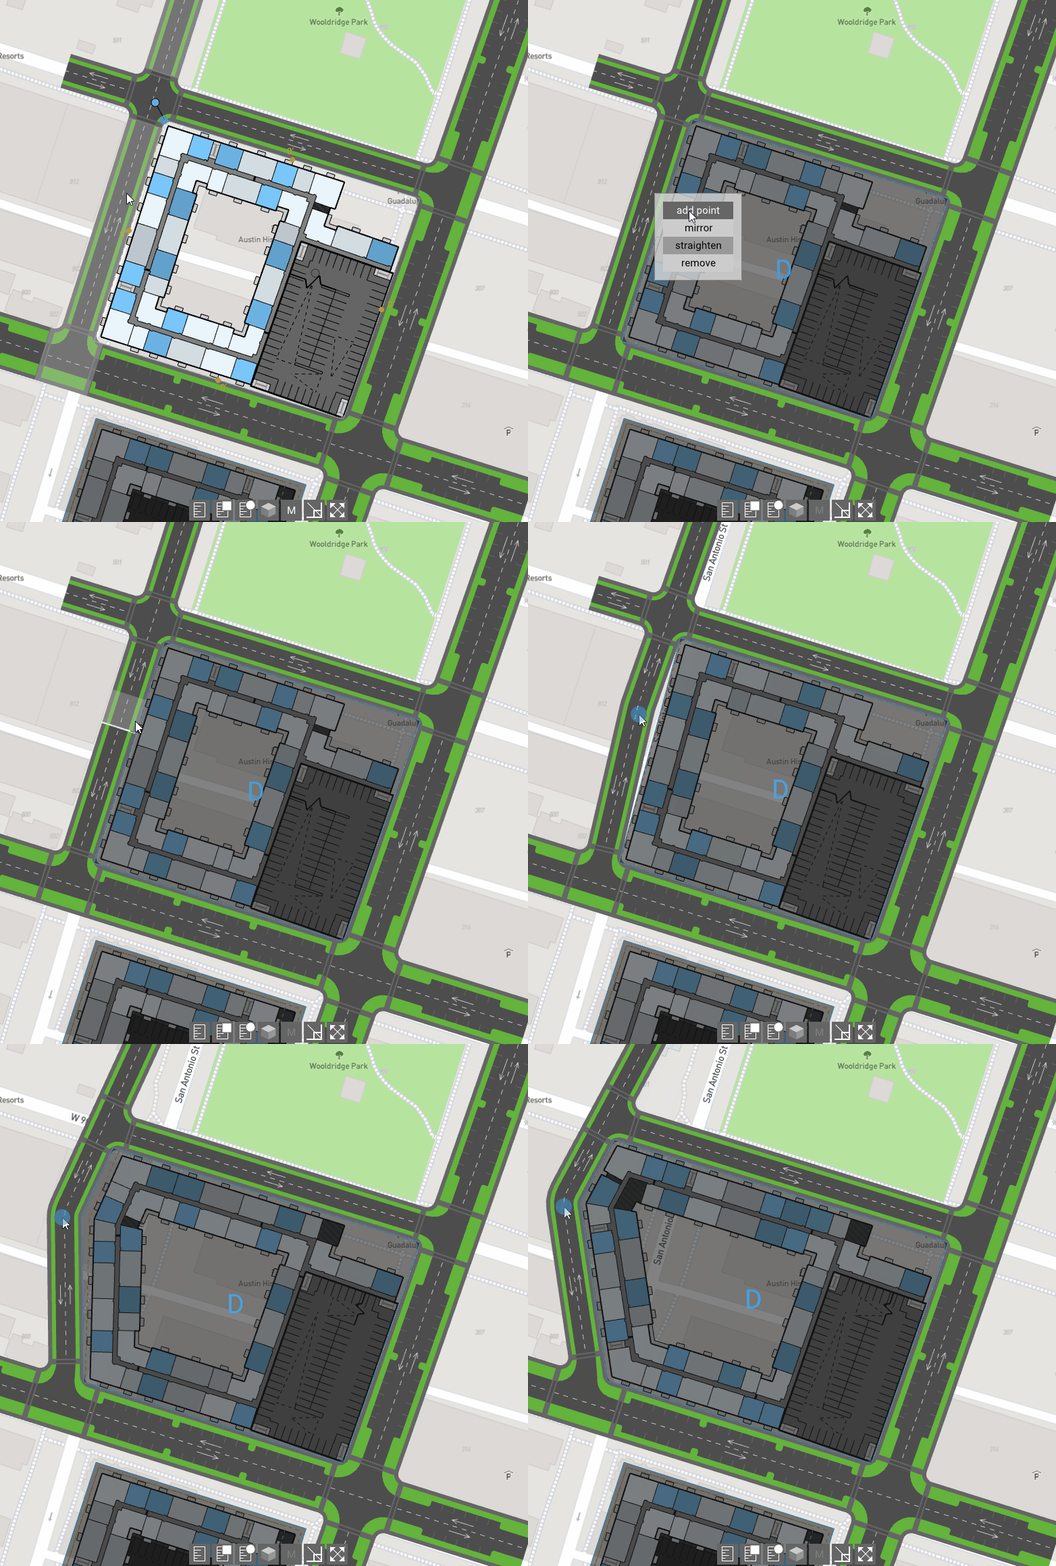
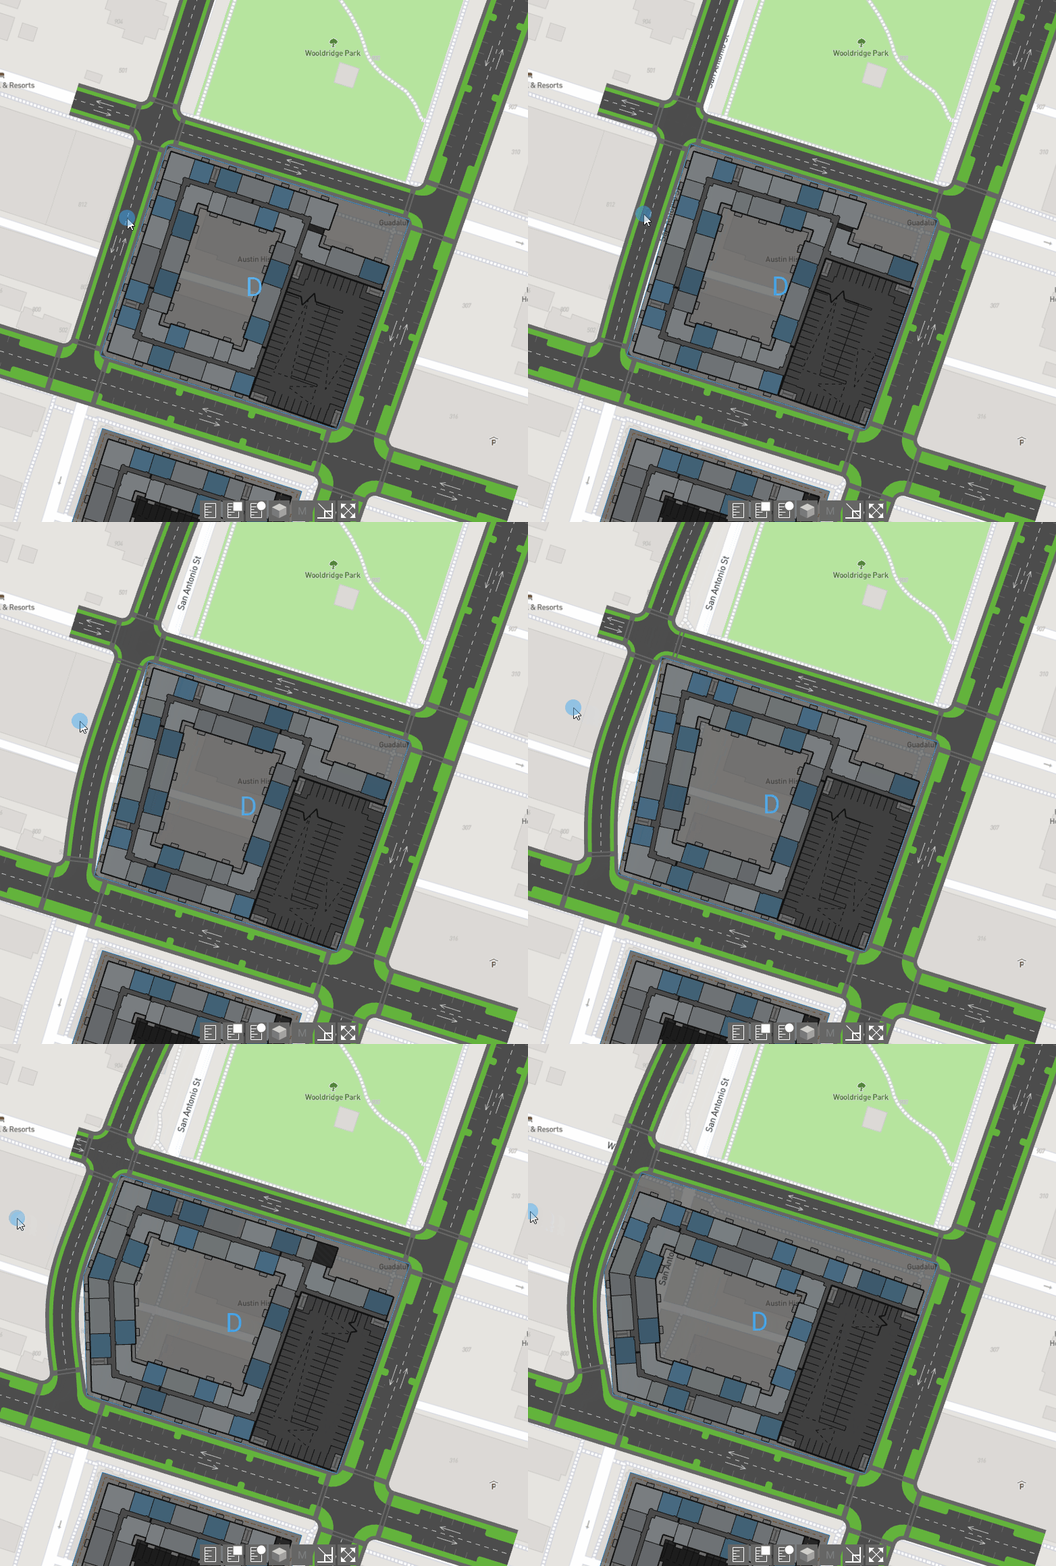
19. Curve a road by grabbing the midpoint and stretching the direction you want the road to bend.
20. Note that TestFit allows a maximum of 16 roads to be drawn. BUT – each road drawn can have 16 segments. A segment is a part of the road between two points. So by maximizing your use of points, you could, in theory, have 256 roads! You can add points to existing roads once you have hit the maximum
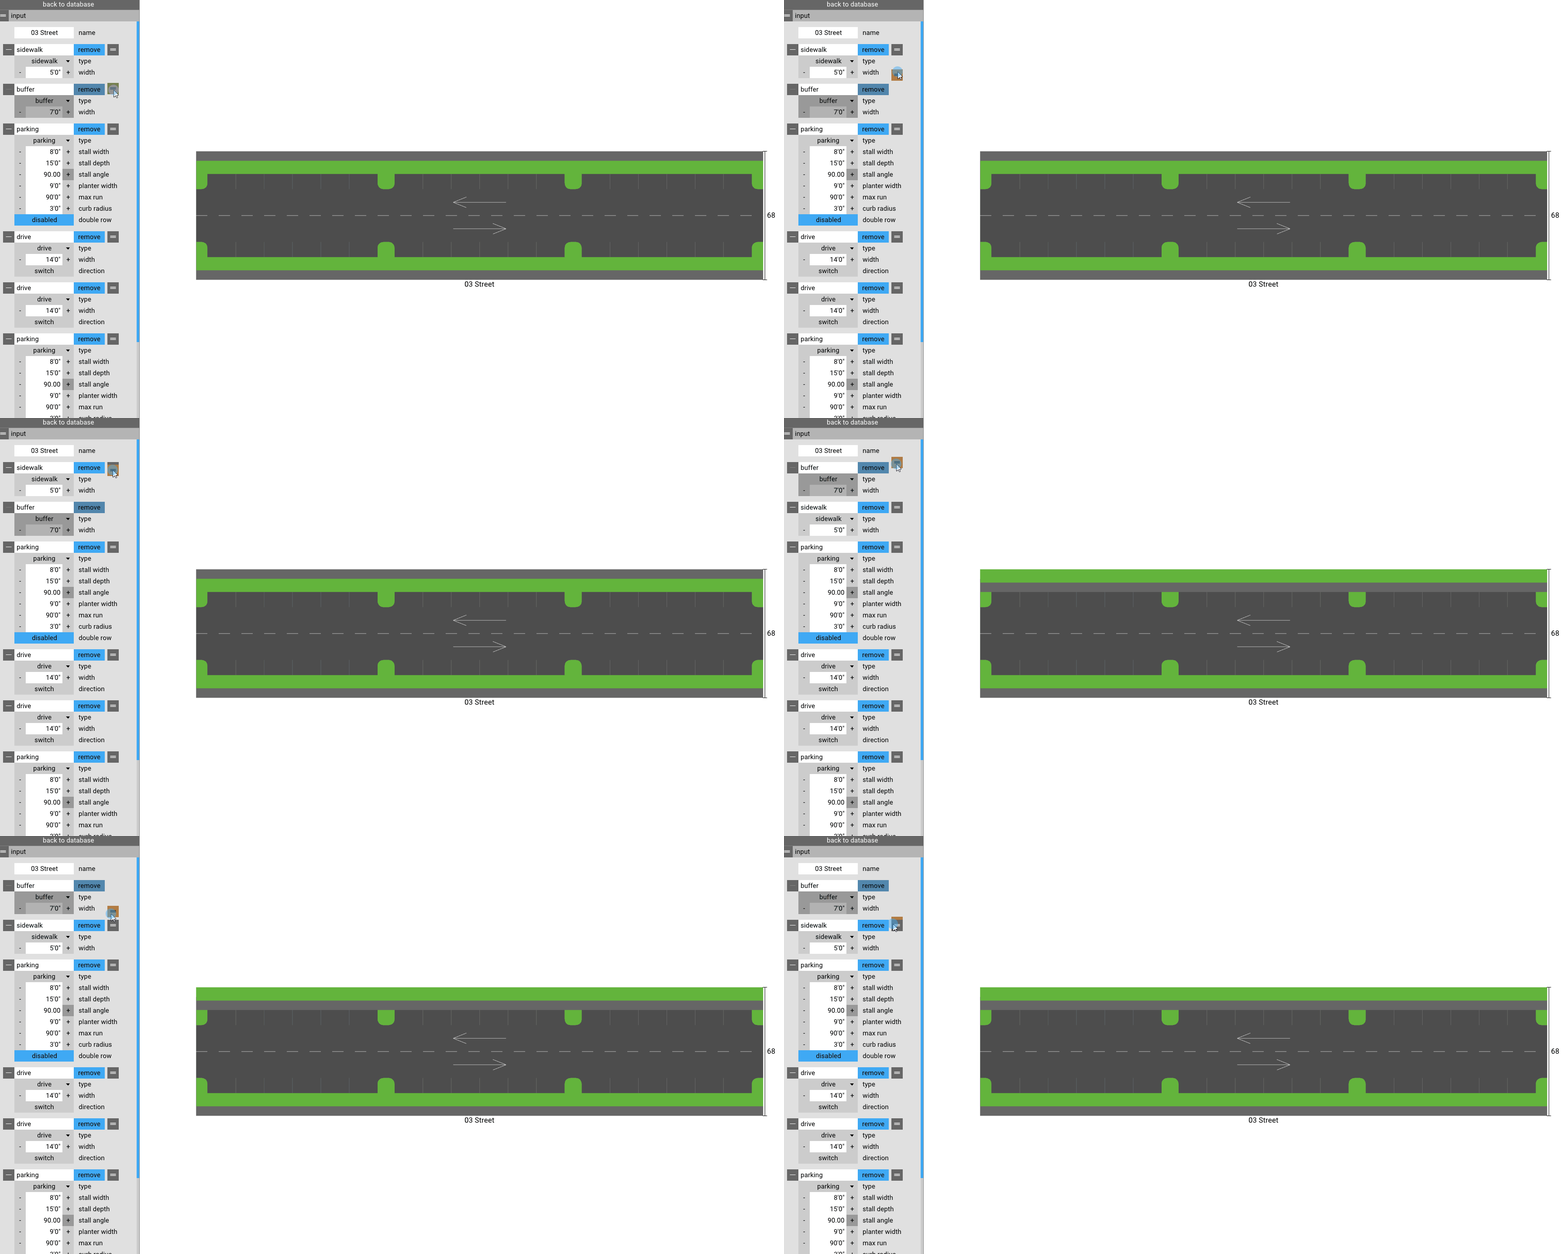
21. When editing a road section, click and drag the (3-line button on the left hand) up/down to change its placement within the street section.
Massing Tips
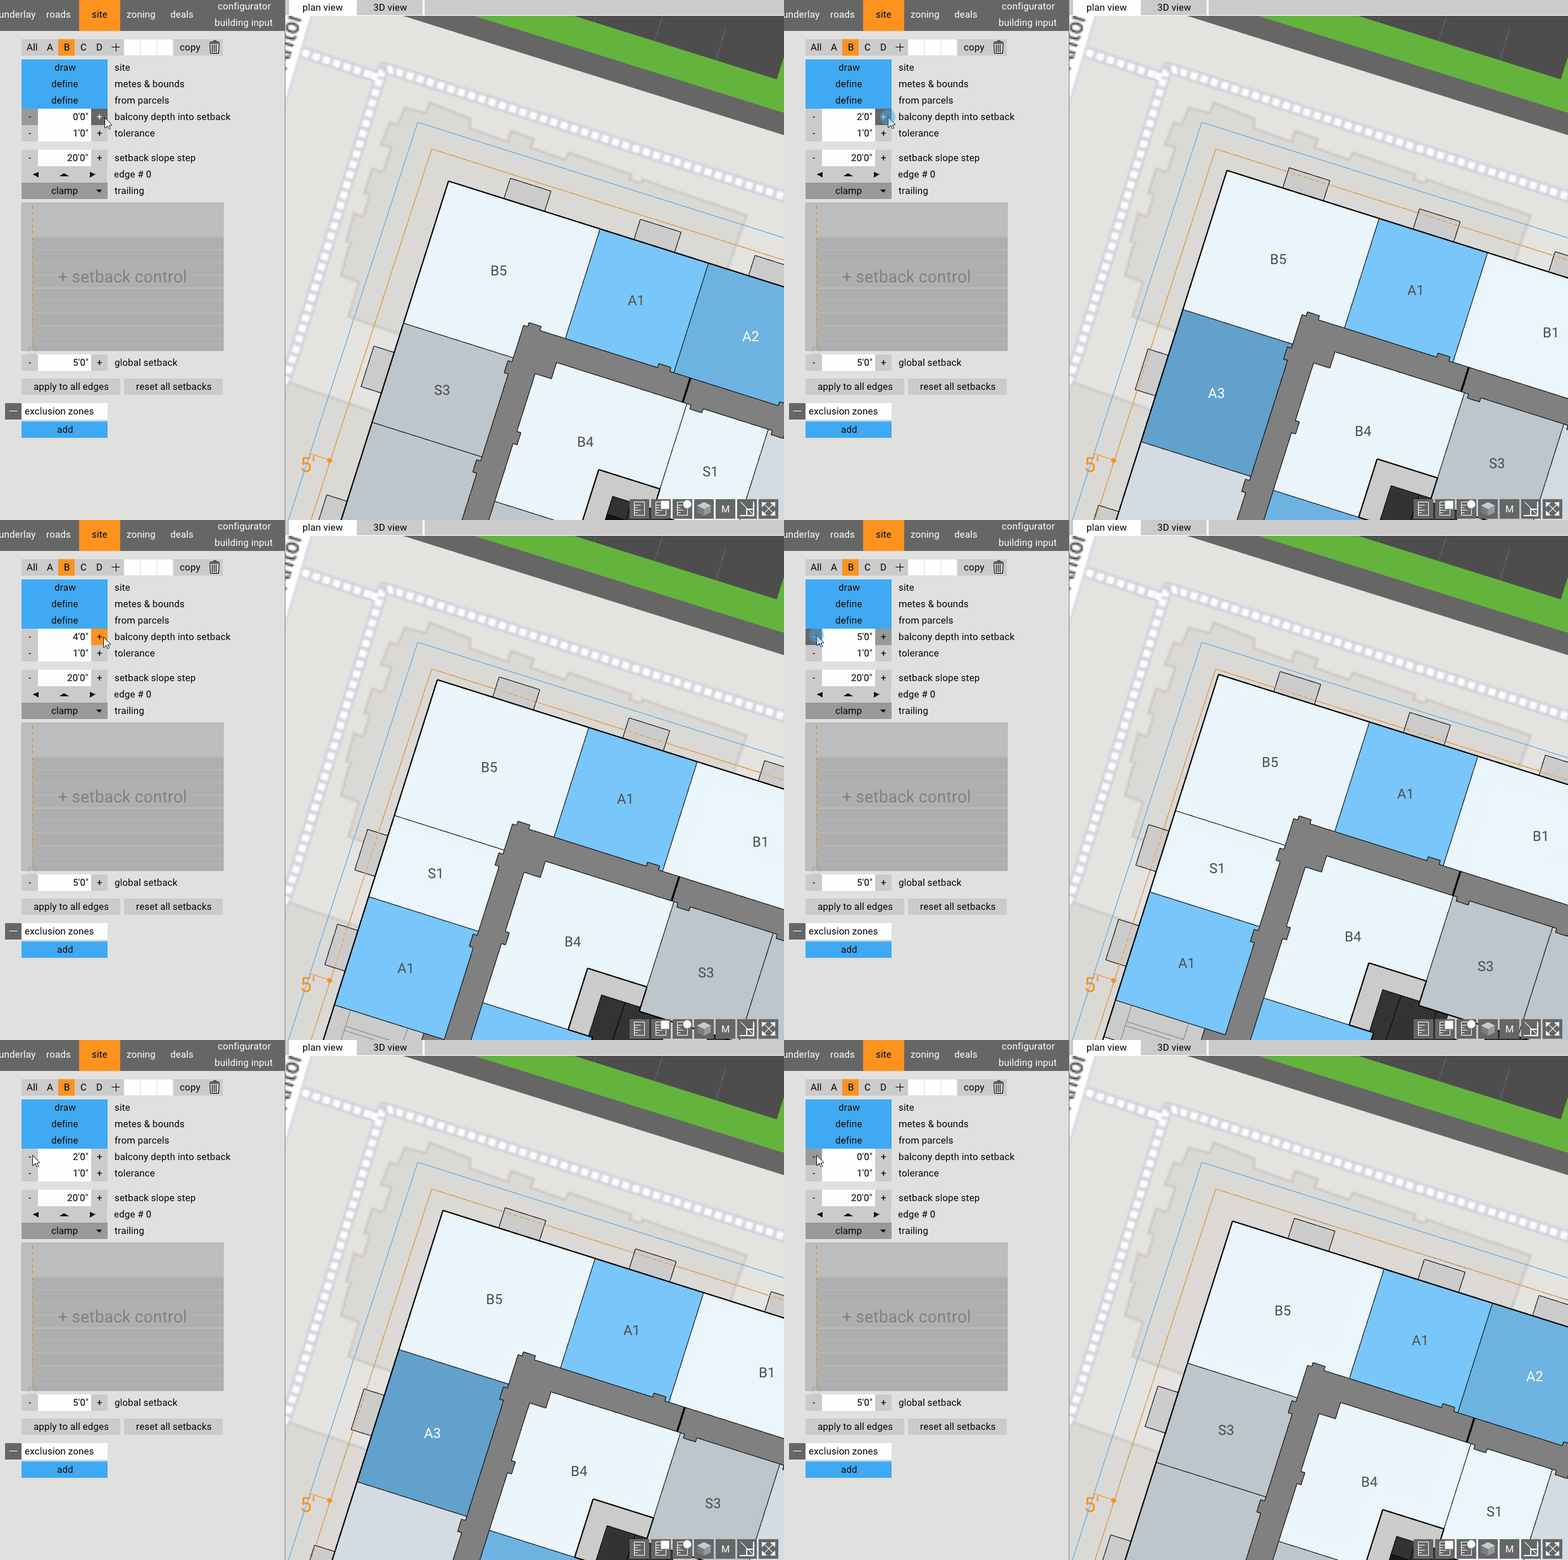
22. Enable balconies into setbacks to increase density to allow for projections over setbacks. You can find this in the Site tab.
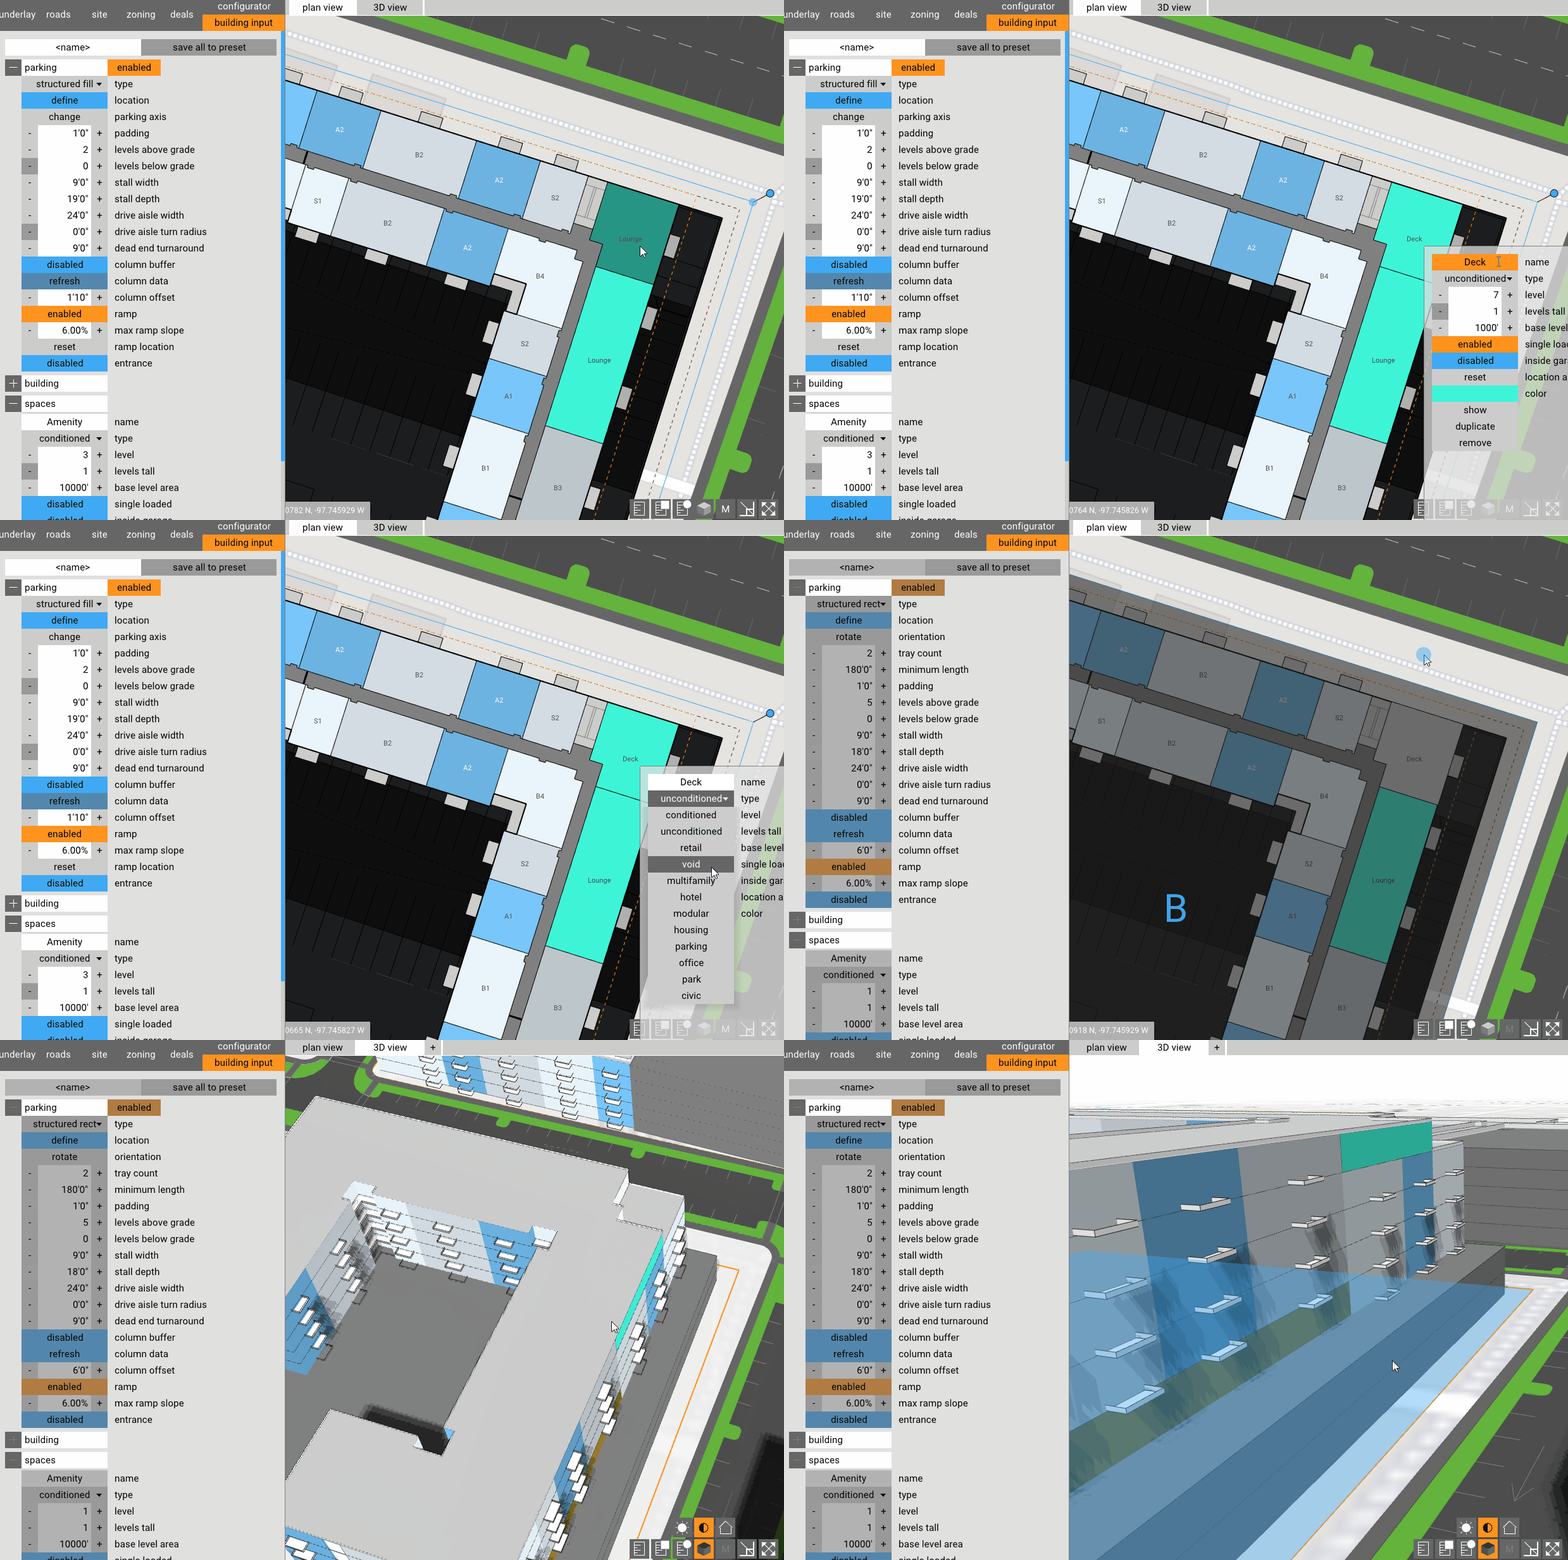
23. Use void spaces for rooftop decks.
Options & Schemes
24. Don’t like the first version of the test fit? Cycle through Options to find one that appeals more.

25. Save a first version as a scheme, and compare design and core metrics to subsequent designs.
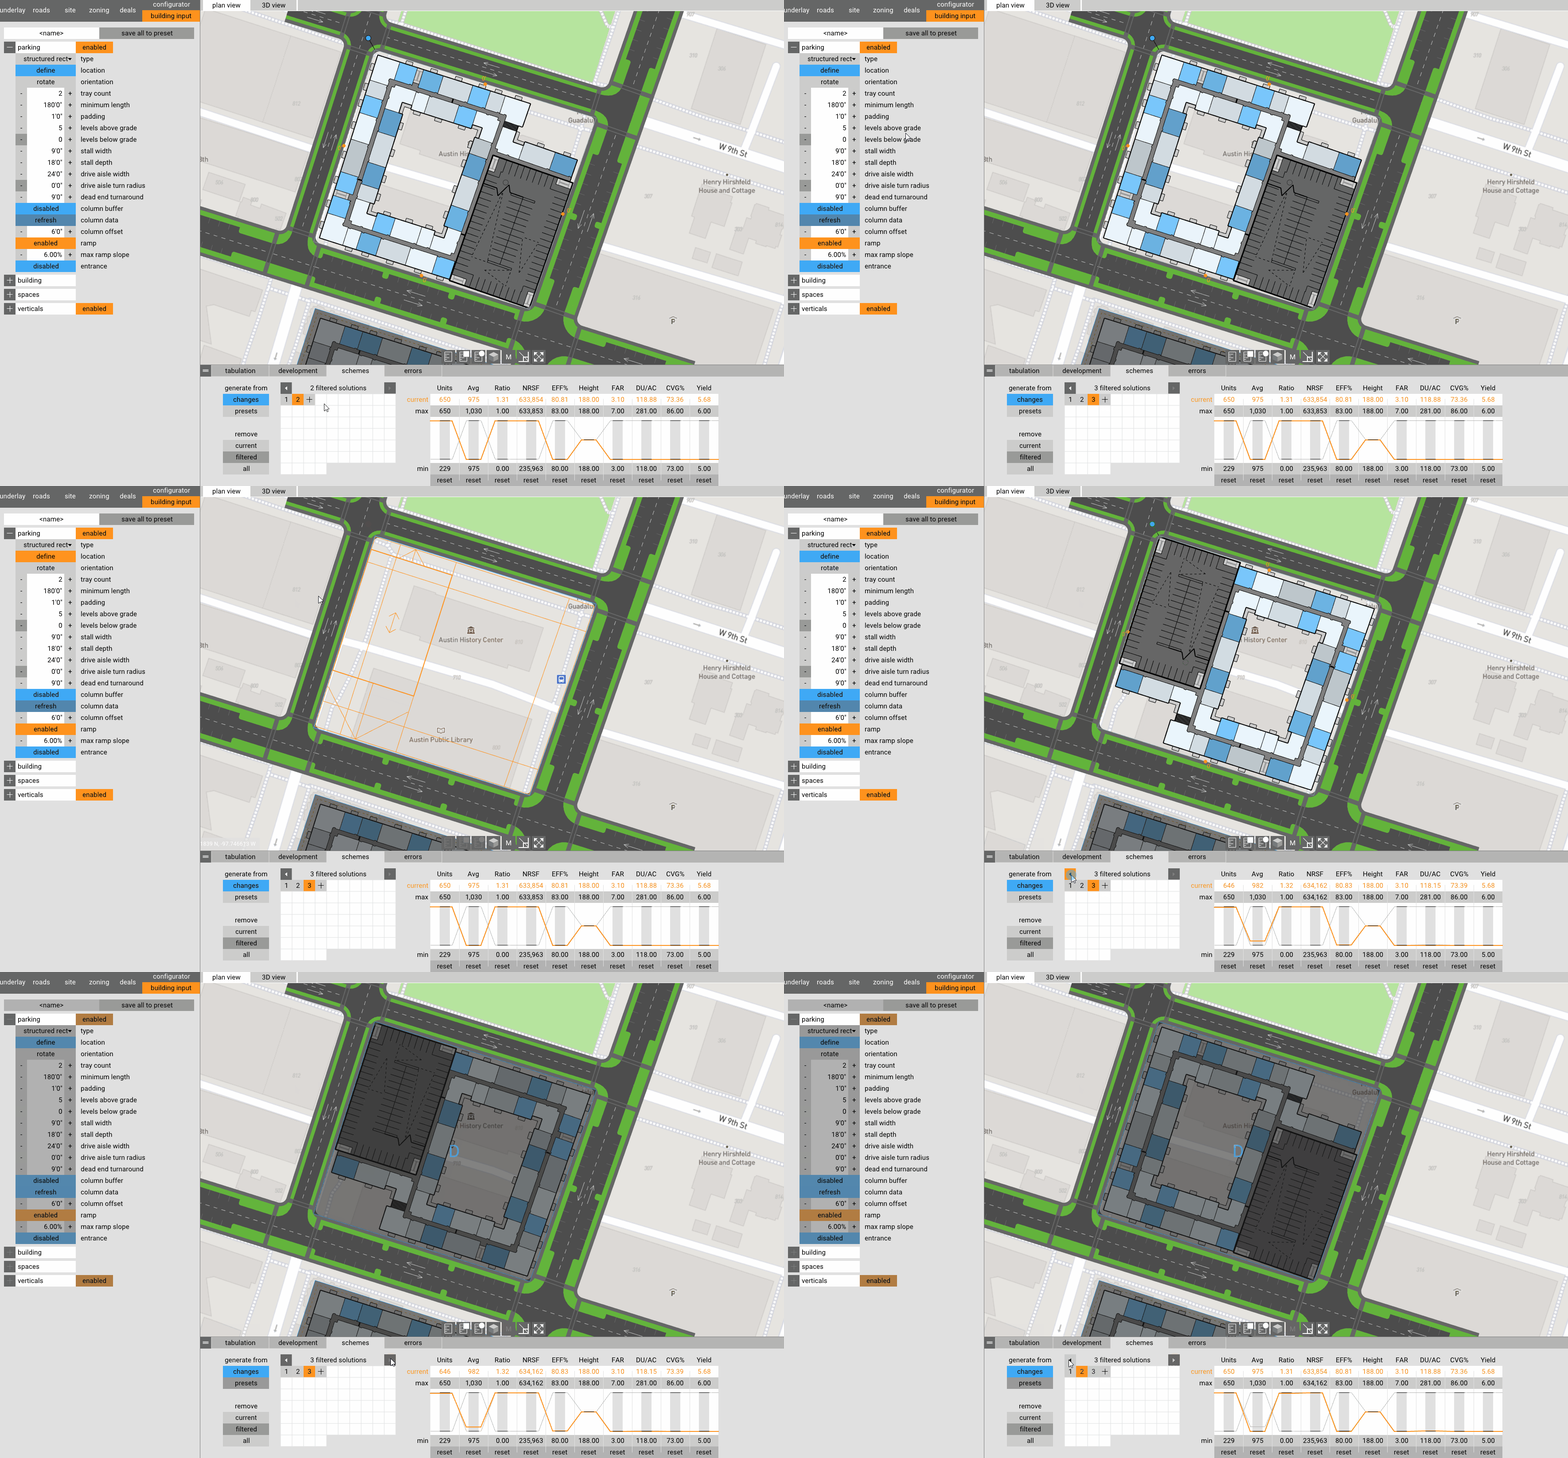
26. Filter through schemes by defining a min / max under the desired column within the Schemes tab.

Unit Tips
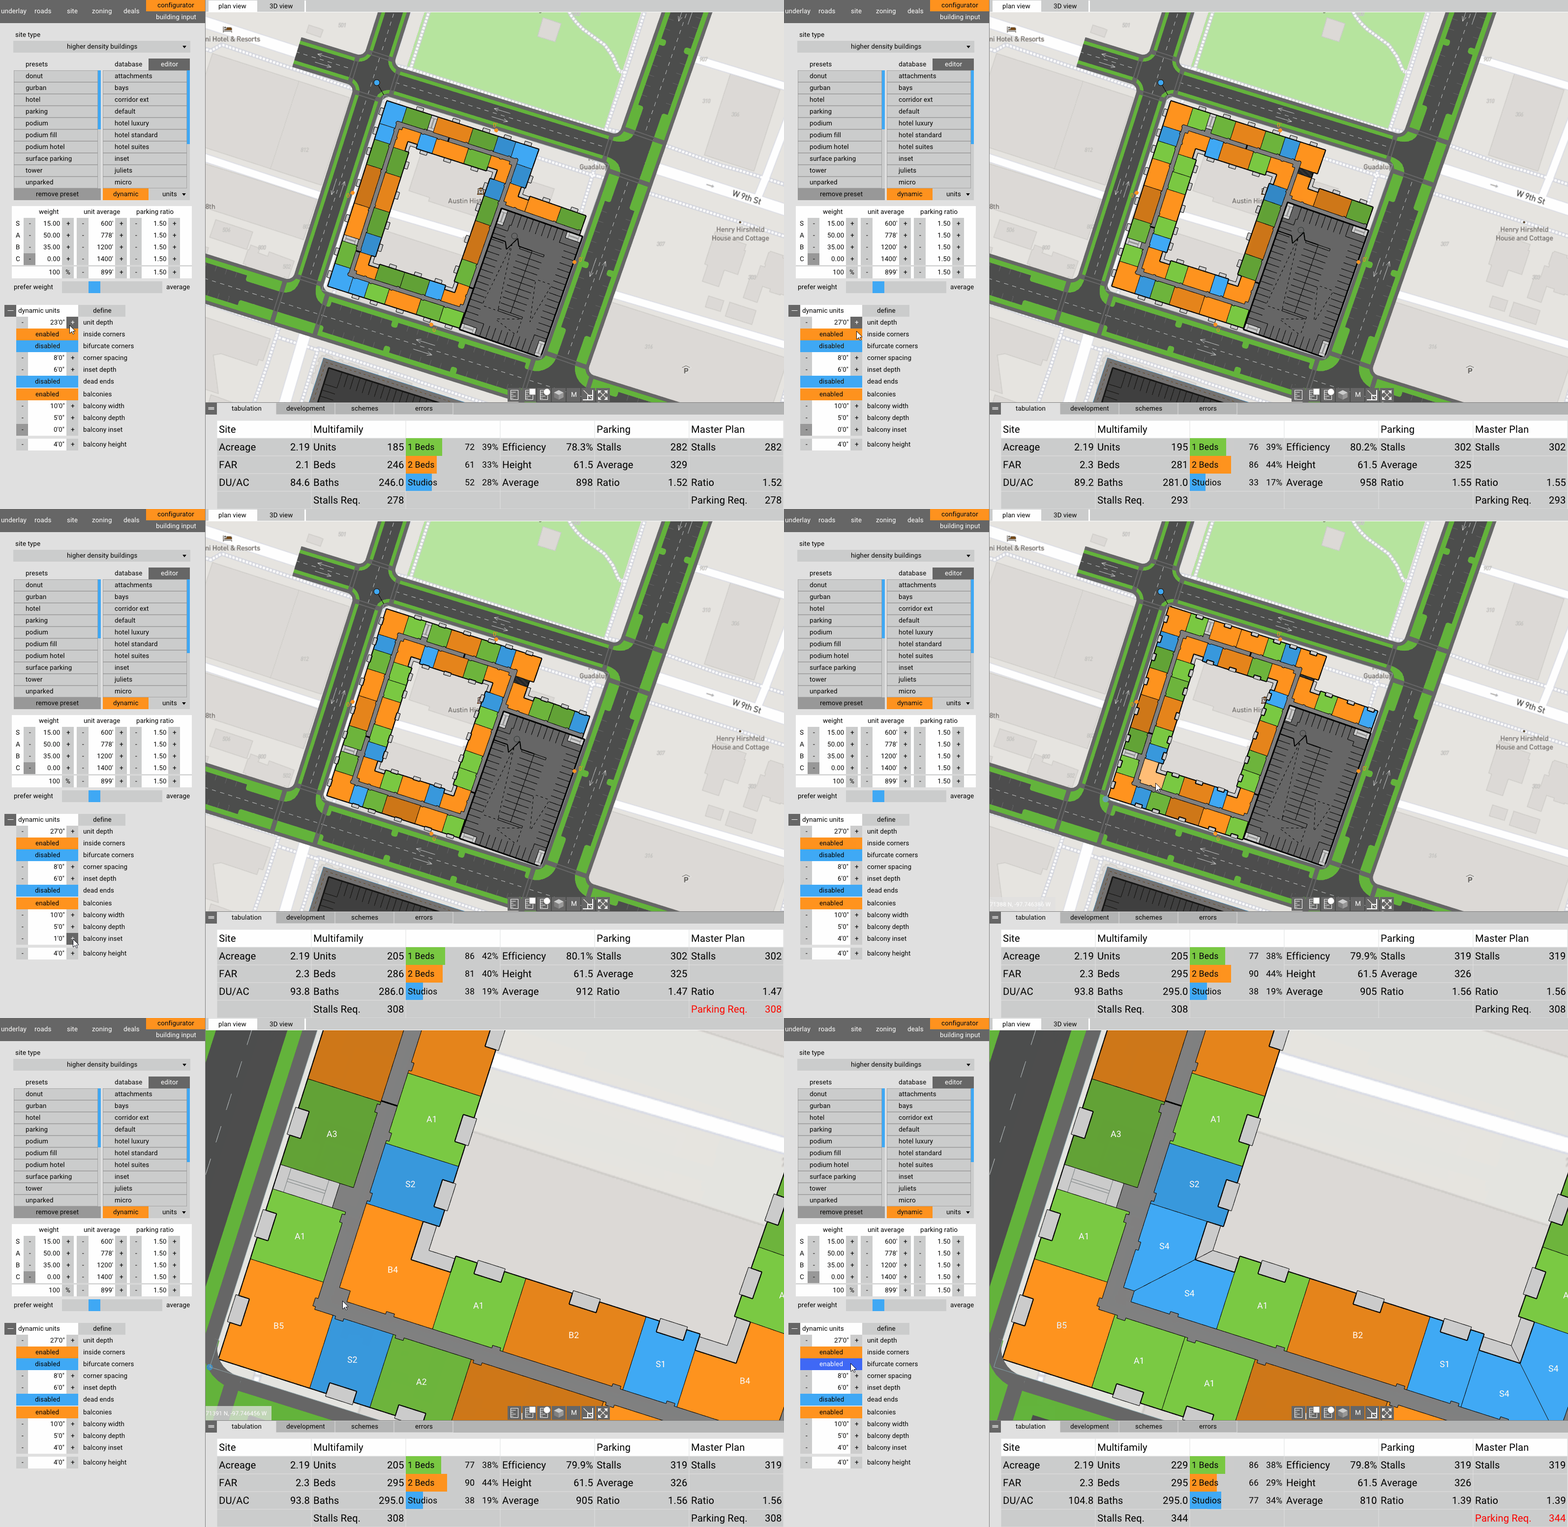
27. Use dynamic units in the beginning to easily adjust your depth instead of jumping straight into custom units that would need their depths individually adjusted.
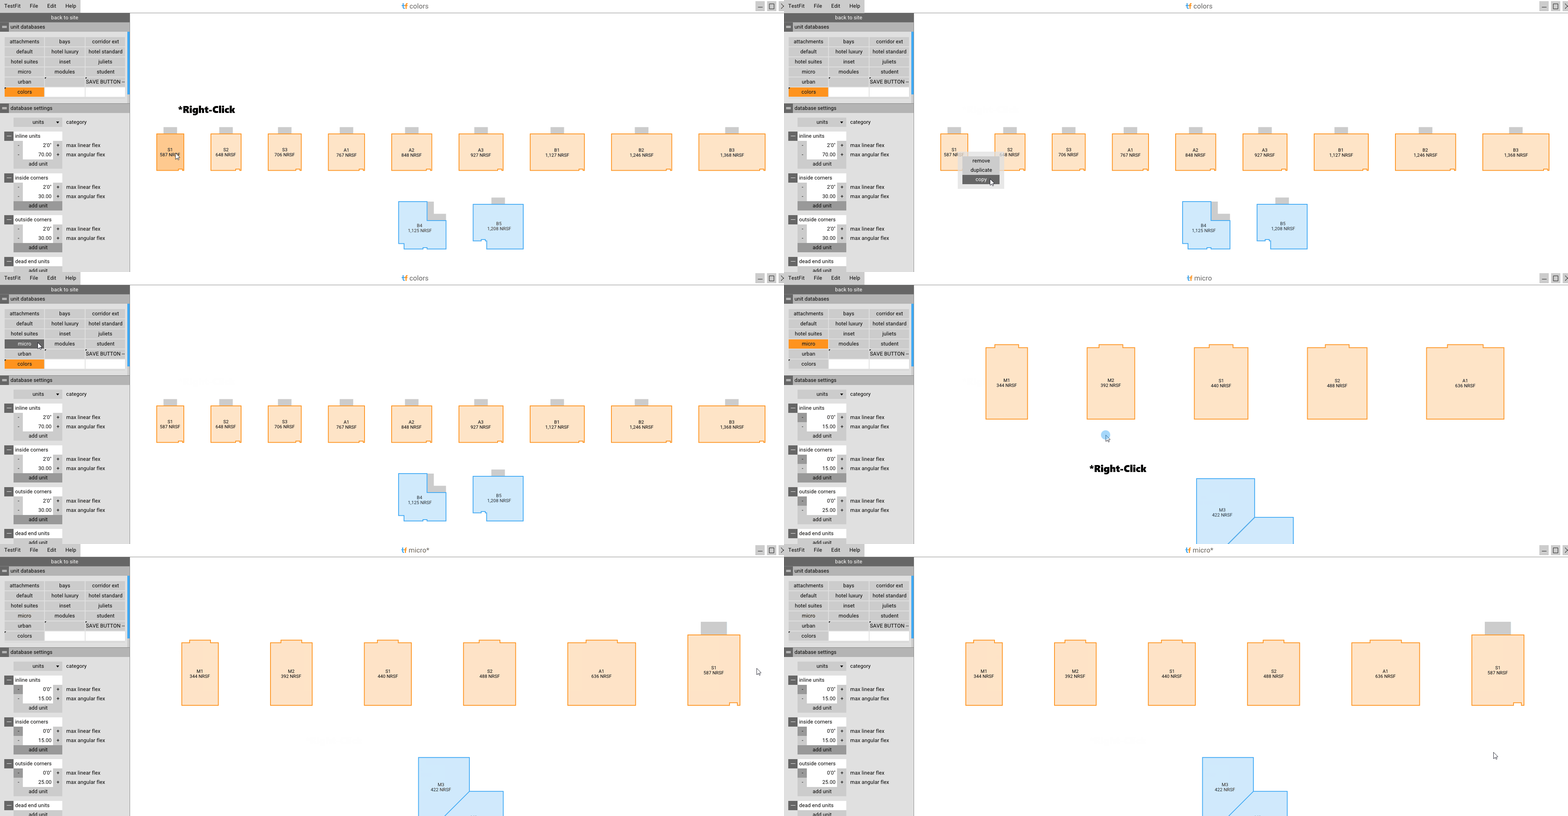
28. You can copy/paste between unit databases.
29. Use Define in the dynamic units to adjust the dynamic unit names/abbreviations/bed & bath quantities/colors.

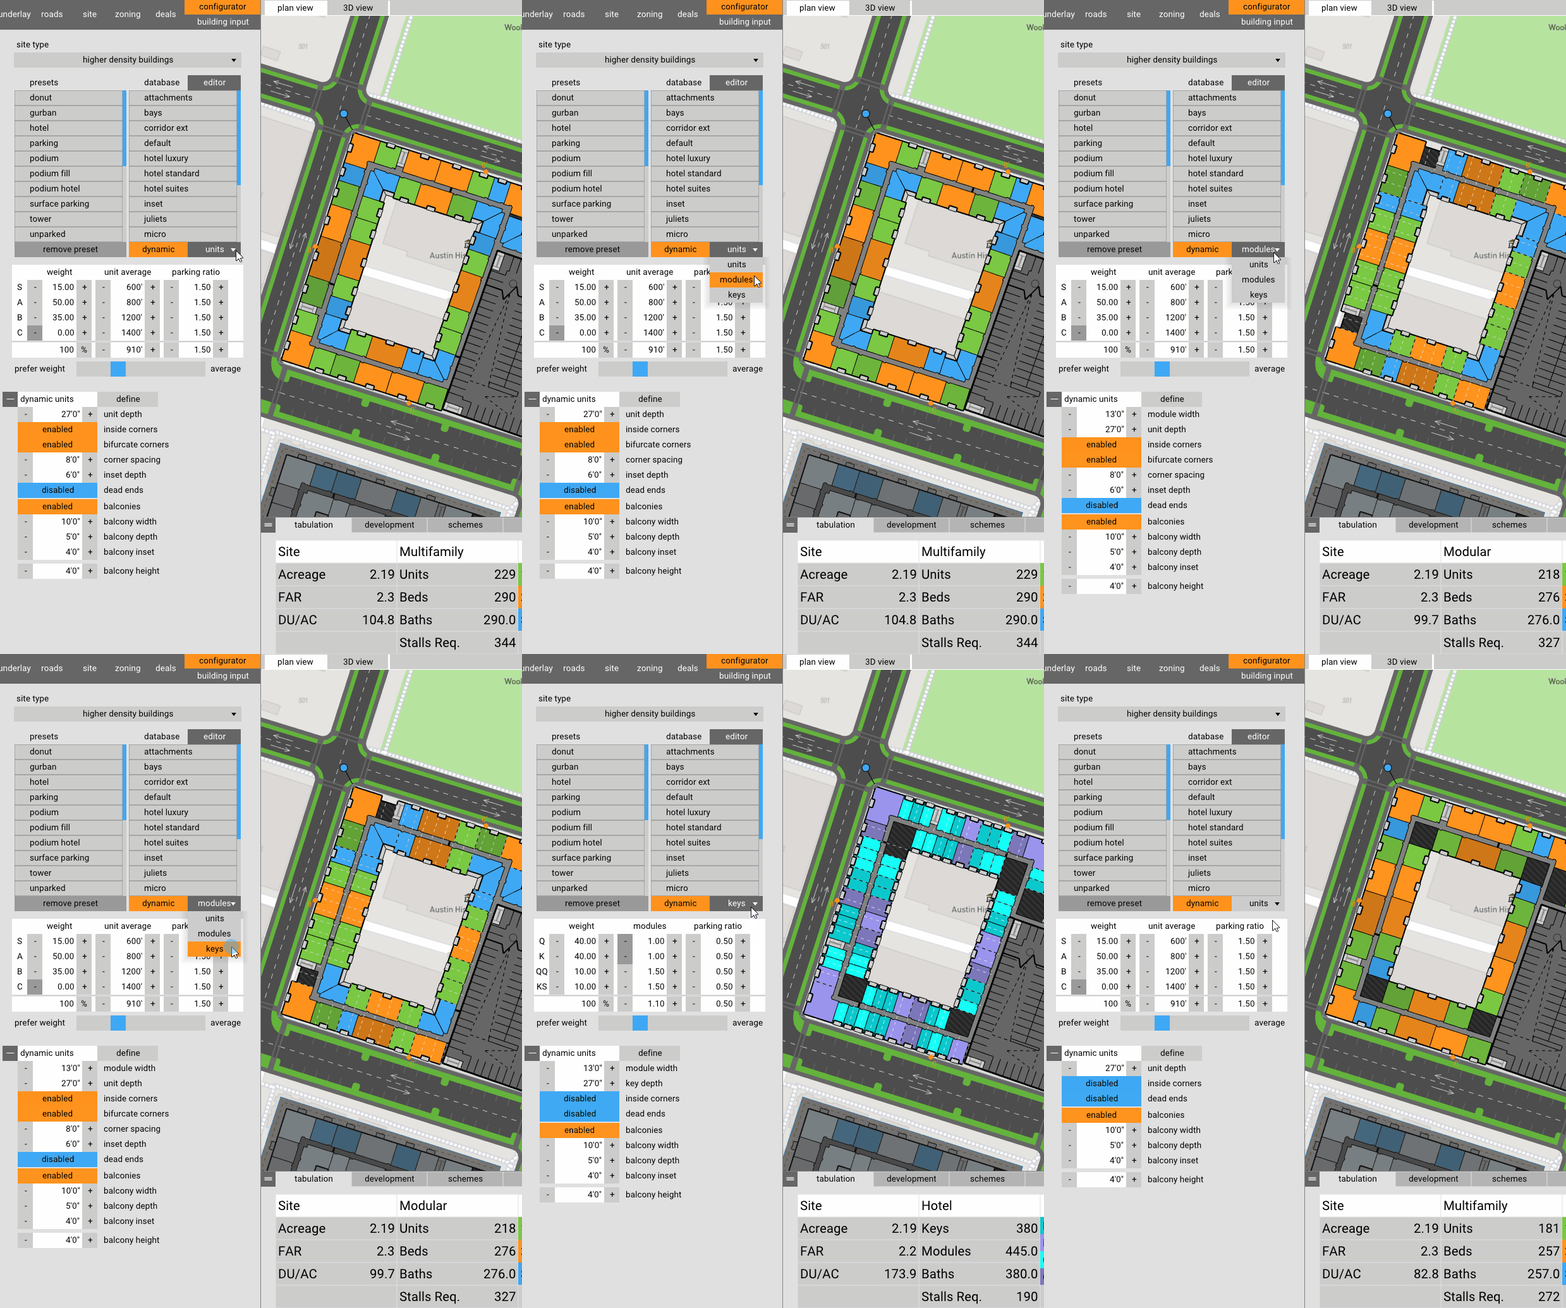
30. Change unit type in the dynamic unit editor from units, to modules, to hotel keys.
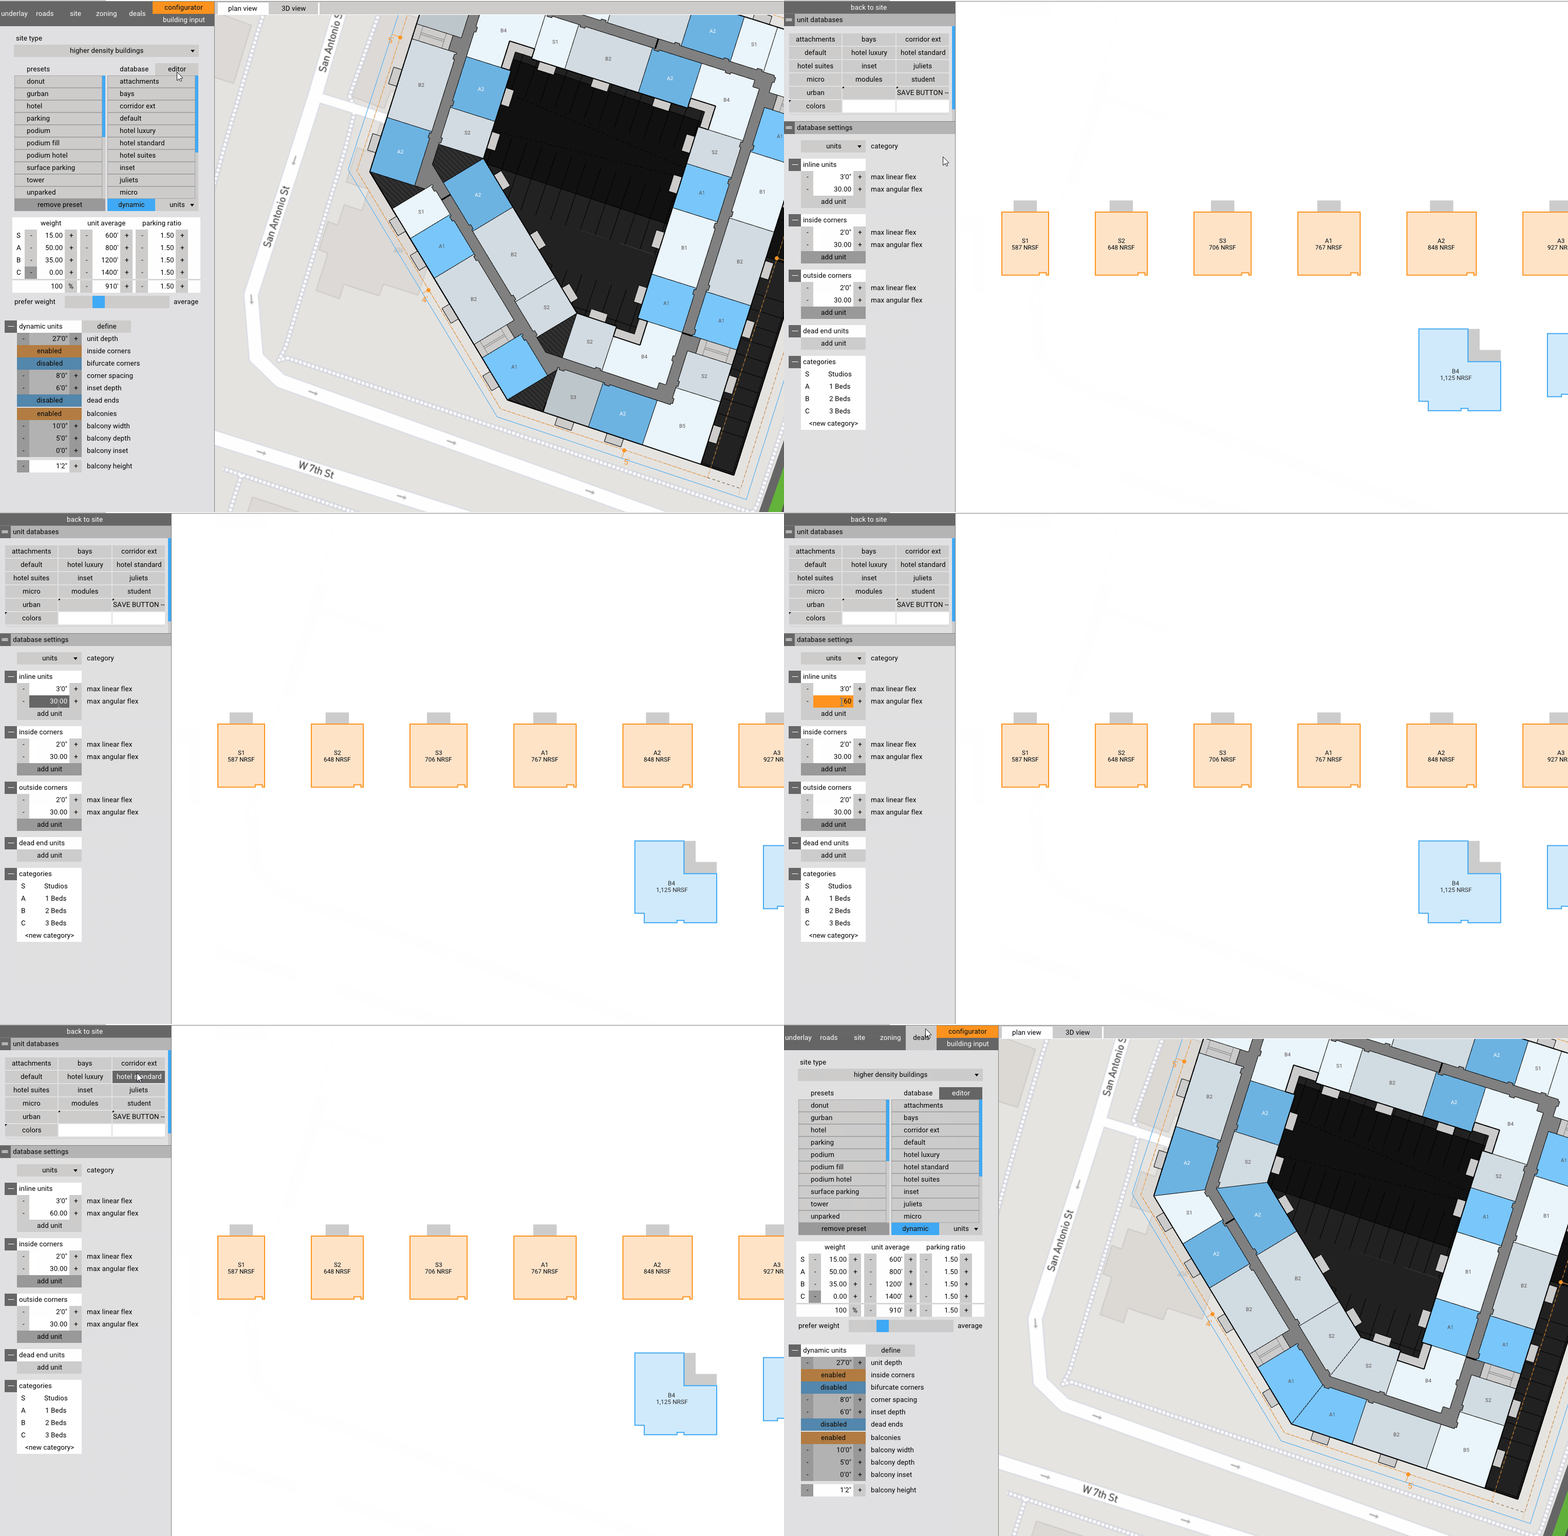
31. Adjust angular flex in units to fill oddly angled units.
Exporting
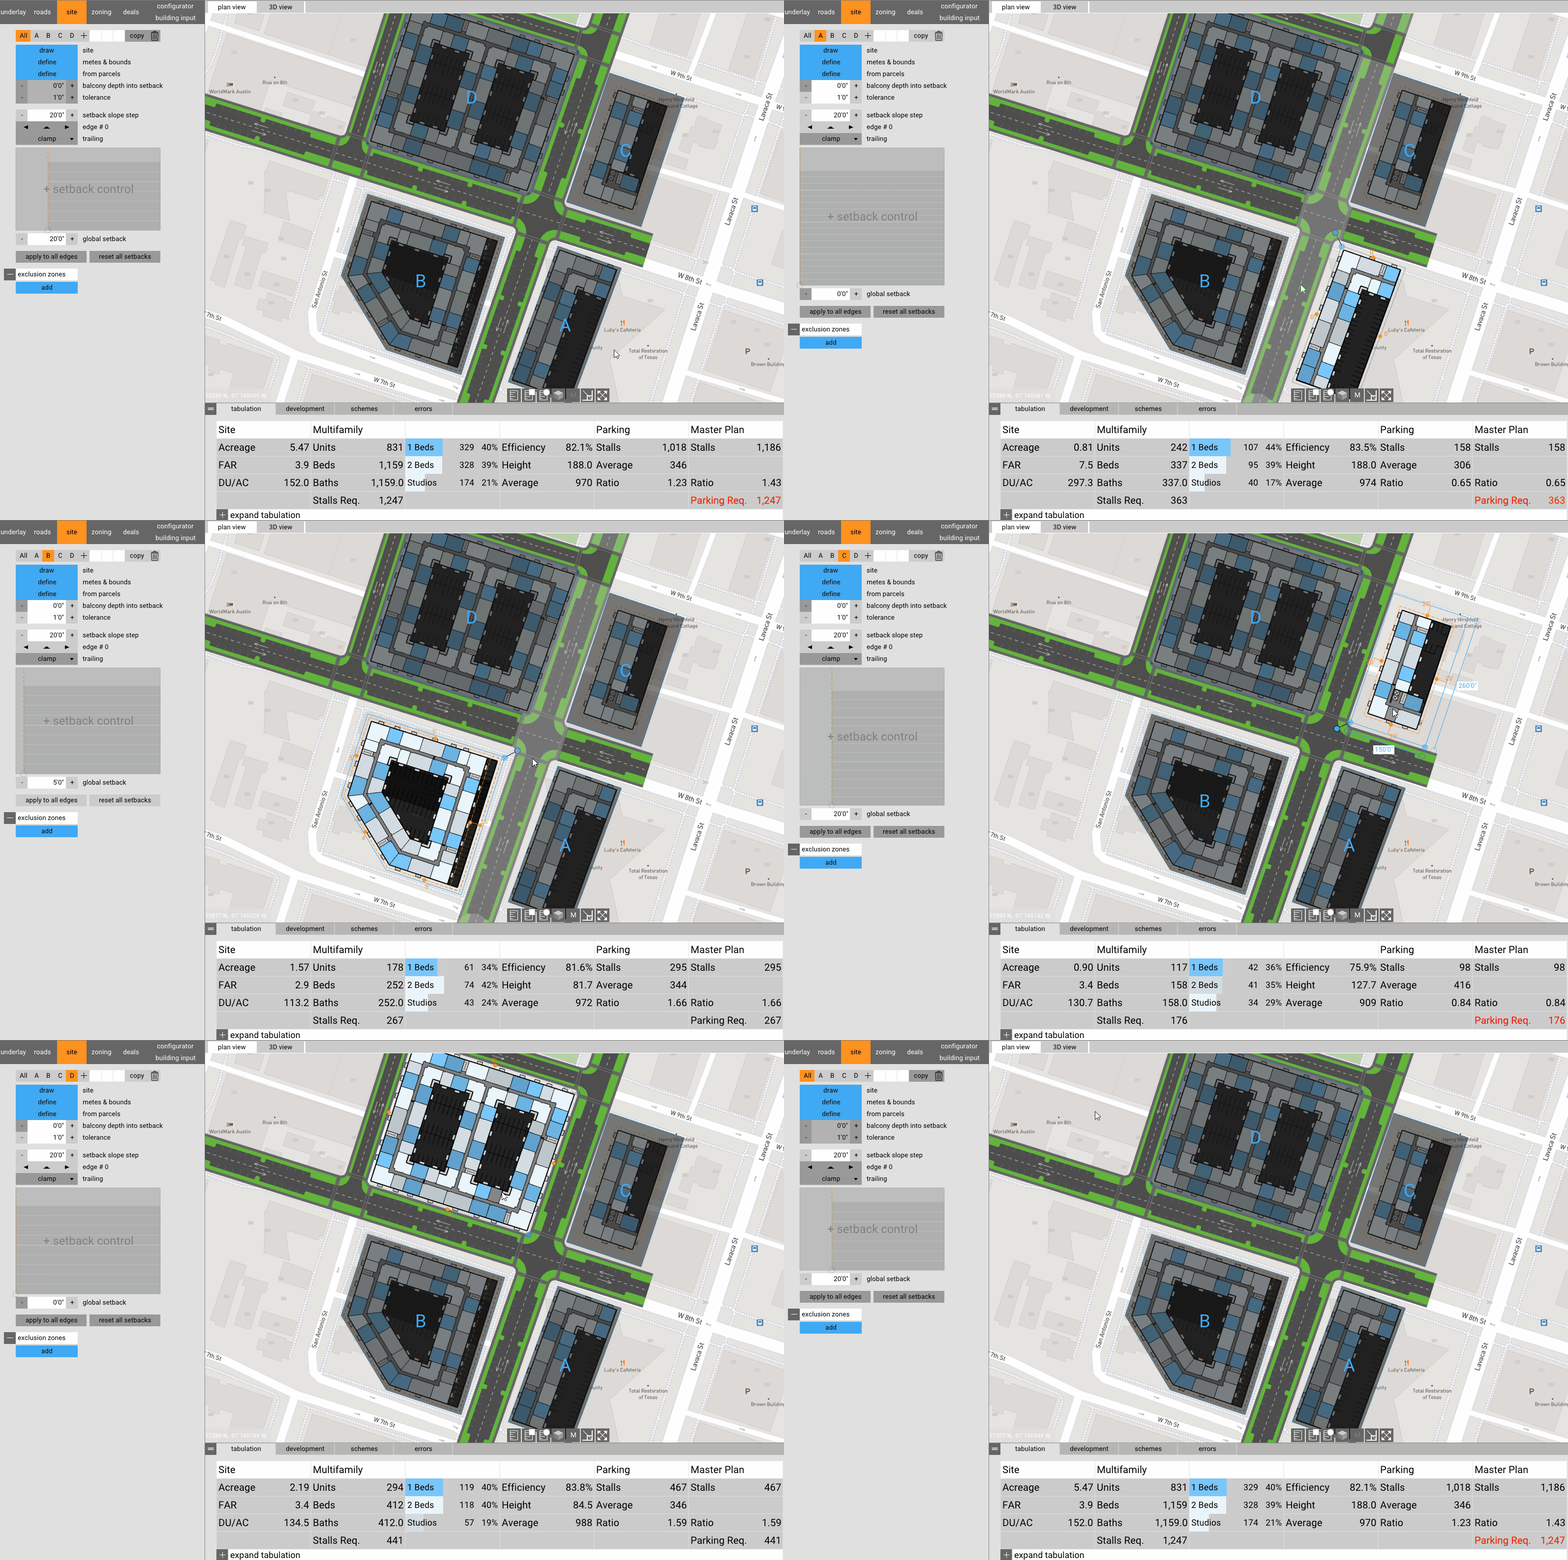
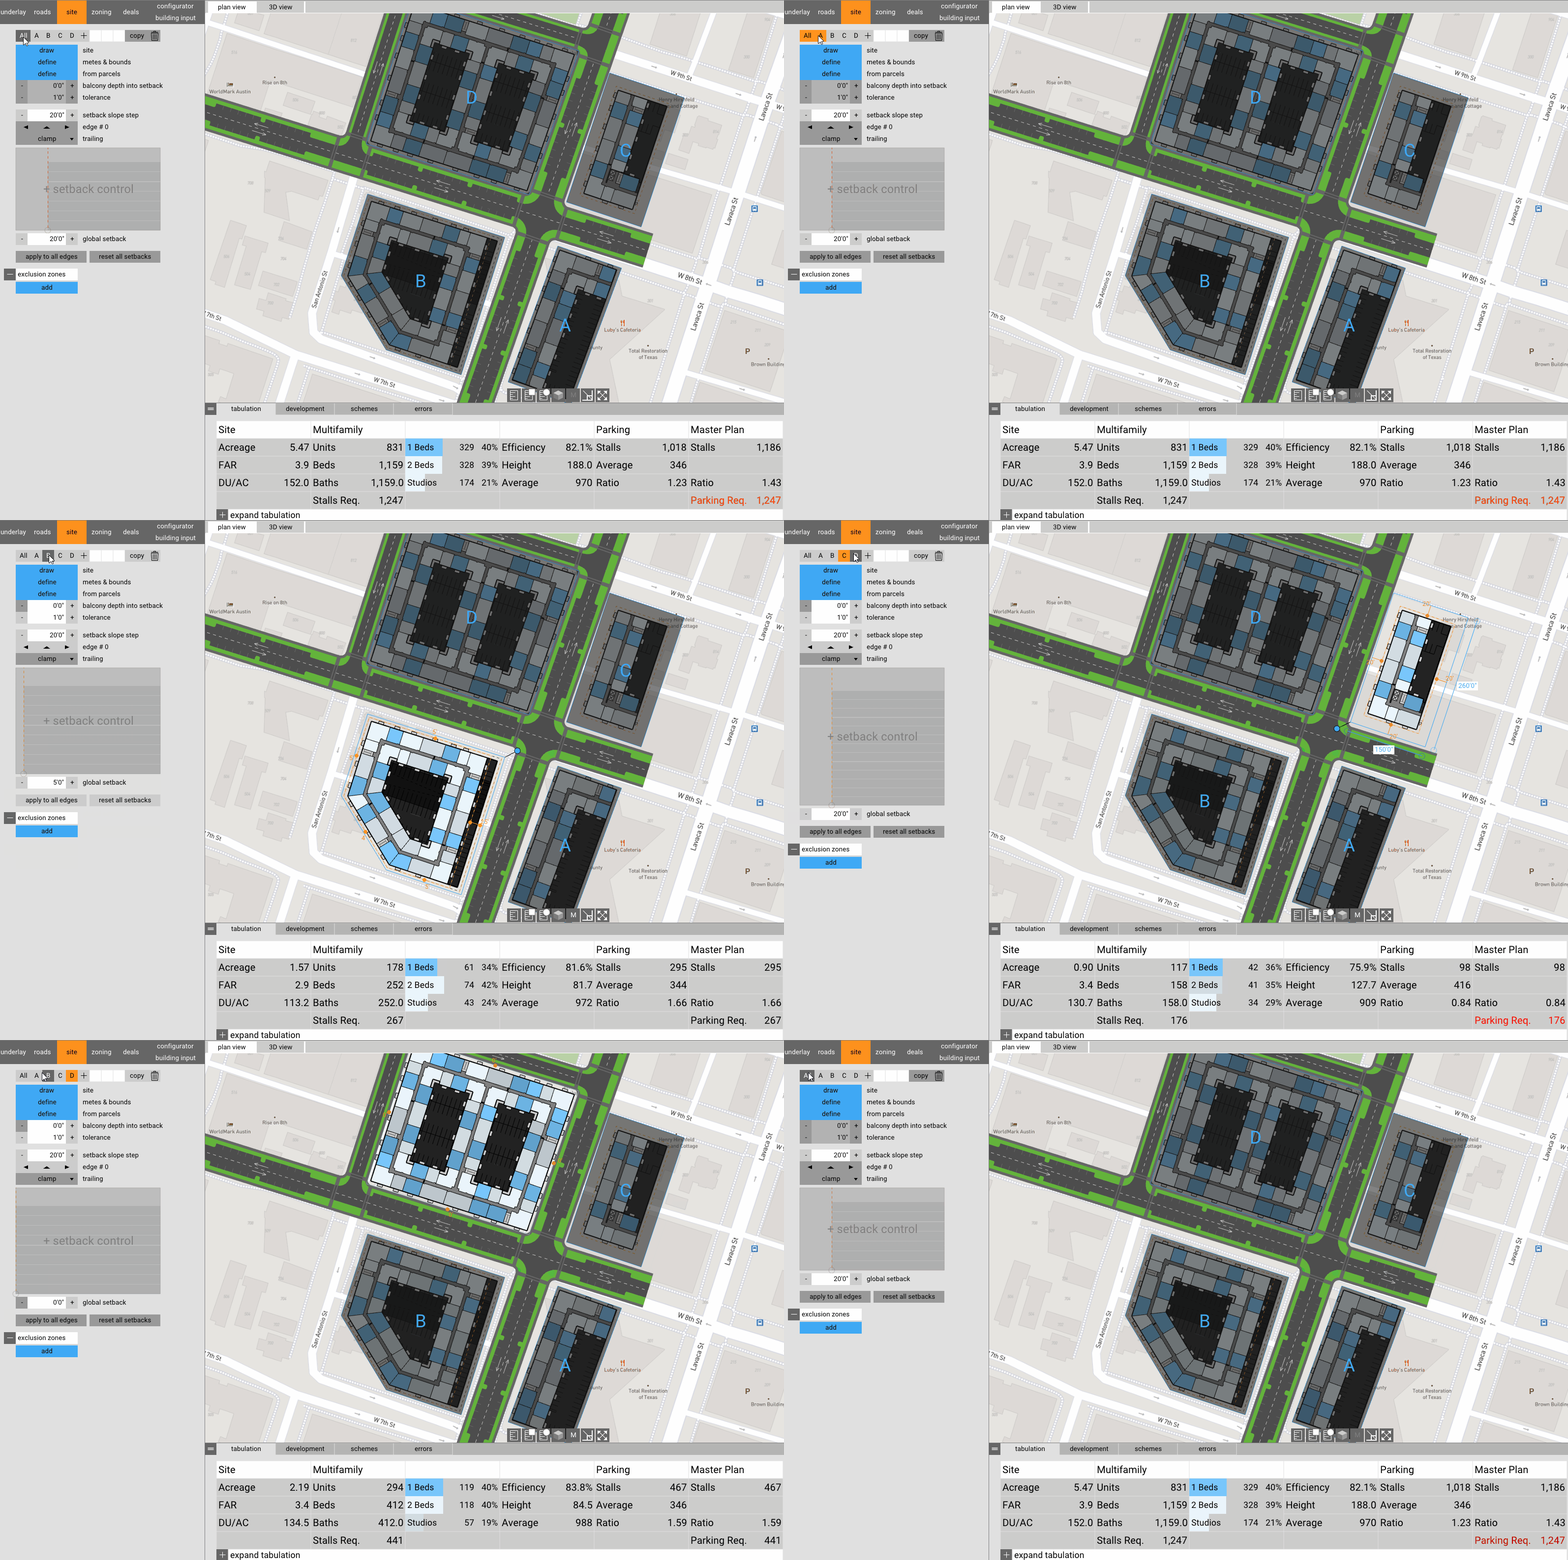
32. When exporting a file (pdf, dxf, skp,) selecting one site will only export info for that one site. You will need to click on ALL (or select outside the site) to export the entire main plan.
Manual Mode Tips
33. The orange circle lets you move the node by clicking and dragging.
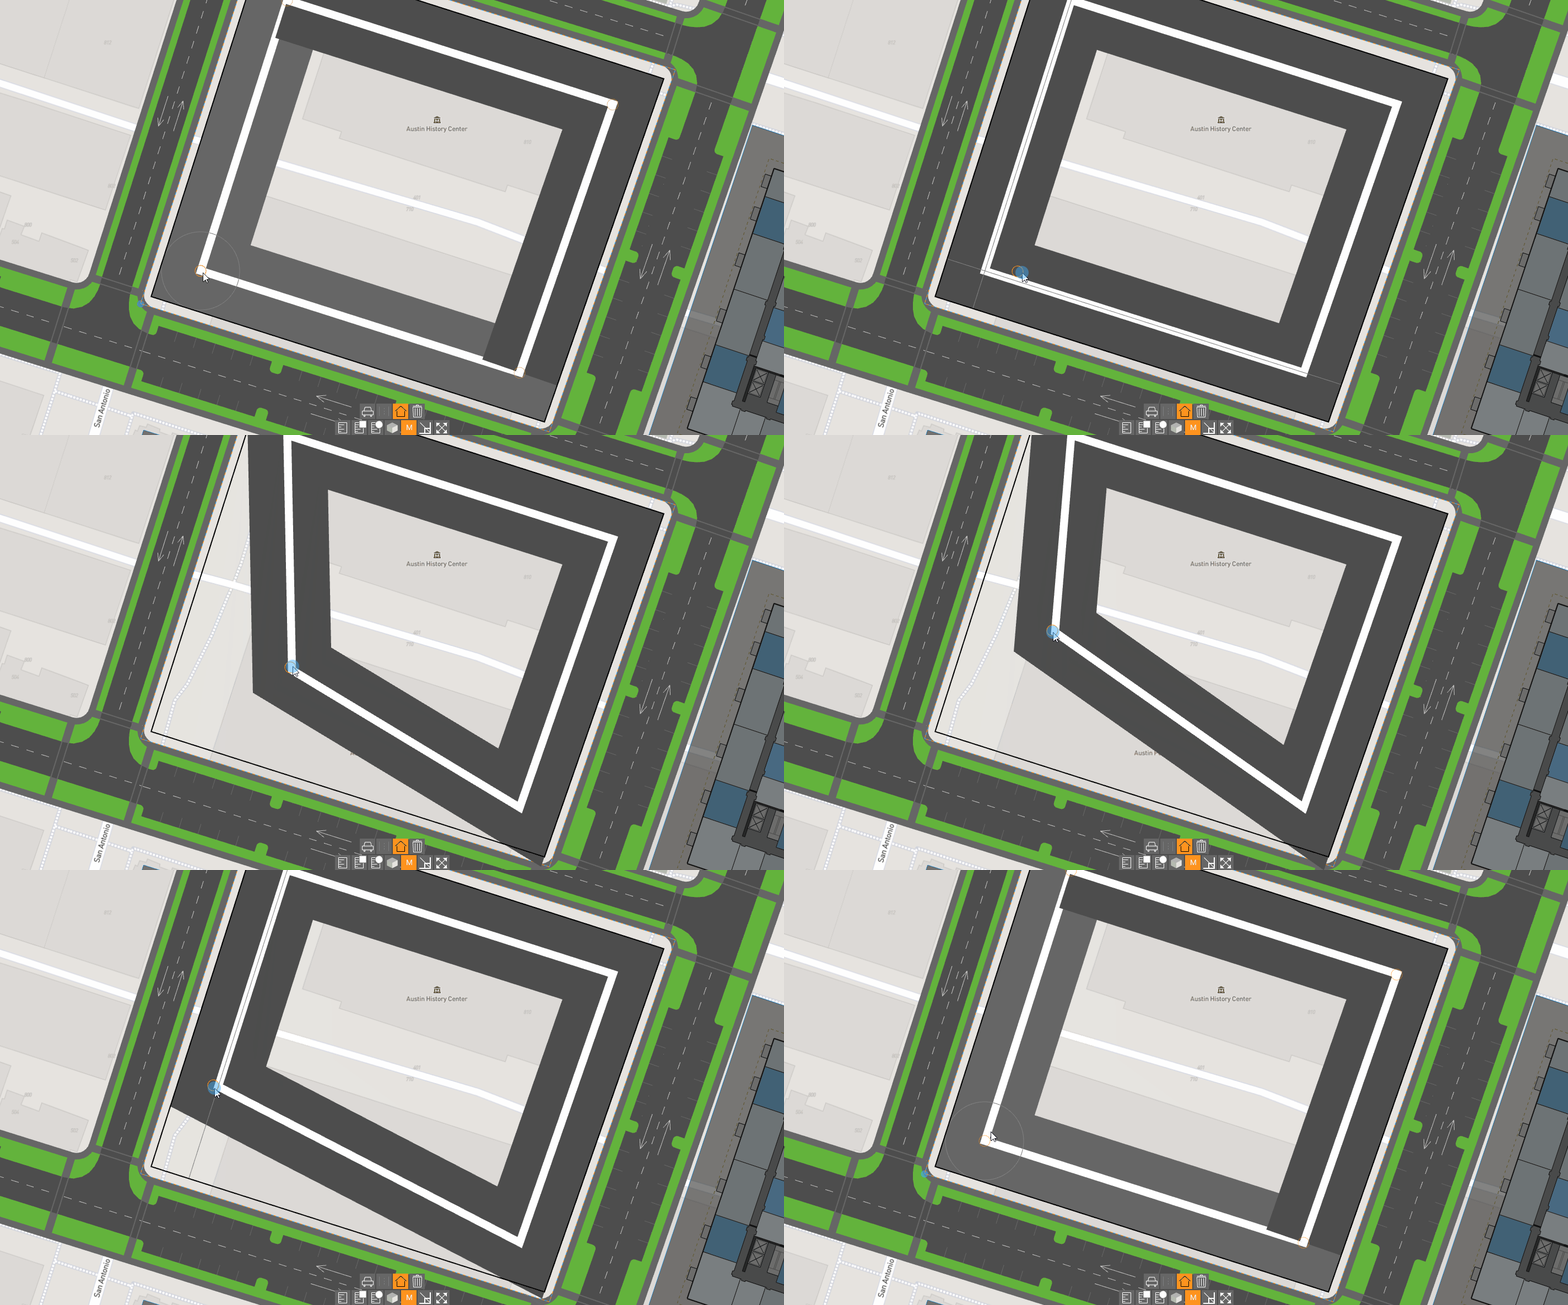
34. Drawing between the orange and gray circle adds another segments to the road/building.
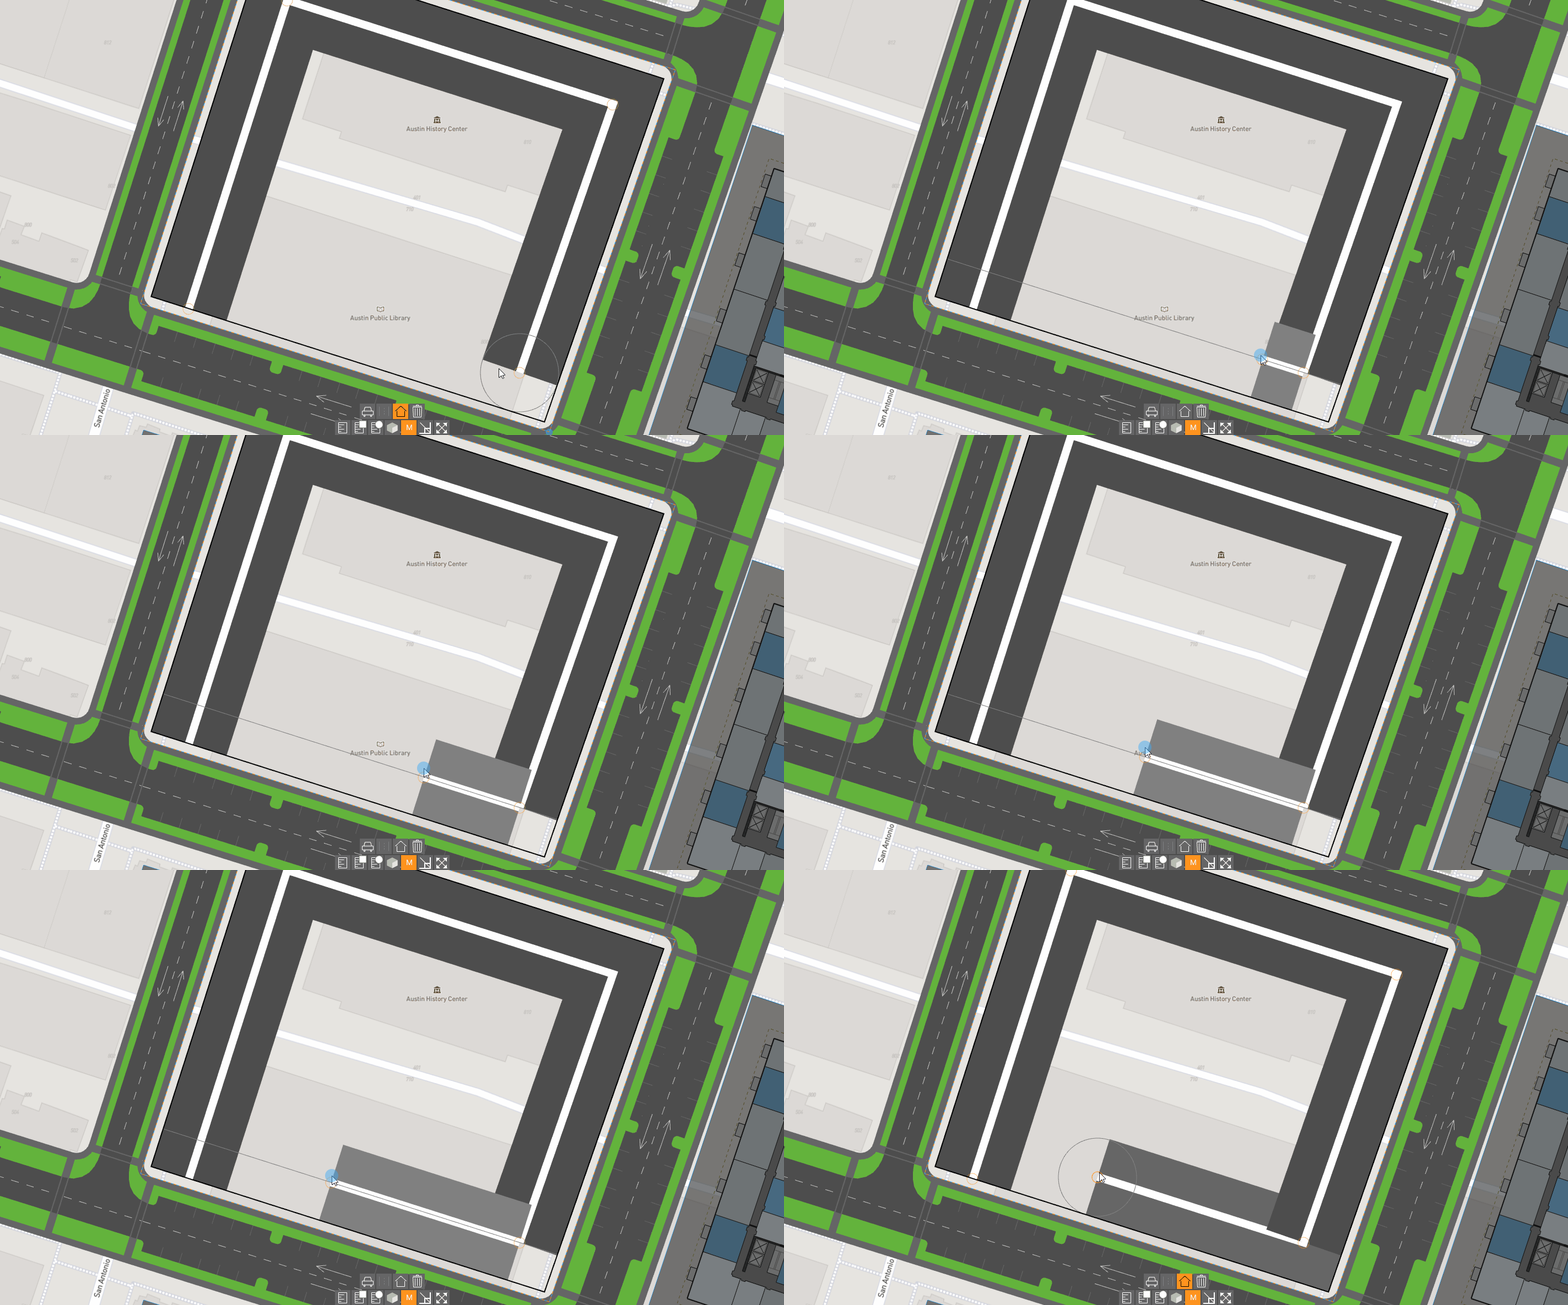
35. Hover over an intersection and right-click remove to remove both segments.
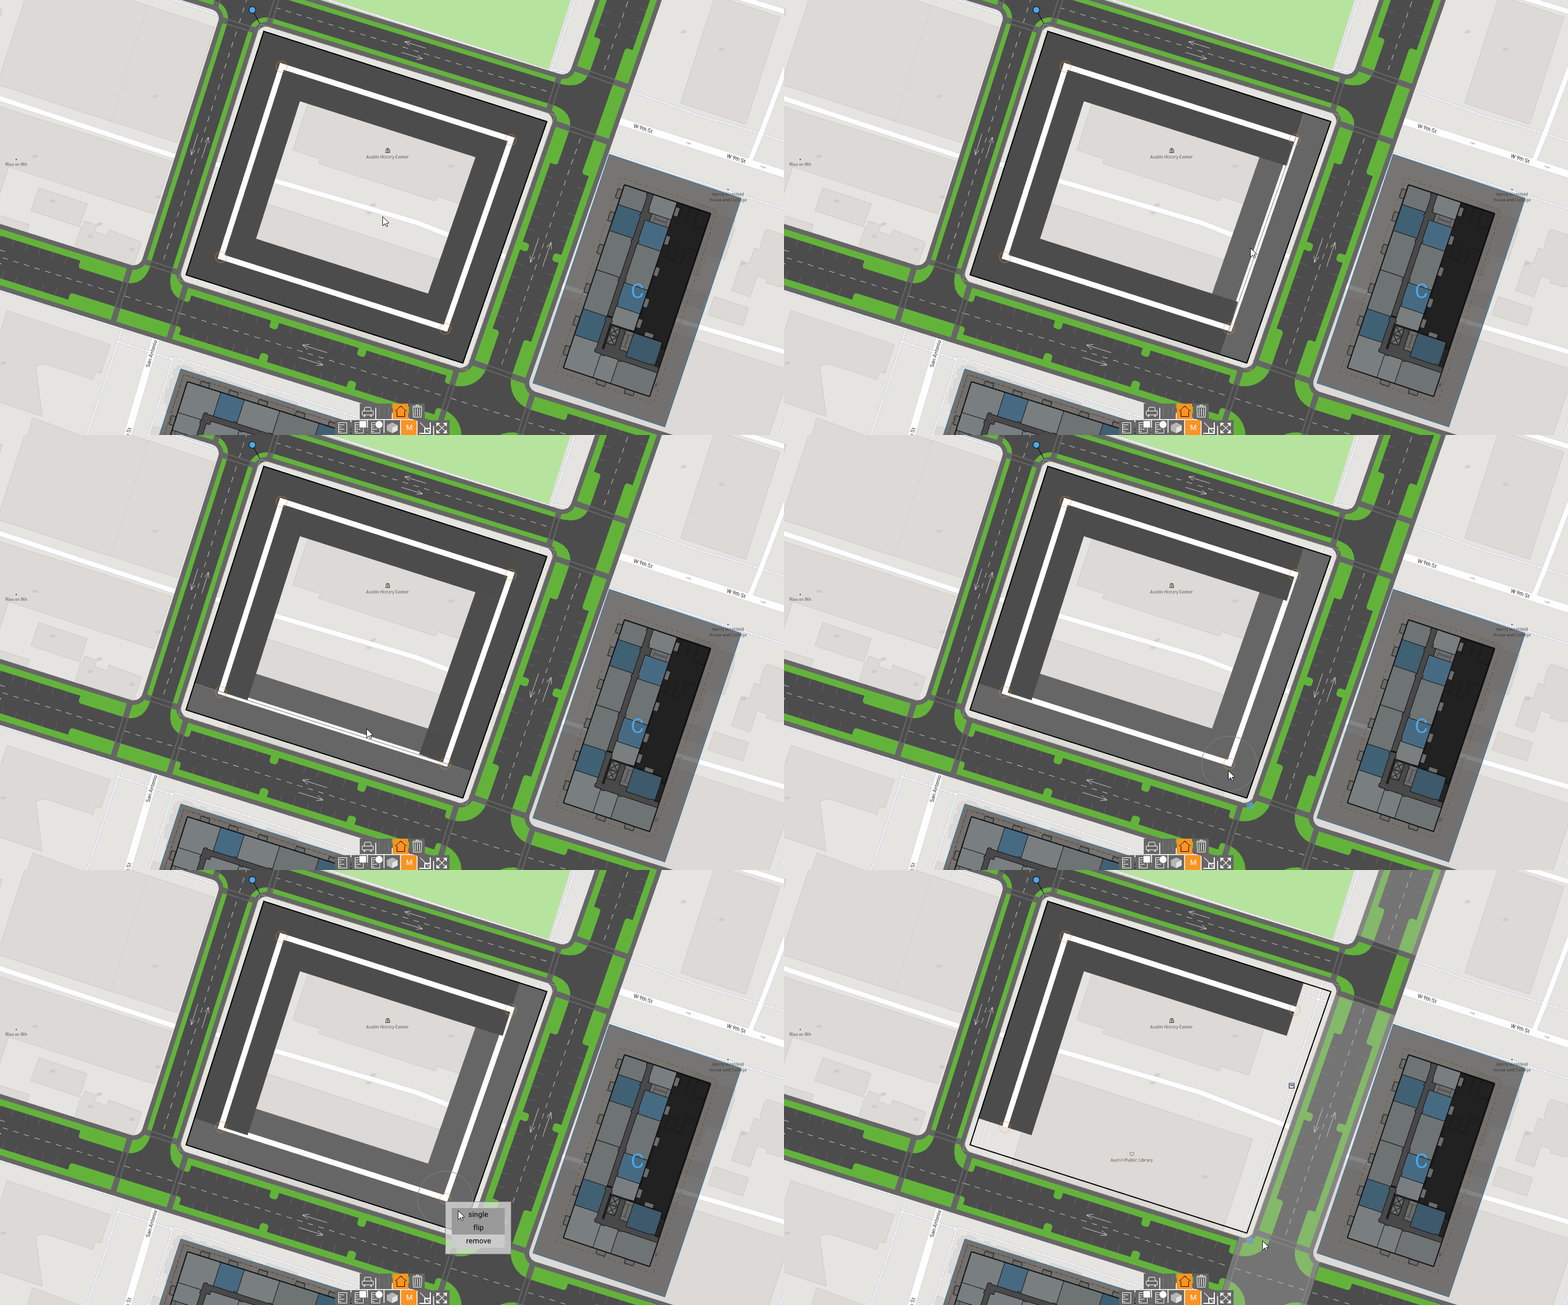
36. Pull the manual mode segment past the property line to override a snap you don’t like. TestFit will clip out what is past the site lines when you finish editing in manual mode.
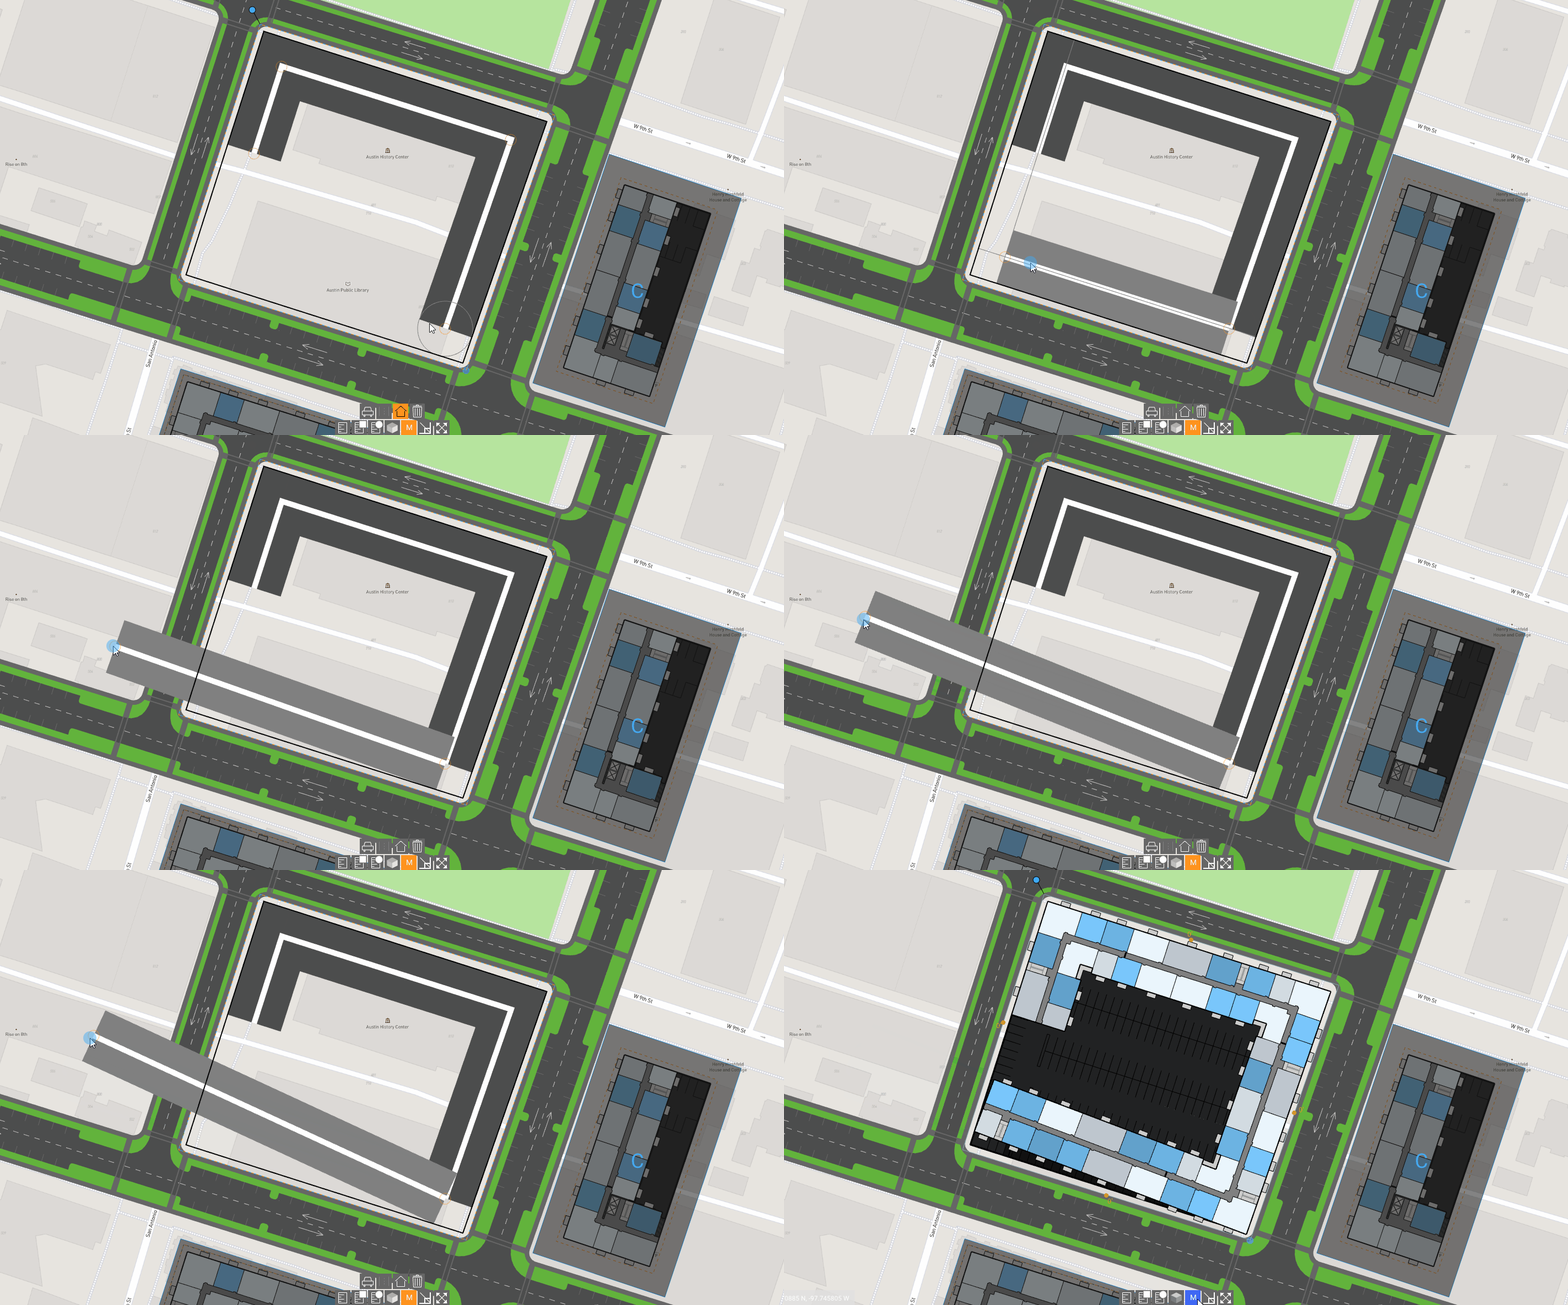
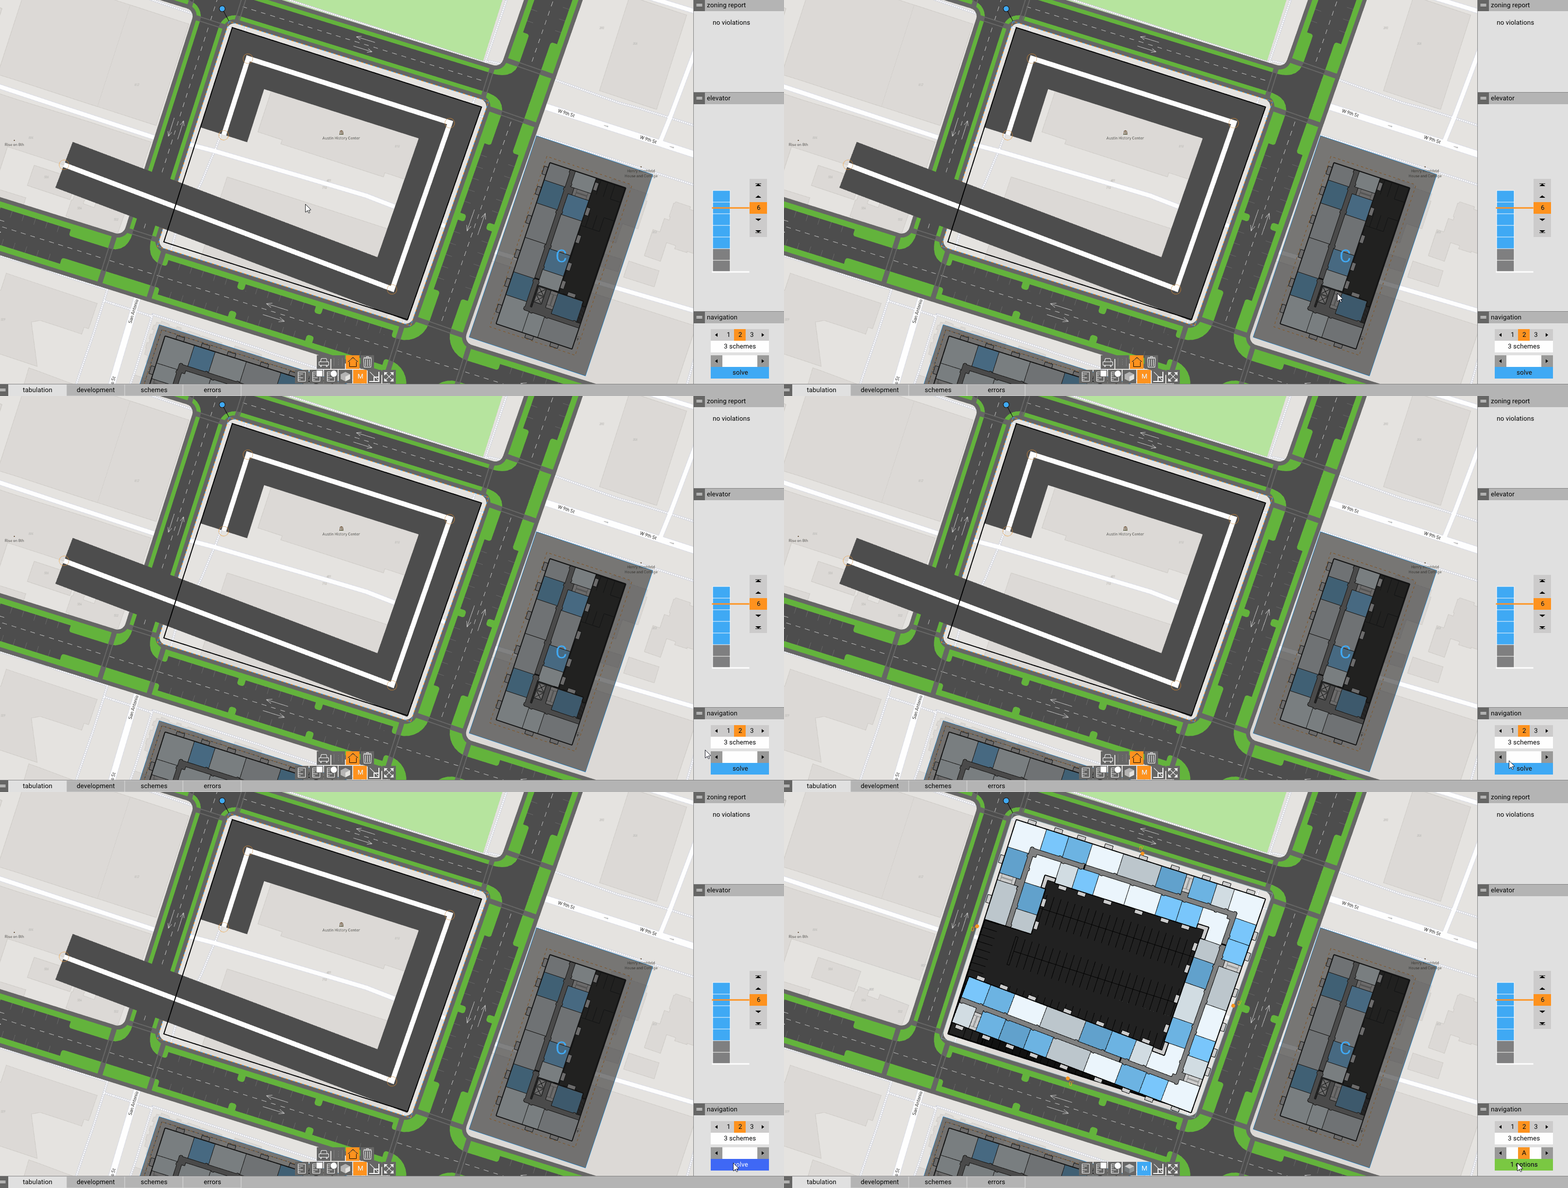
37. Click the M button or Solve to finish editing manual mode.
Parking Tips
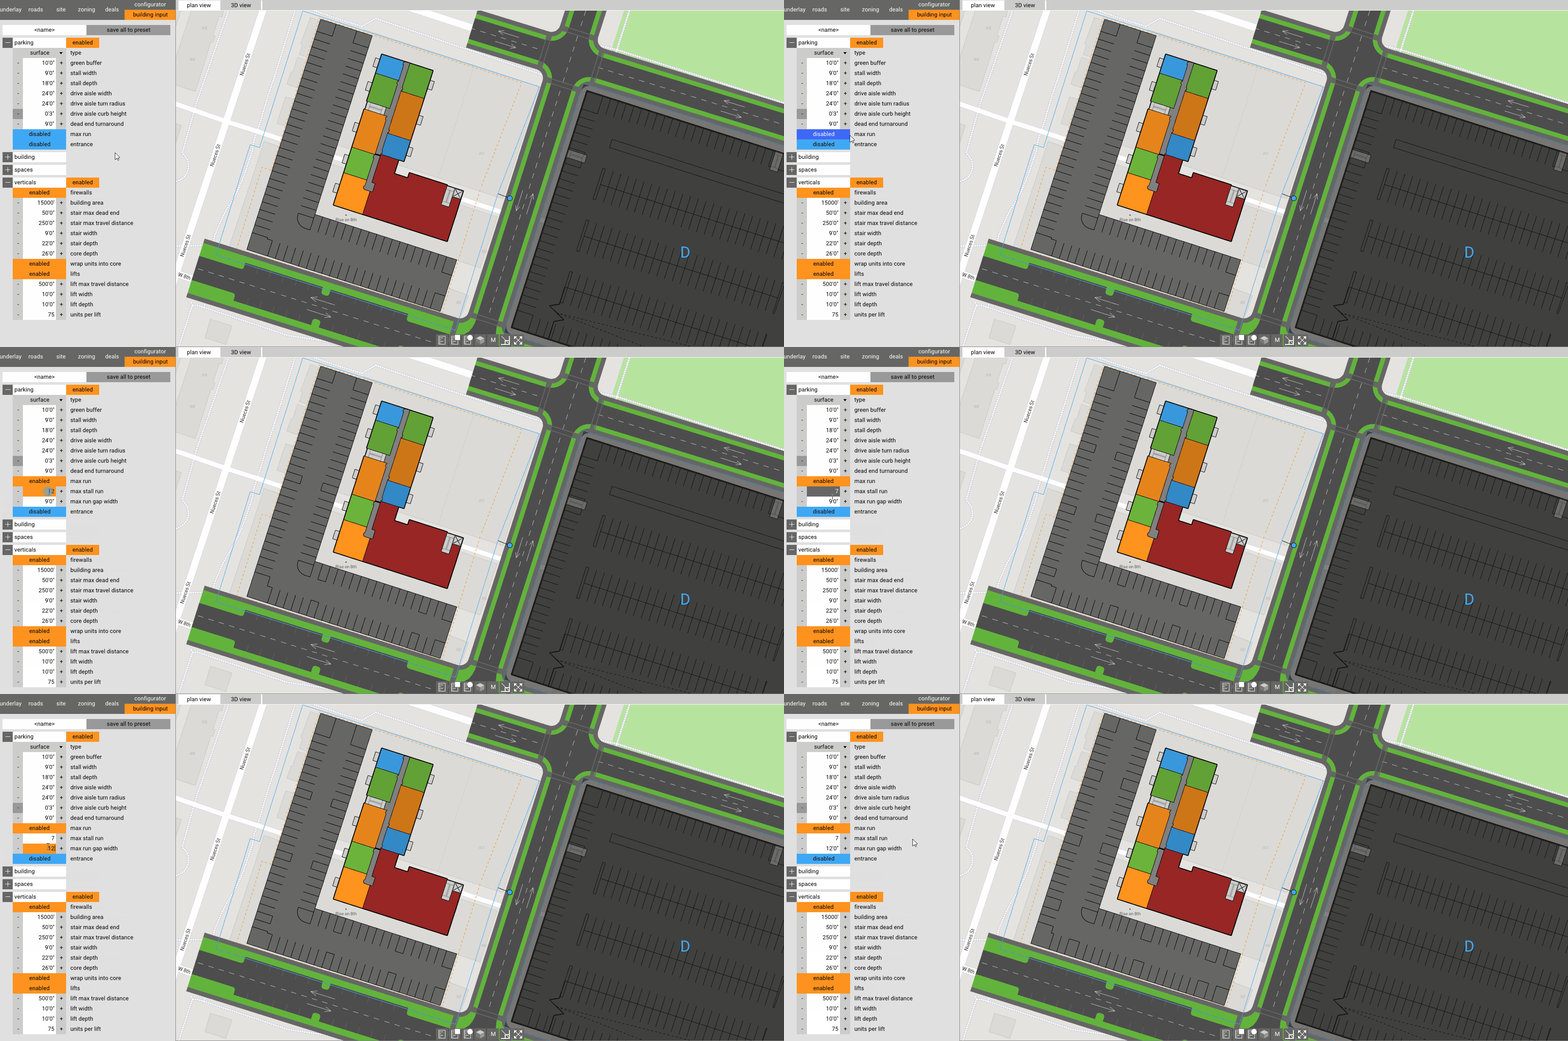
38. Enable max run for surface parking lots to add landscape buffers between stalls.
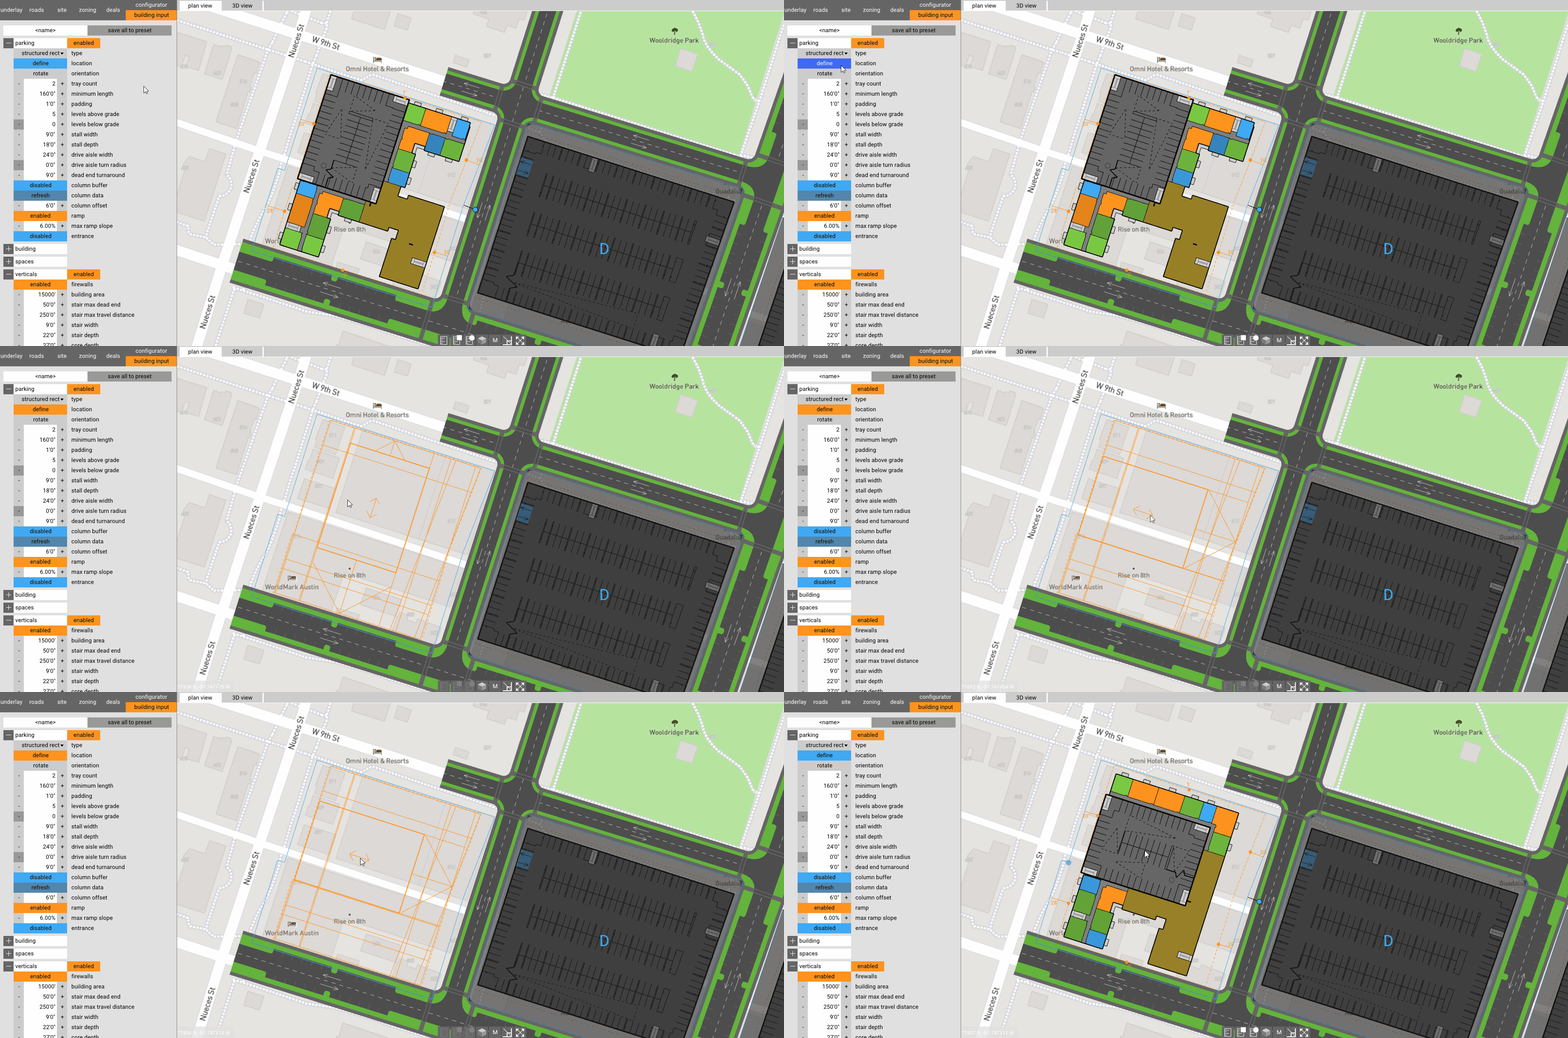
39. Enable column buffer for podium projects.40. Right click when defining a podium rect garage on the site to rotate its orientation and adjust its placement. The outer orange offset while defining is the depth of a single-loaded corridor.40. Right click when defining a podium rect garage on the site to rotate its orientation and adjust its placement. The outer orange offset while defining is the depth of a single-loaded corridor.

40. Right click when defining a podium rect garage on the site to rotate its orientation and adjust its placement. The outer orange offset while defining is the depth of a single-loaded corridor.
Deals
41. Deals can be applied PER site and viewed overall as a main plan.
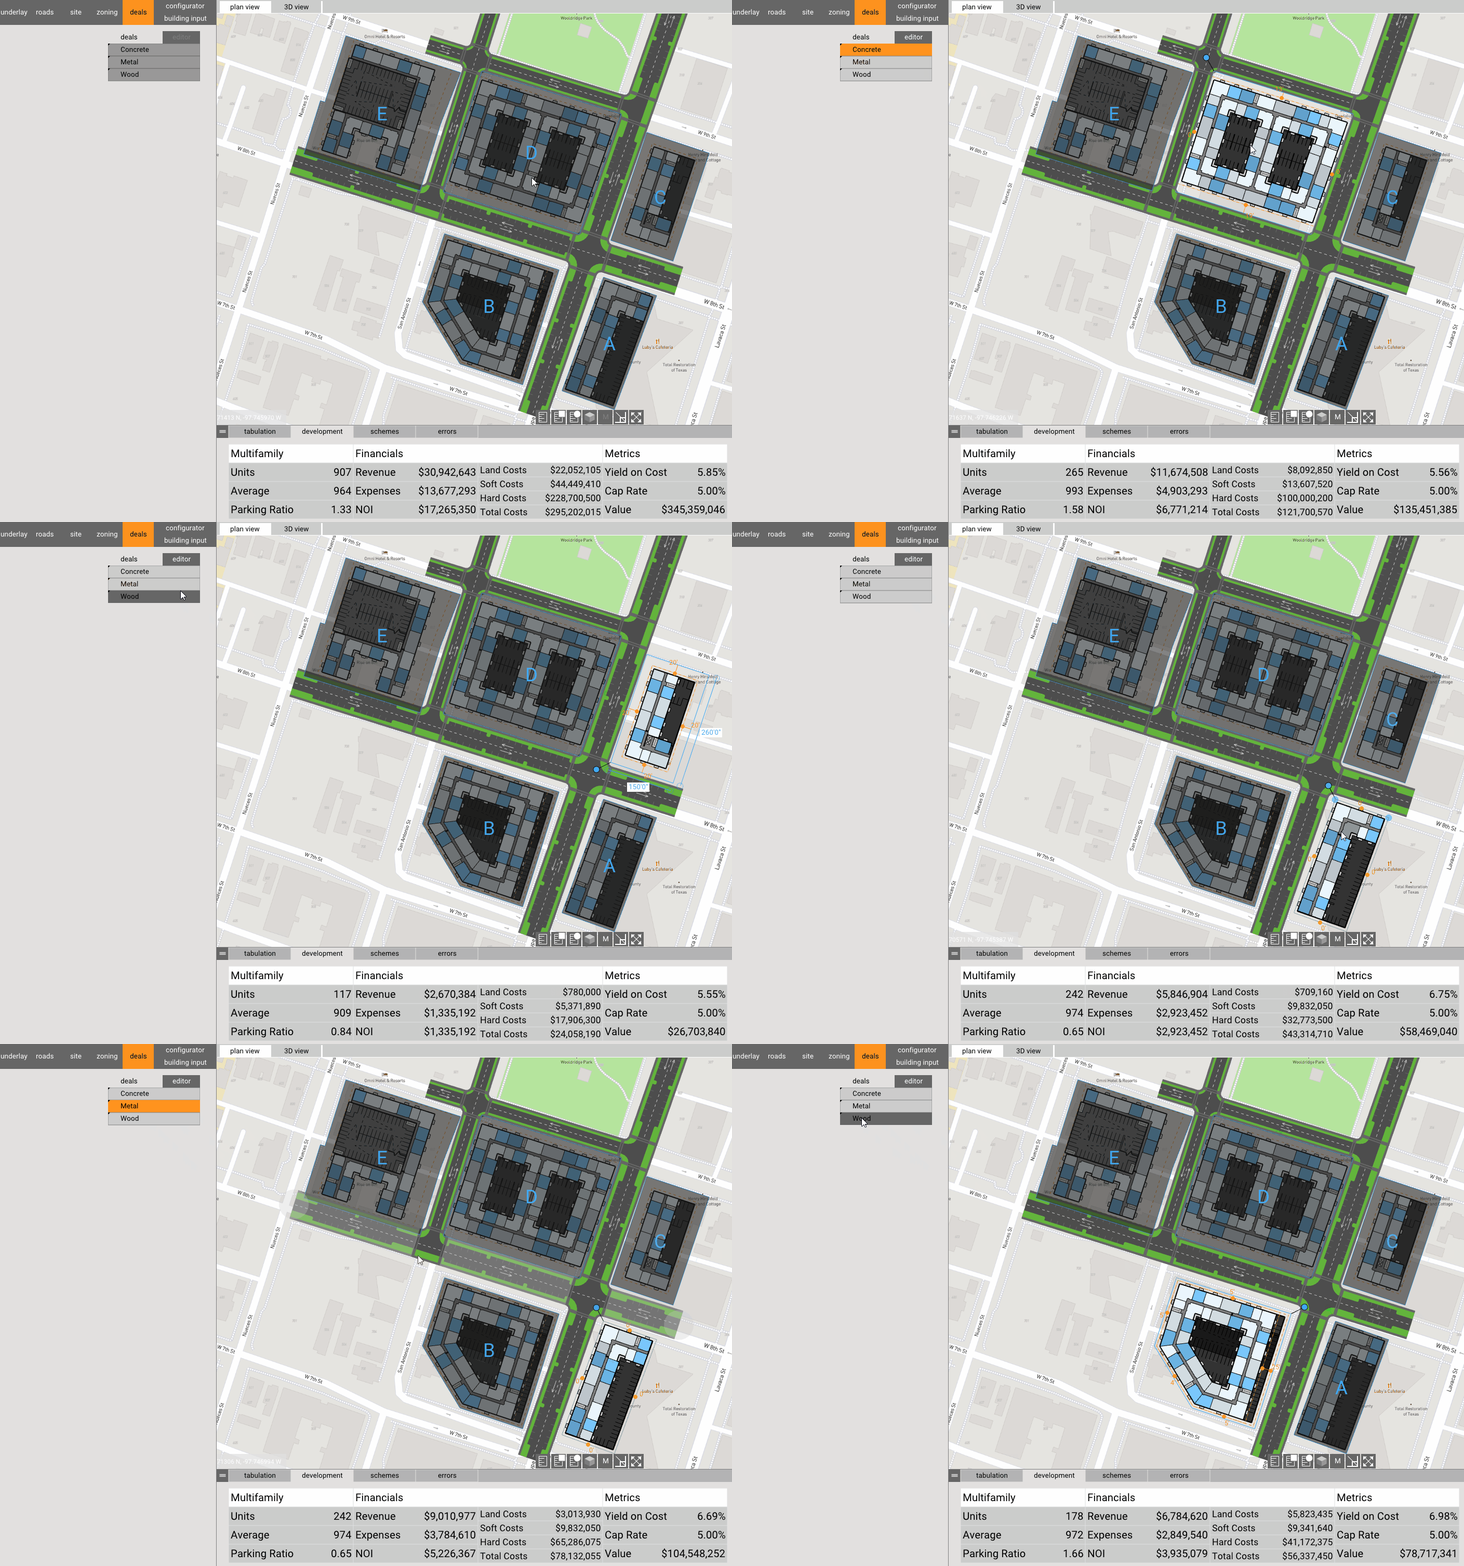
42. Each site can have its own deal metrics depending on building construction style by saving each building’s deal.

Visualization tips
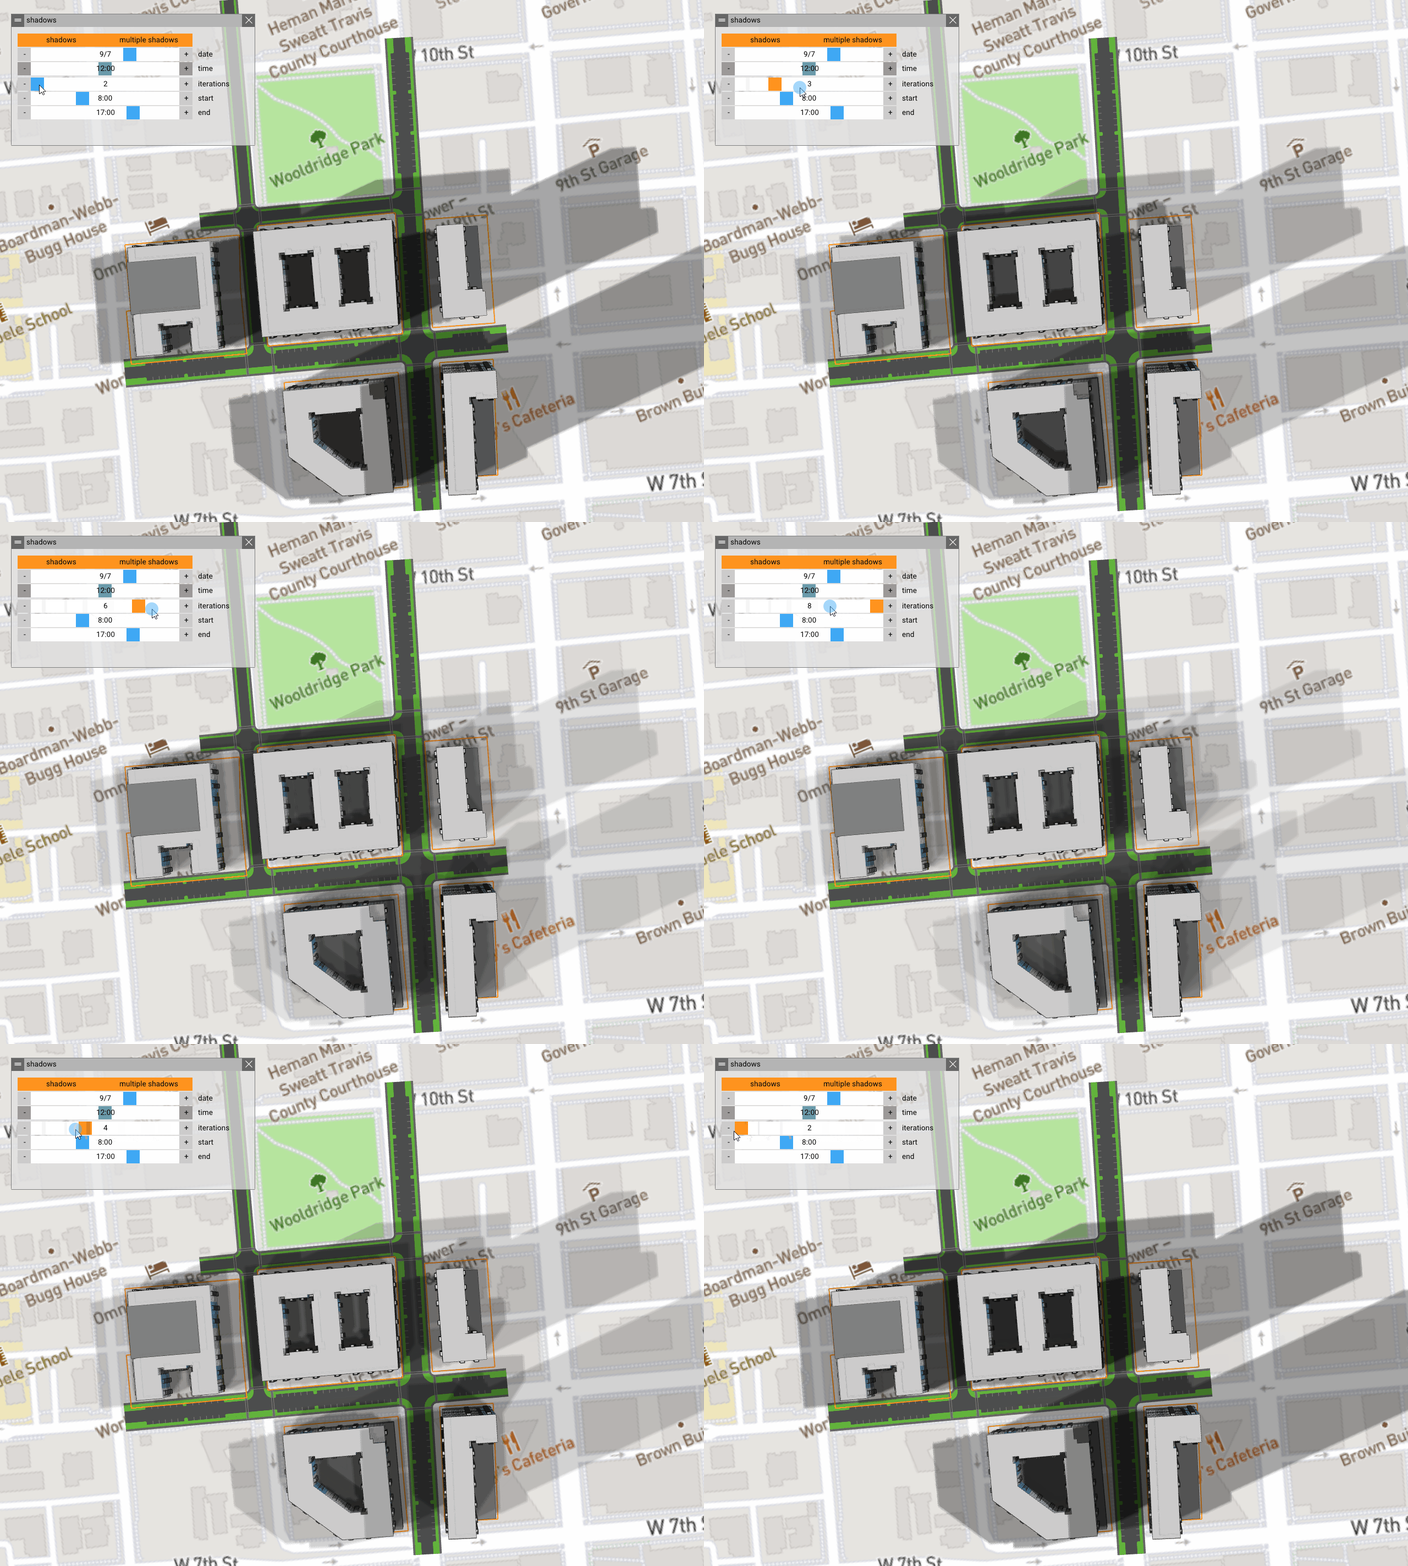
43. Enable multiple shadows for viewing overlapping shadows.
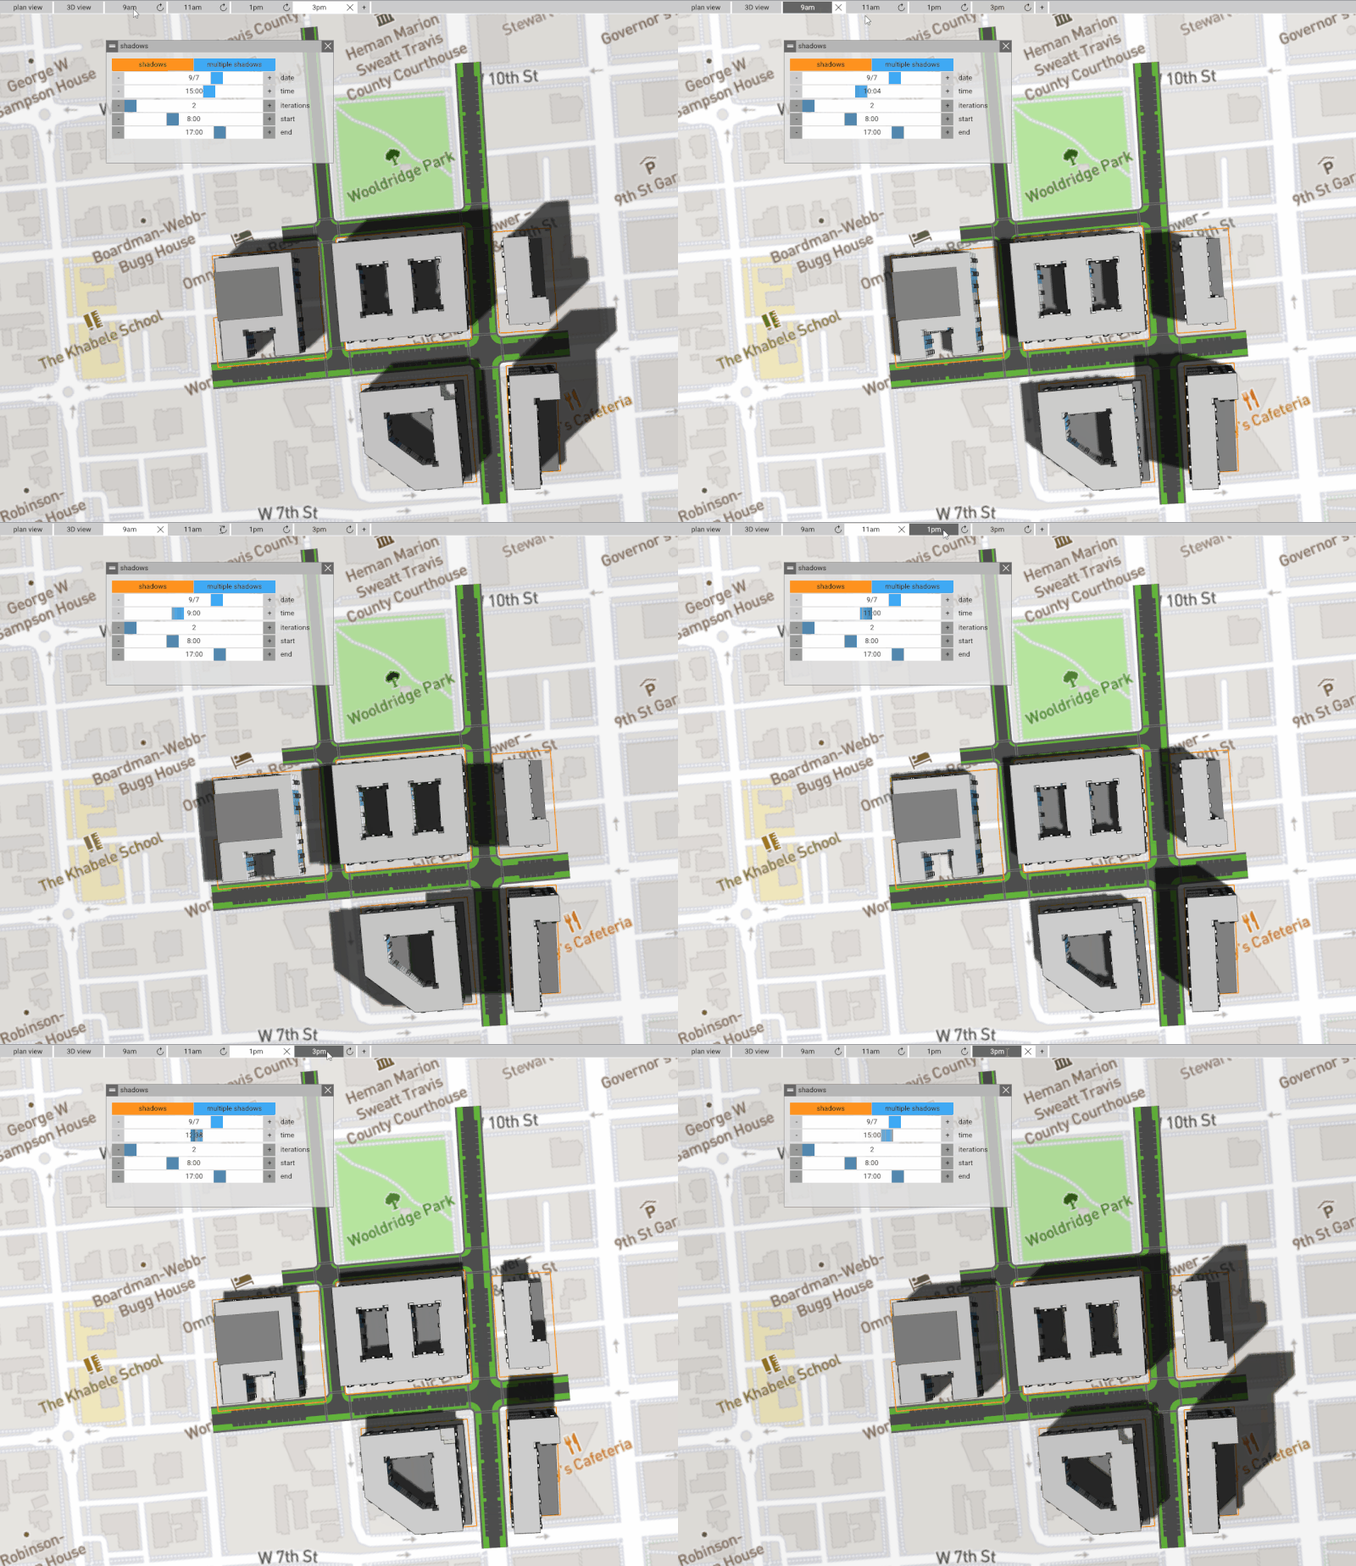
44. Shadows saved between views can be saved to export for shadow studies.
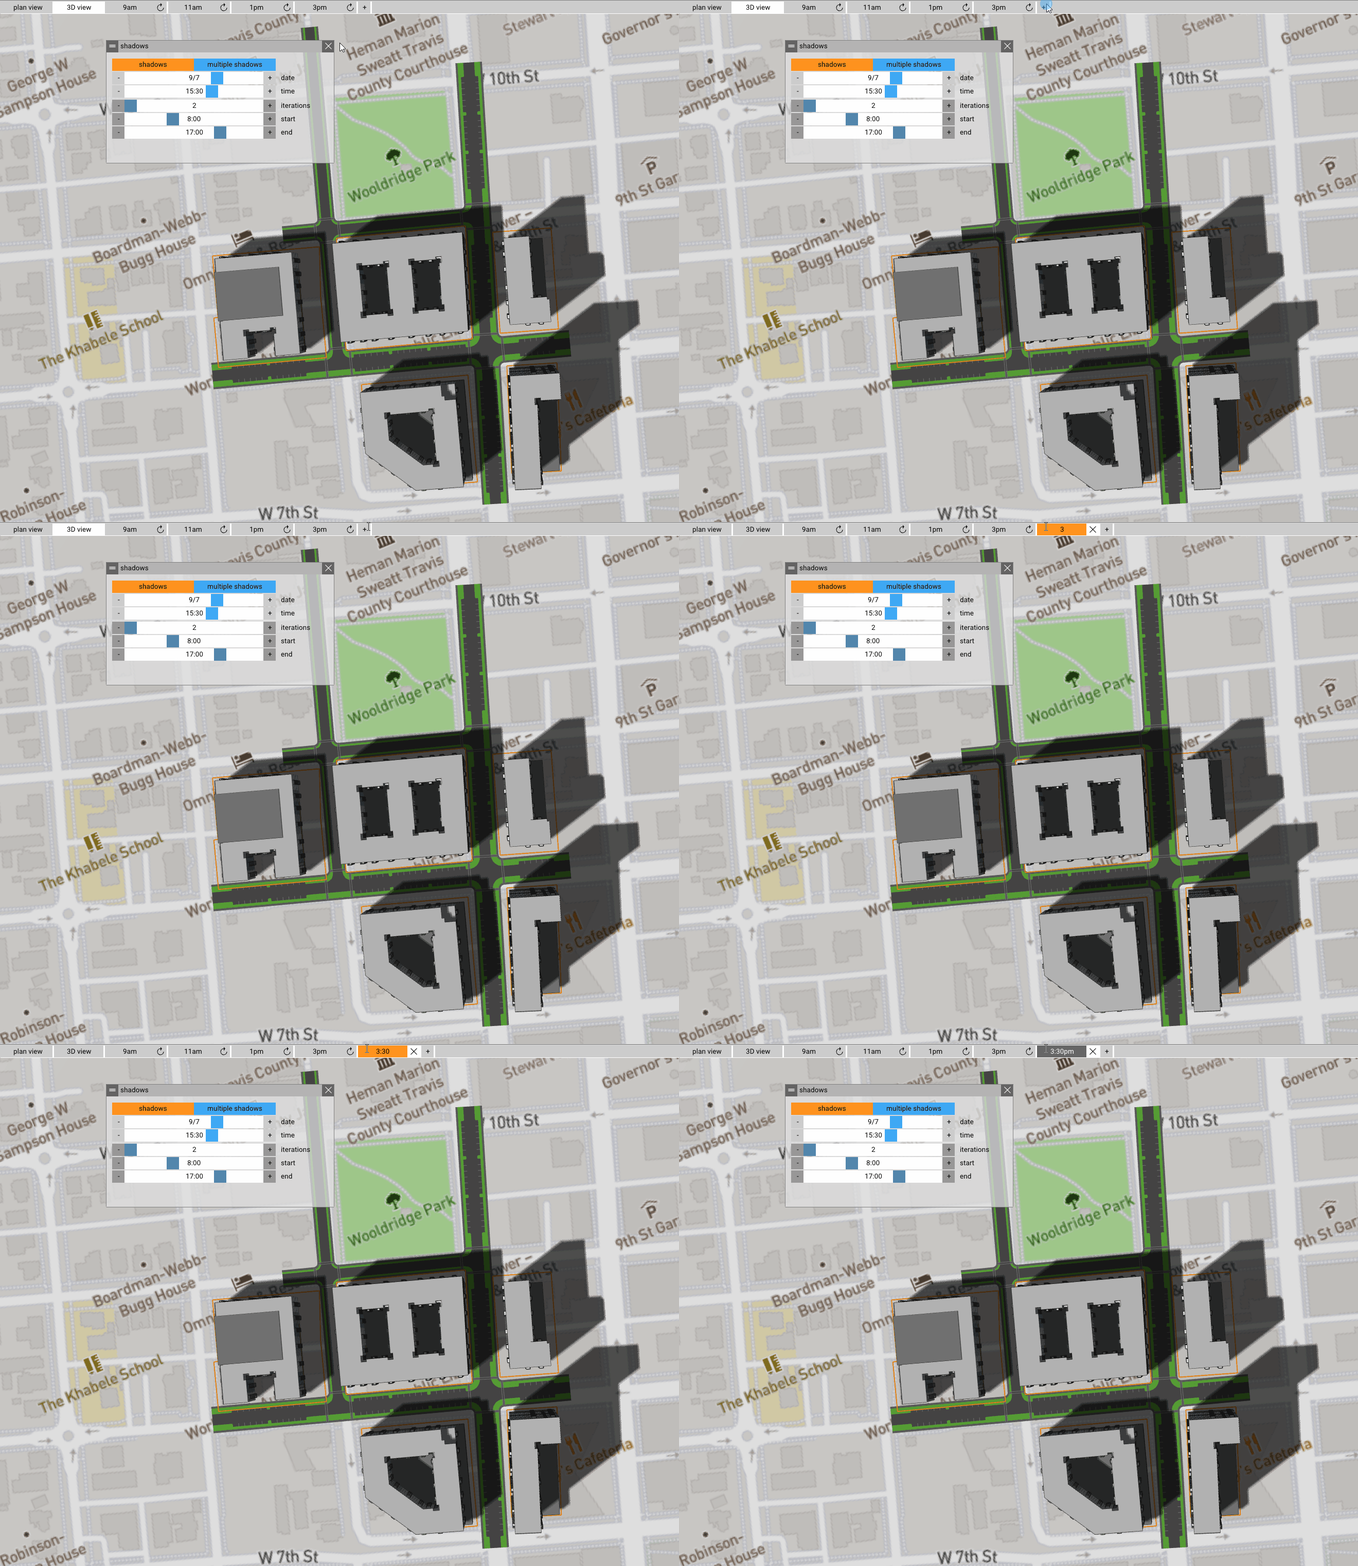
45. Save views using the + button.
46. Try Enscape in TestFit…
Straight Up Dirty Hacks
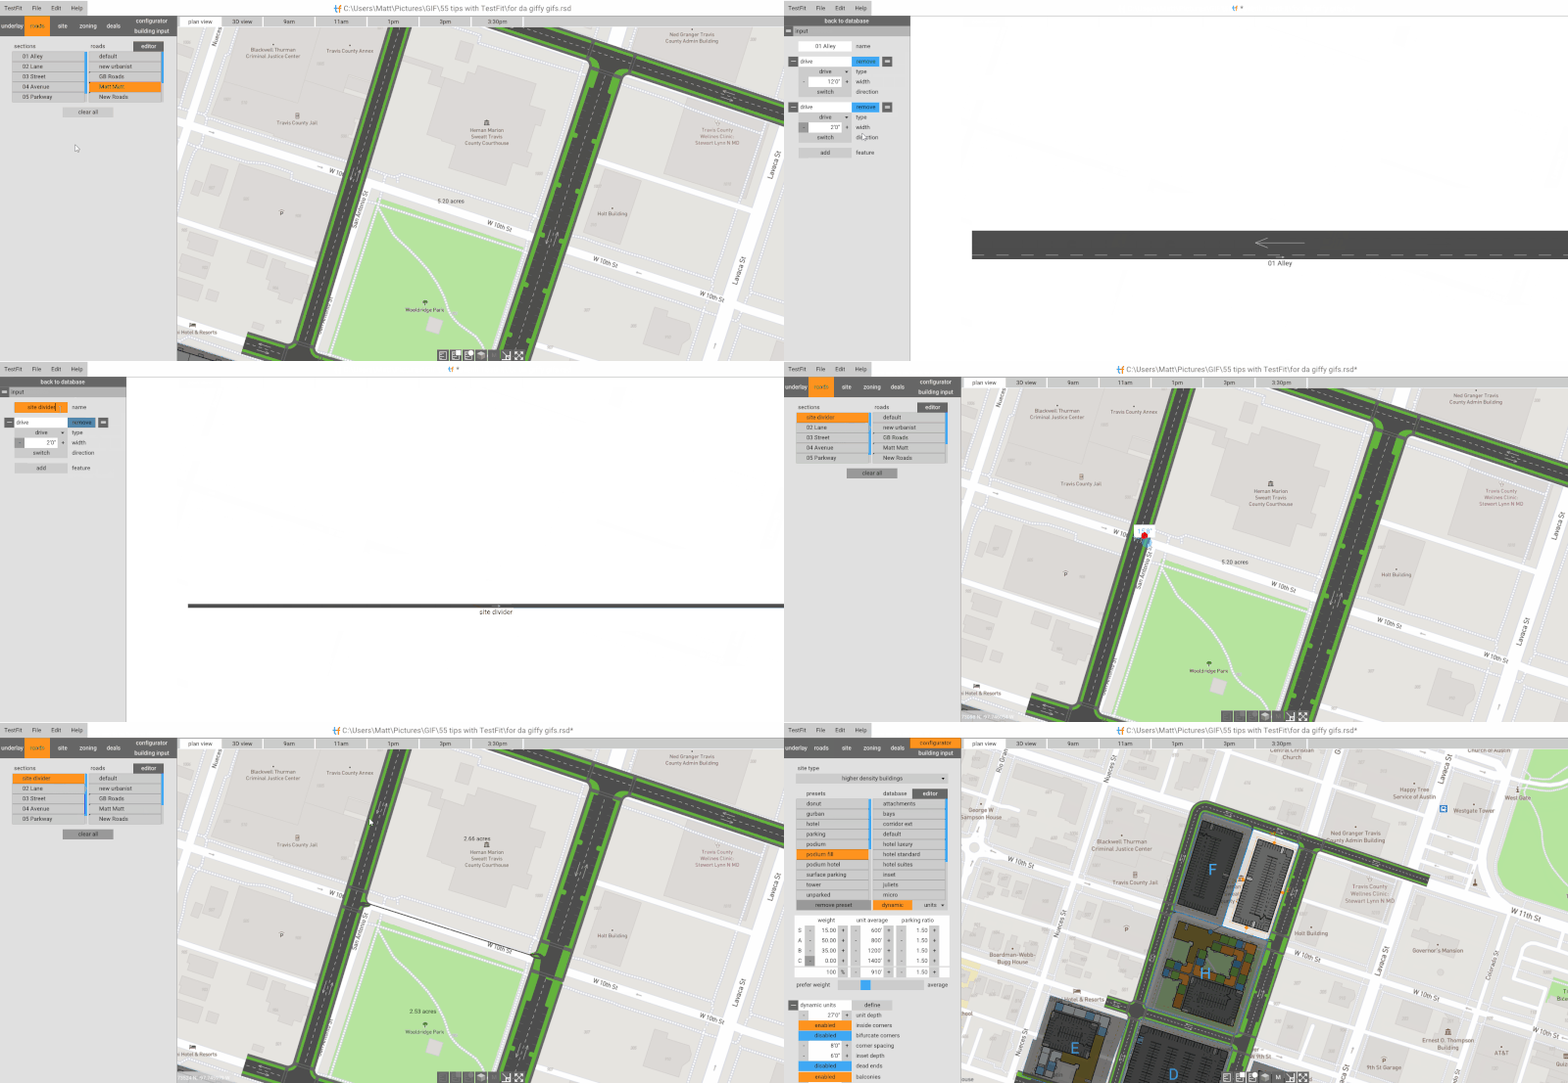
47. Create a 2’ wide road (remove alley and take it down) to divide a site into more sites without actual roads.
48. Use the easements tool to adjust podium building massing without going into massing mode.
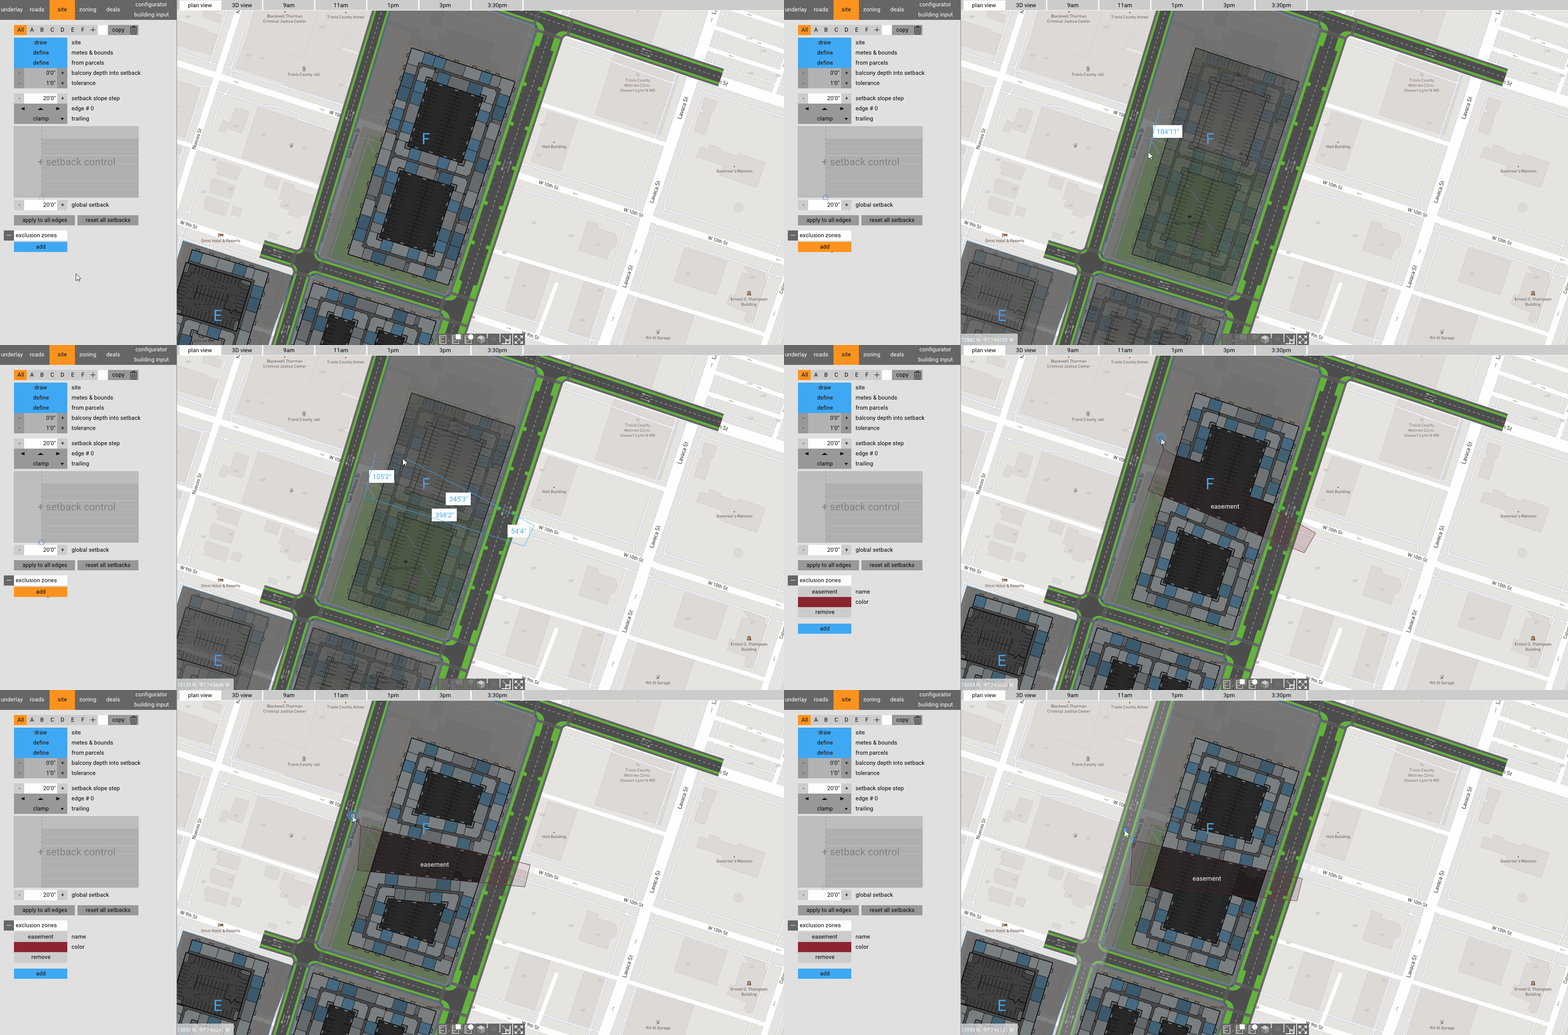
49. Use easements for pushing the algorithm to show a particular layout (massing for podiums or allocation of garden apartments).

50. Copy a site into two sites for more complex stacking of units. (Site a = level 1-5, Site B = 6-10).
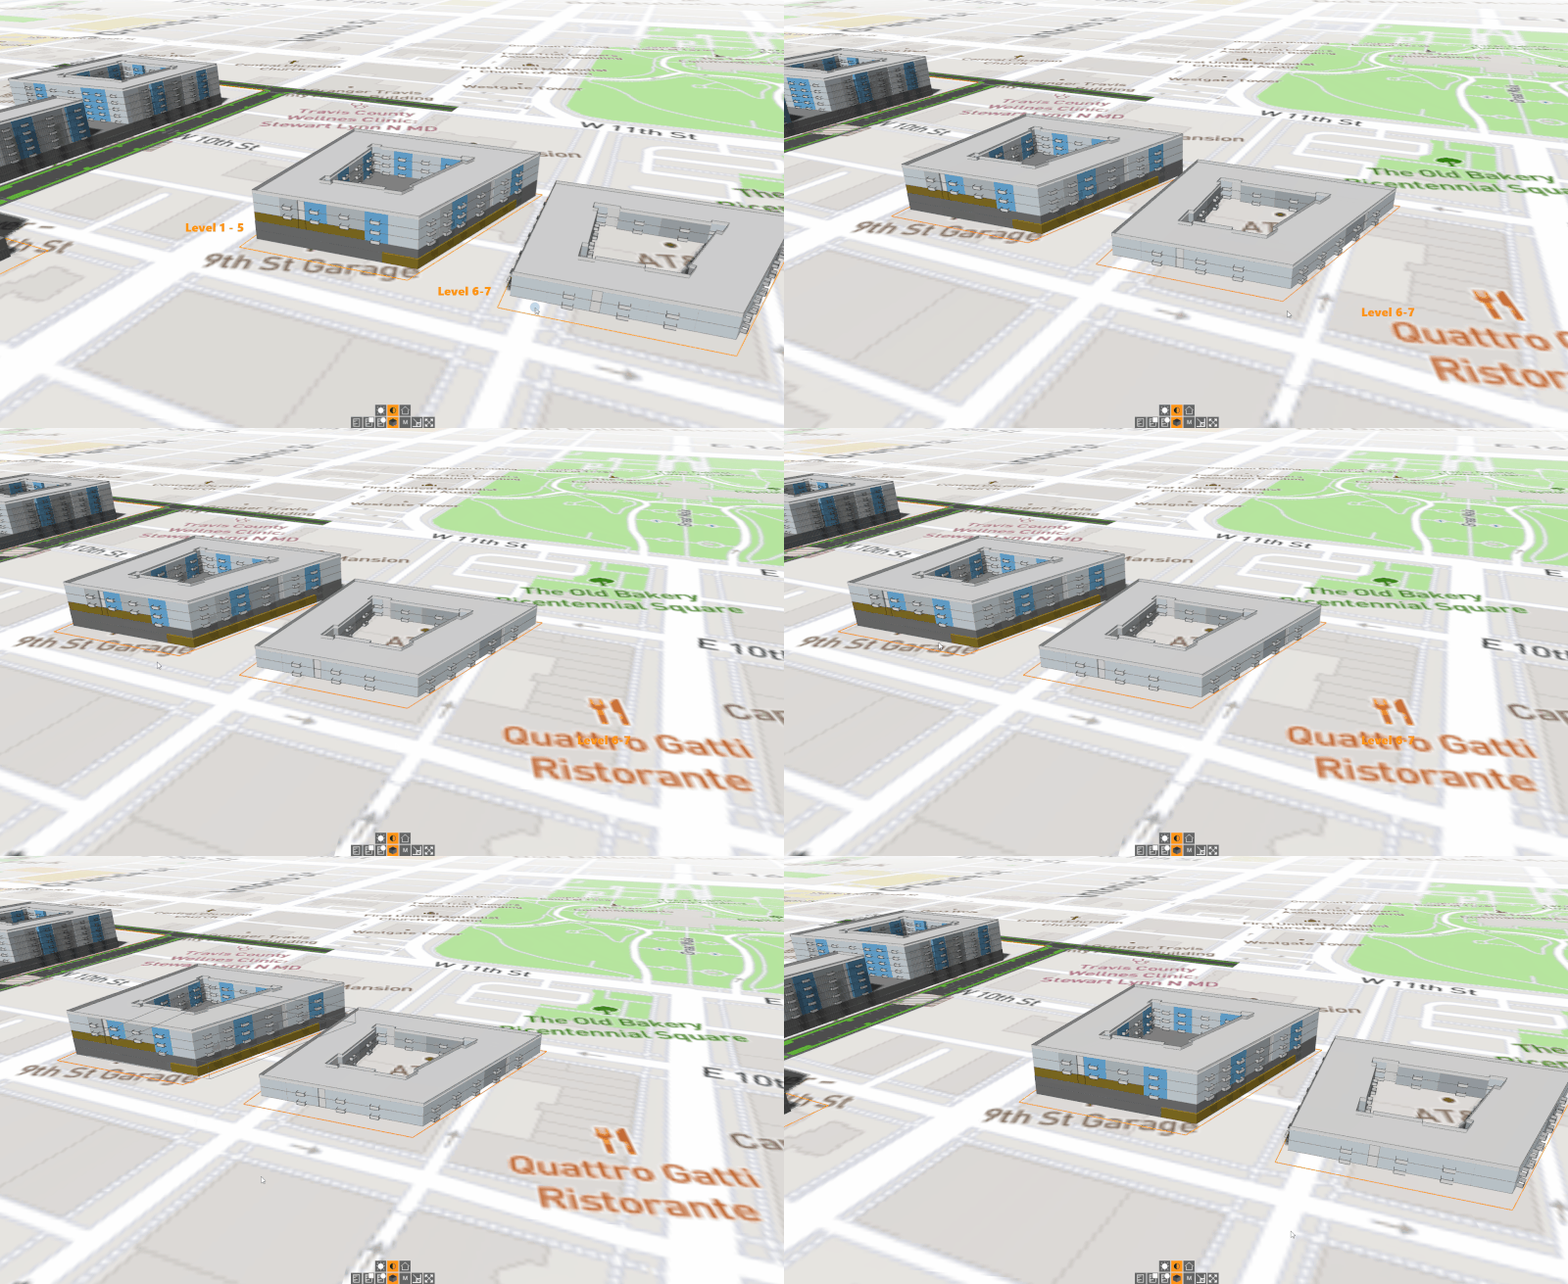
51. Mix hotel and residential on the same podium building in this super hacky hack. Warning: multiple steps, not for the faint of heart!
- Podium Fill preset. Pick the units you’d like to use.
- Draw in manual mode where you’d like units on top of the garage.
- Once drawn, adjust the PROPERTY line to ½ of the garage.
- Draw another property line in the other half.
- Disable parking.
- Create a VOID SPACE on the first two levels. (Tip, set area to 50,000 SF).
- Draw the location of the second unit type.
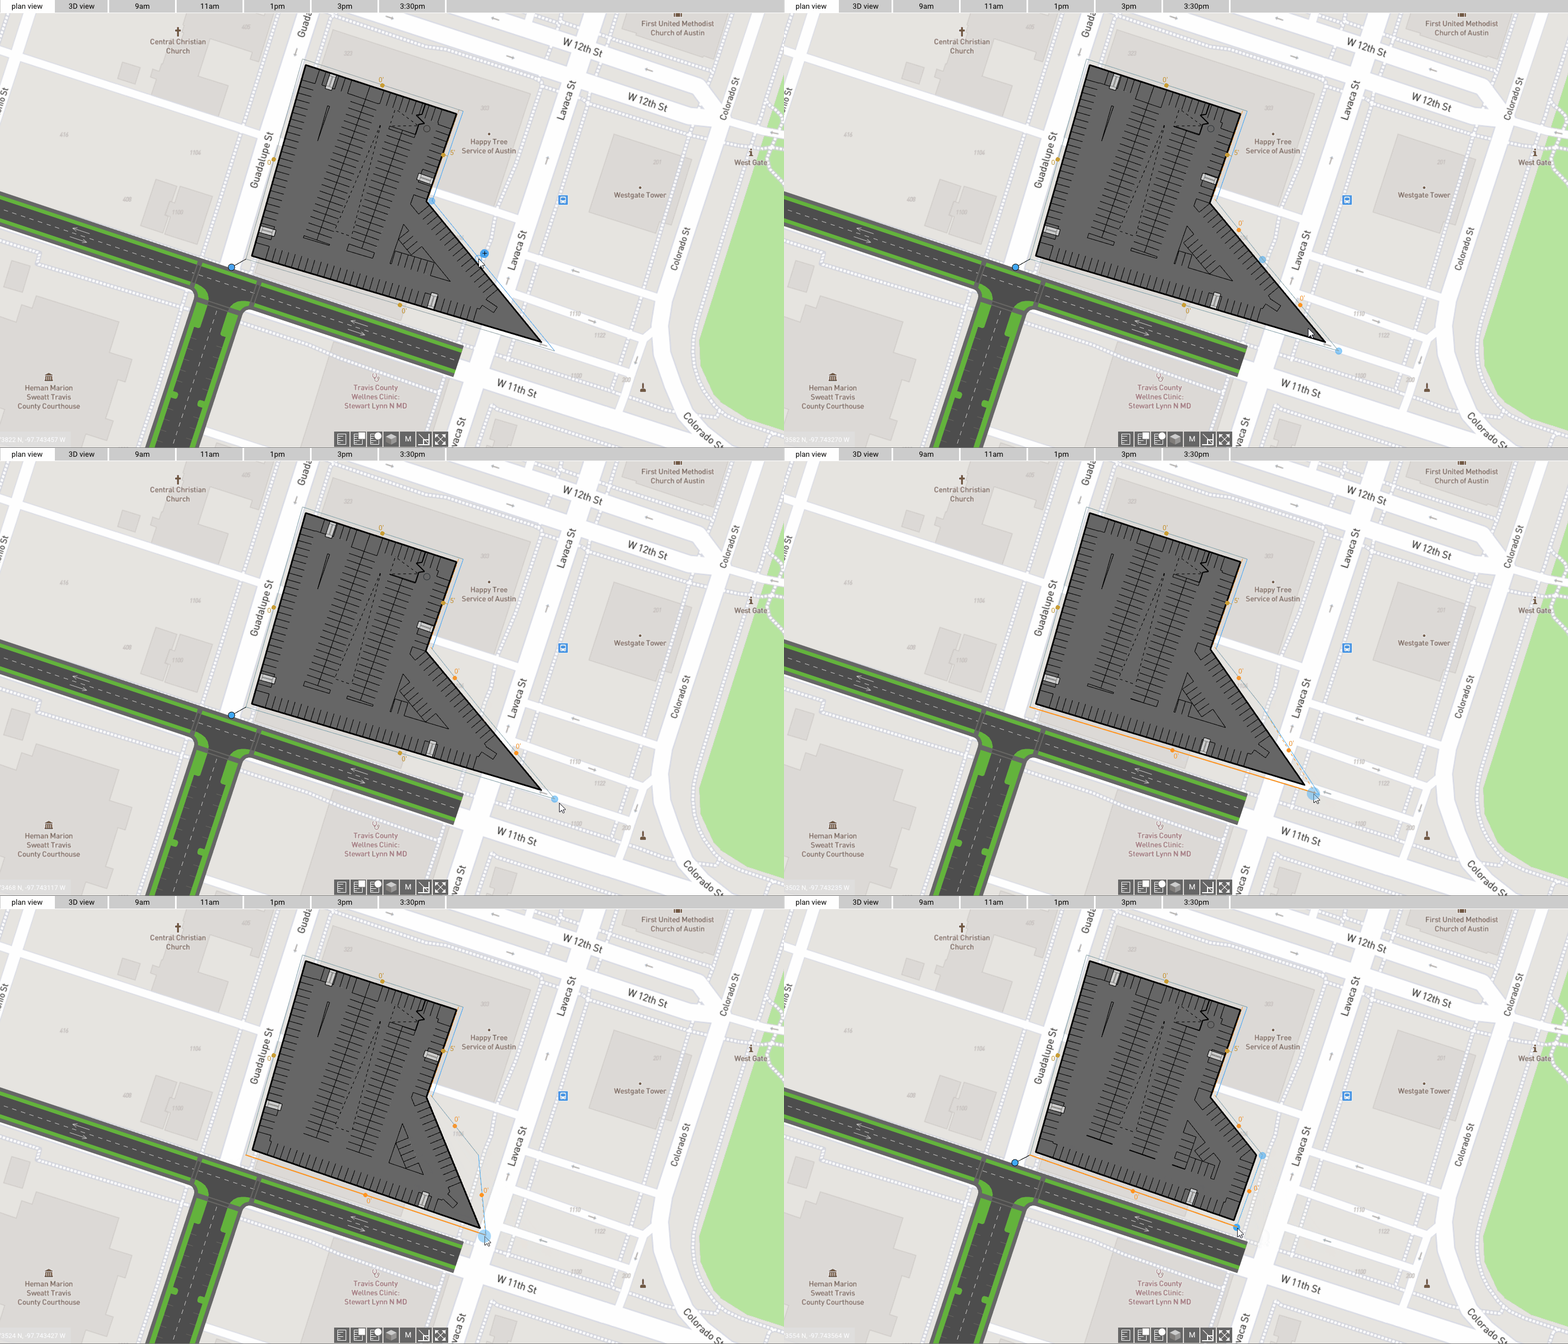
52. Defining a location for a building (usually in a corner) and using another site to create the parking layout – typically used for surface parking if first results aren’t quite what you want.
53. Use the property lines to manipulate massing for pointy podium garages, essentially blunting the edge.
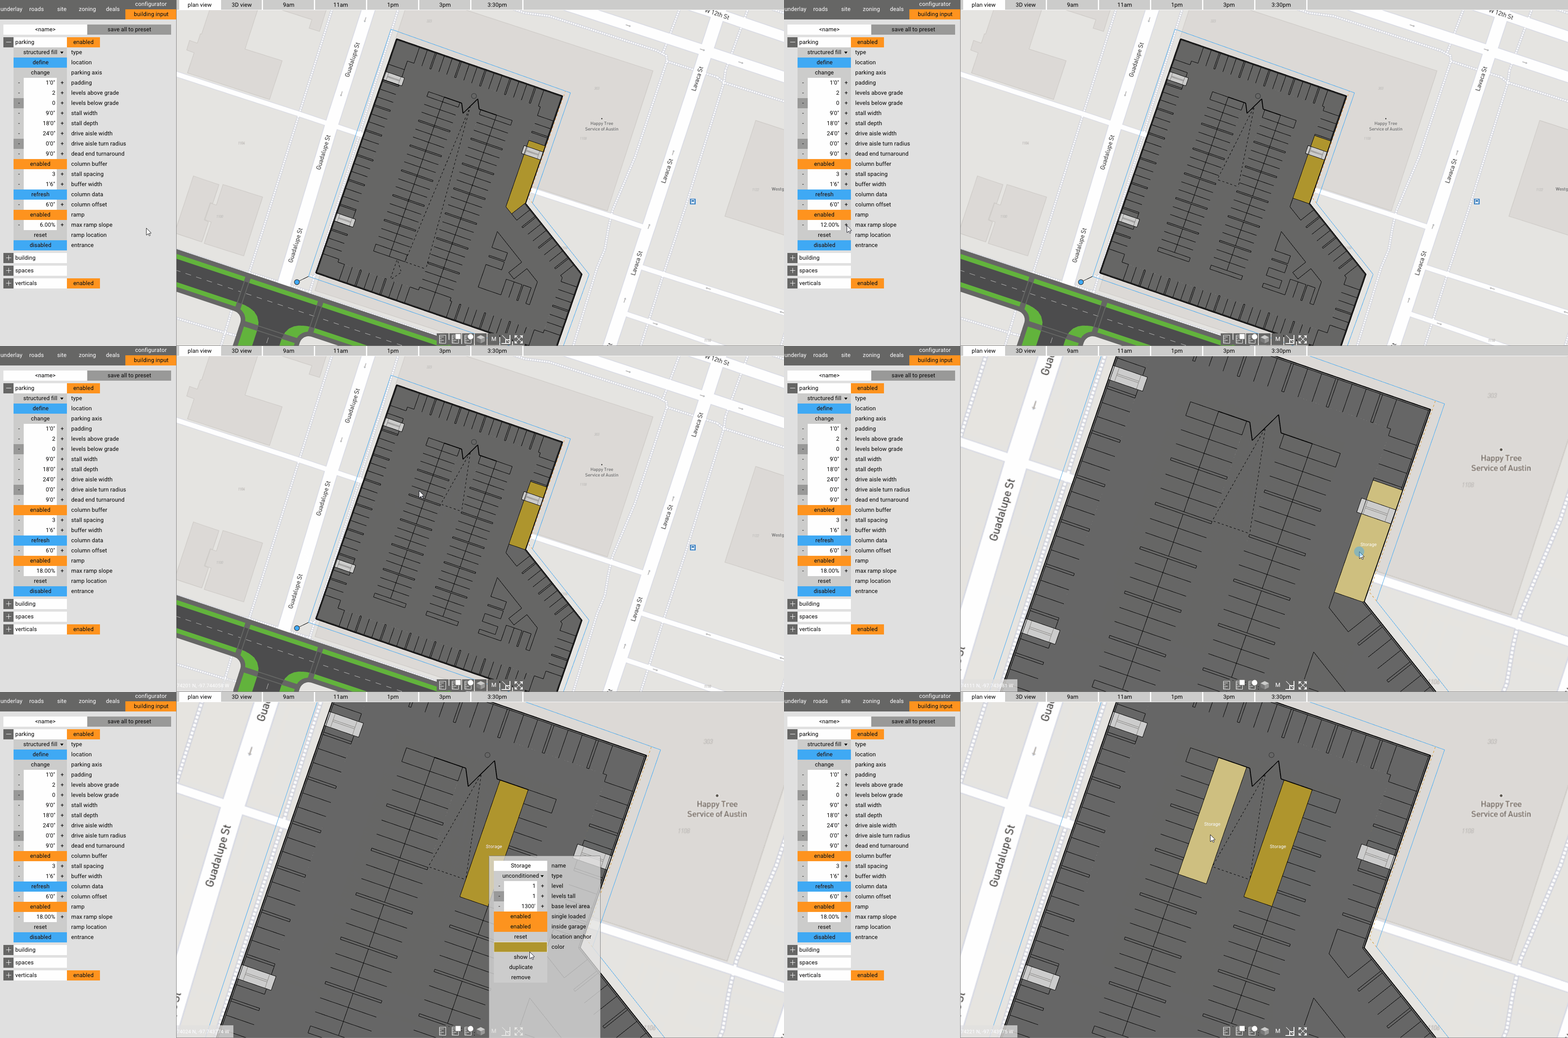
54. Create a speed ramp by adjusting the ramp percentage, then fill both sides of the ramp with a single loaded space to remove the parking stalls.
Clifton's Corner
Finally, we leave you with a few bonus tips from our CEO.
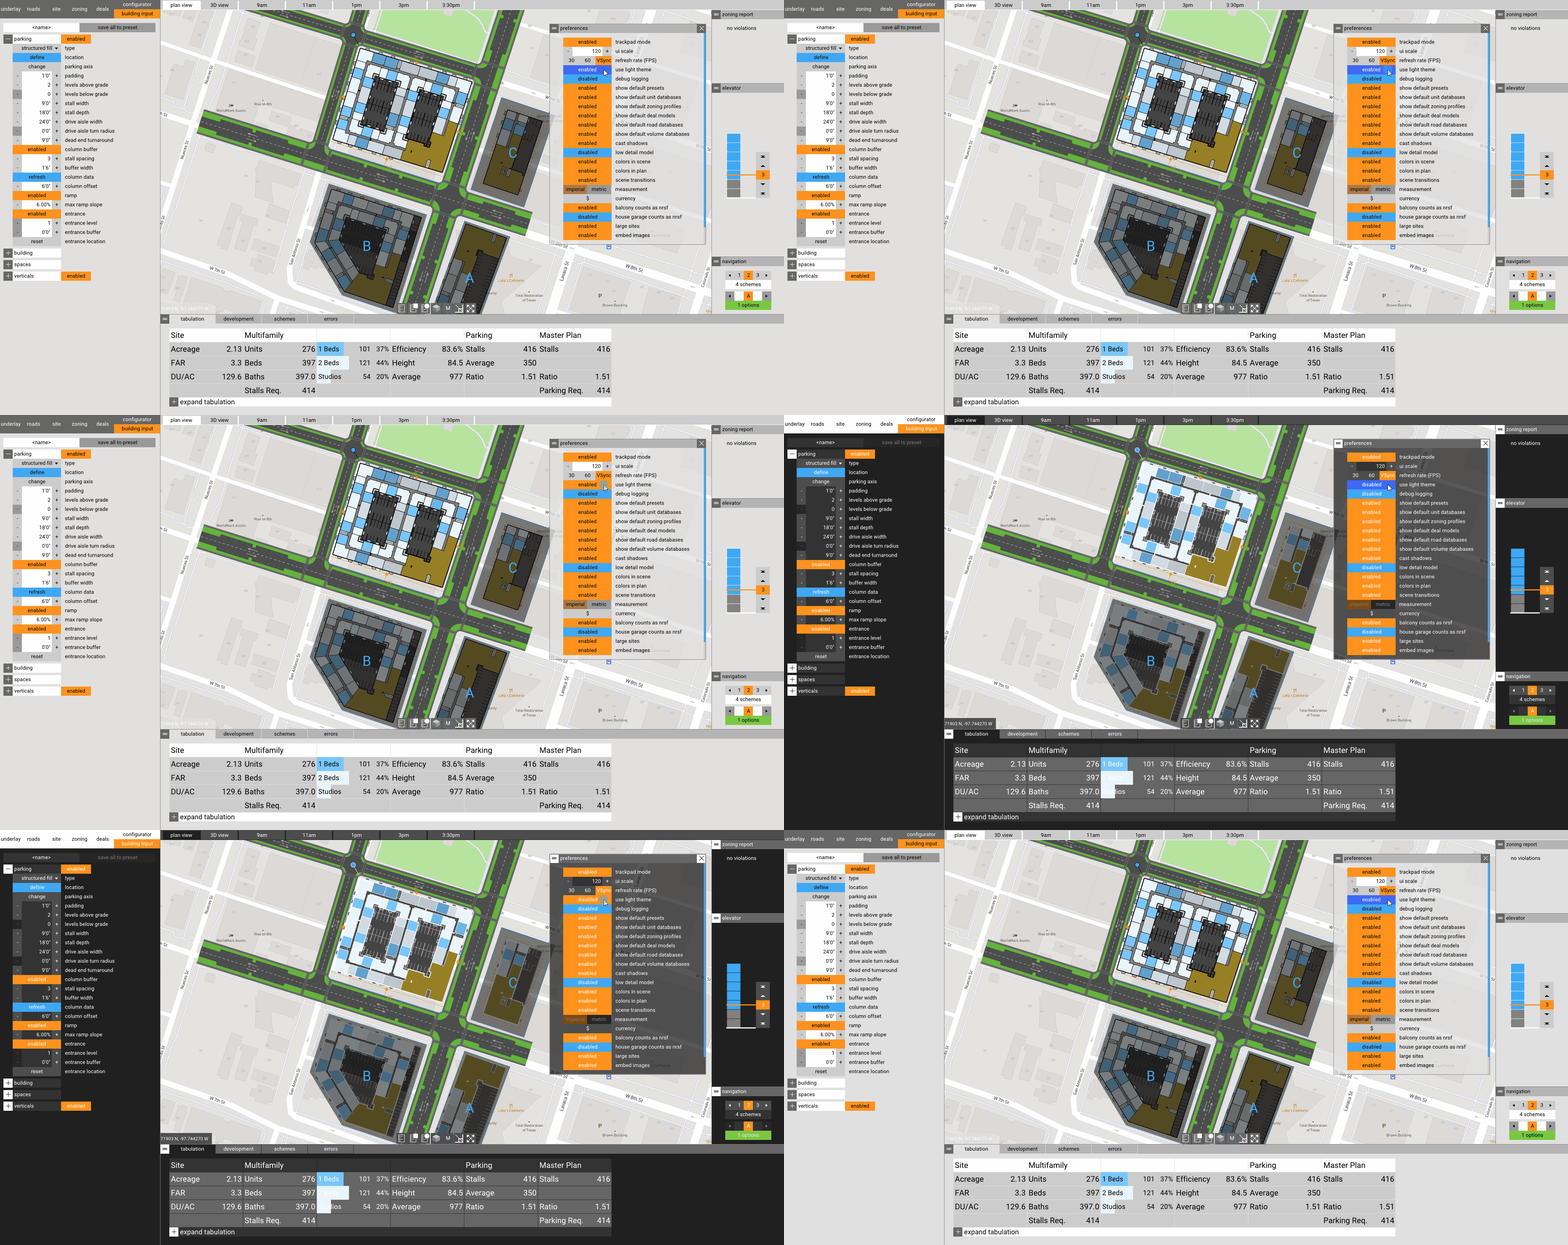
55. TestFit ships with Dark mode as a default. Check out how to activate Light mode.
56. Flick while orbiting to automatically orbit.
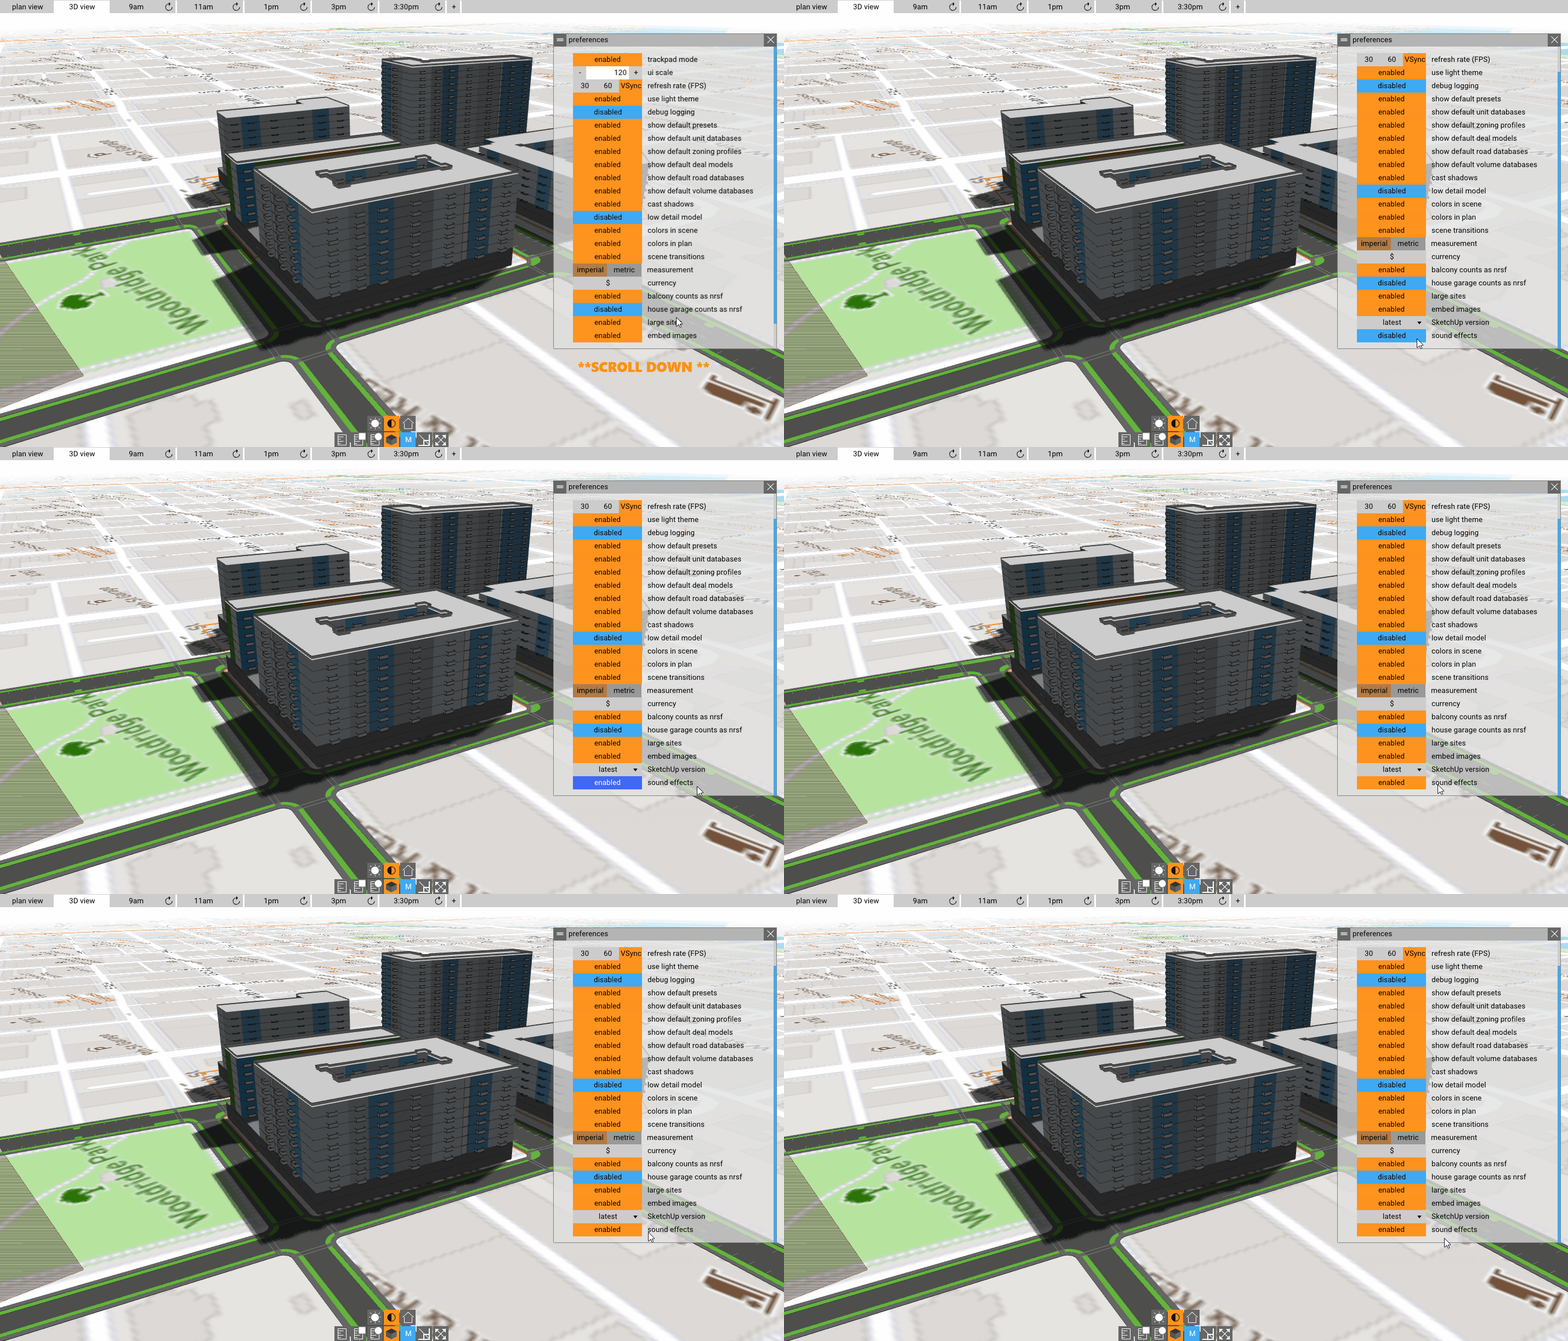
57. Engage sound effects to inspire your afternoon.
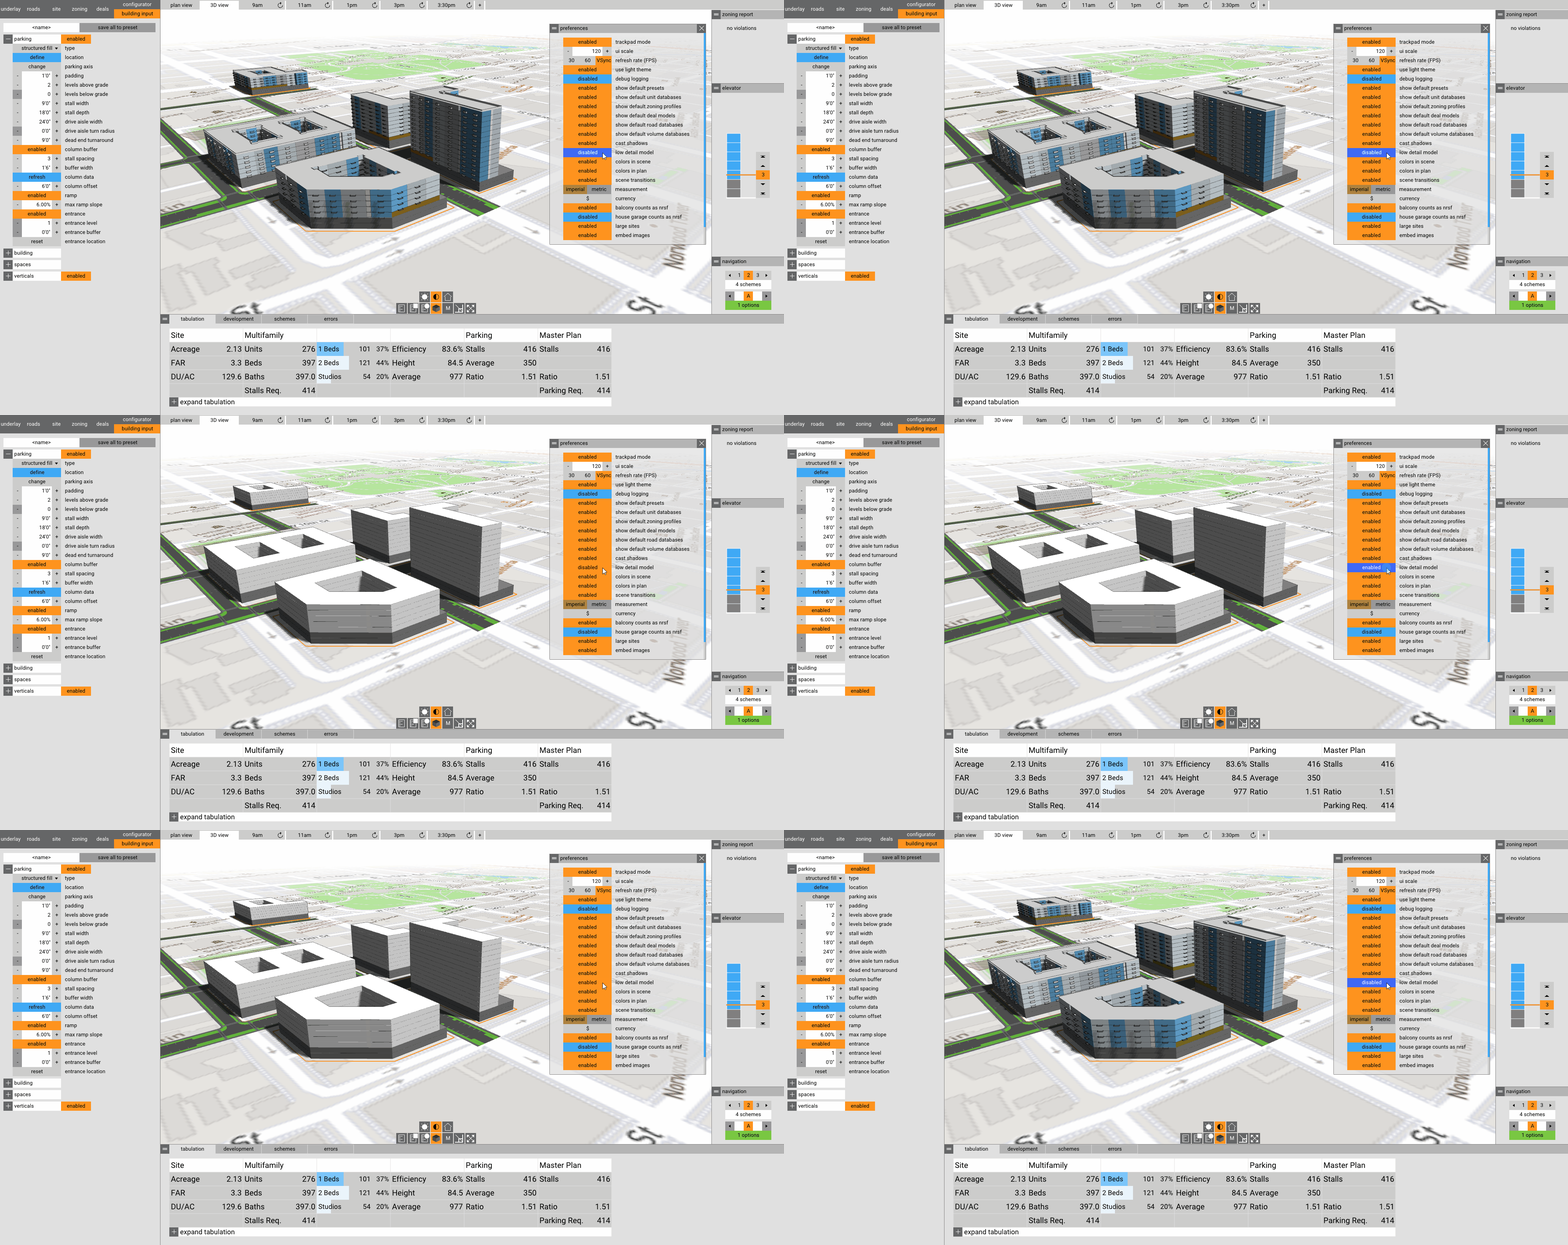
58. Activate low detail mode for cleaner imagery.
Have any other TestFit questions? Contact us at support @ testfit.io.


